It’s been a while since I posted anything to my site, but since I have some free time on my hands here is my latest project.
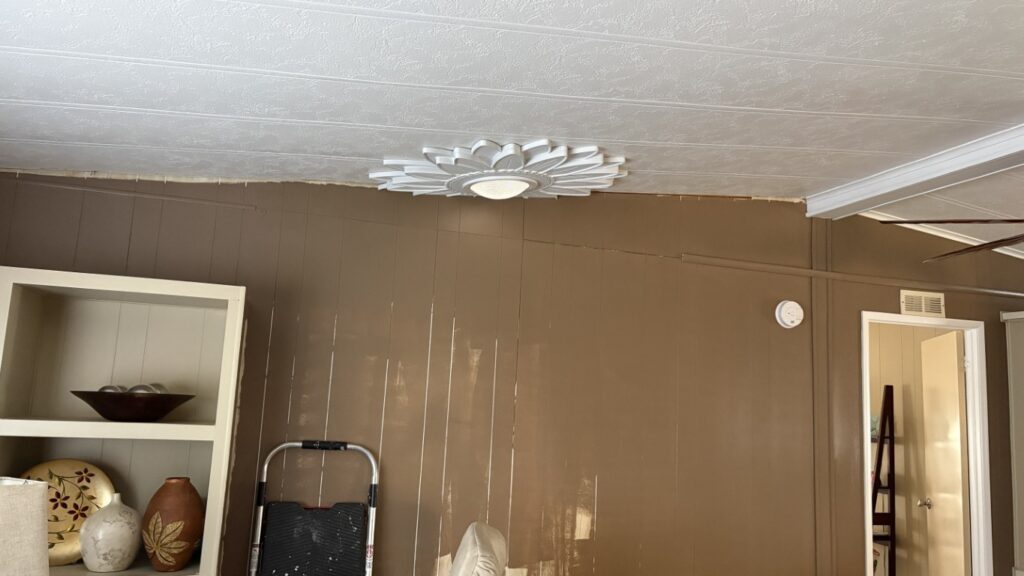
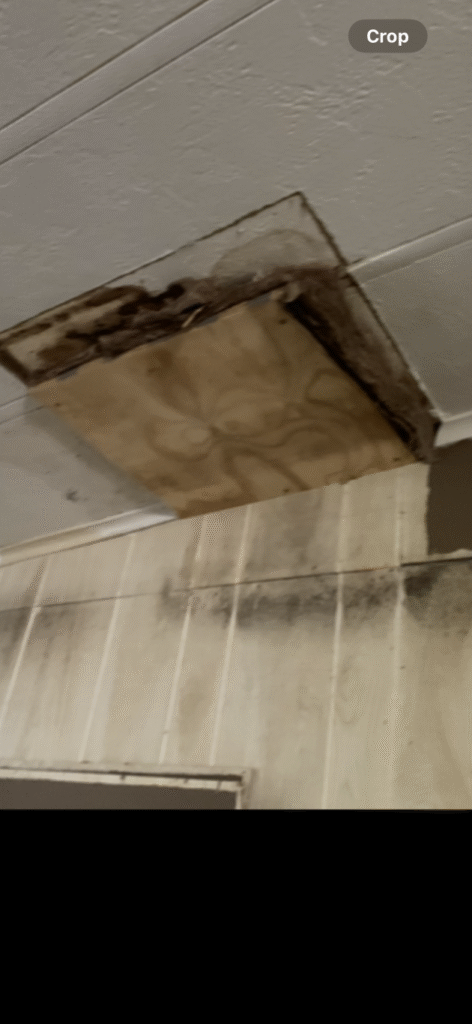
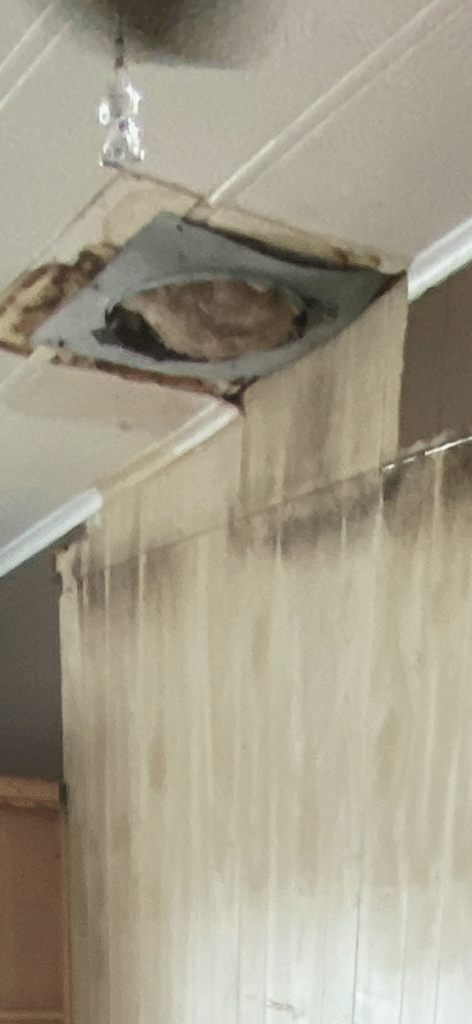
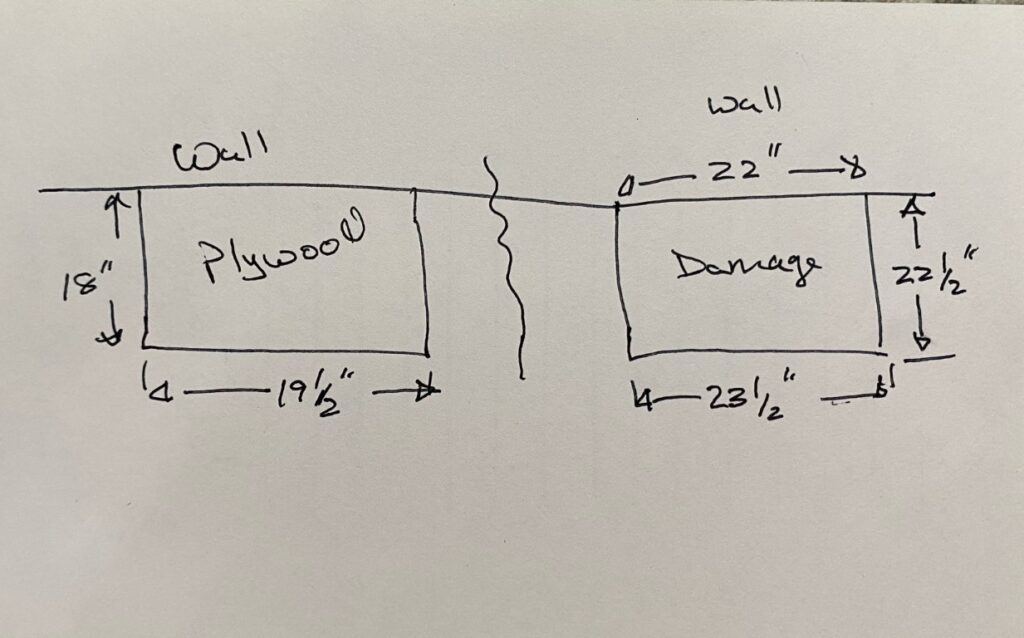
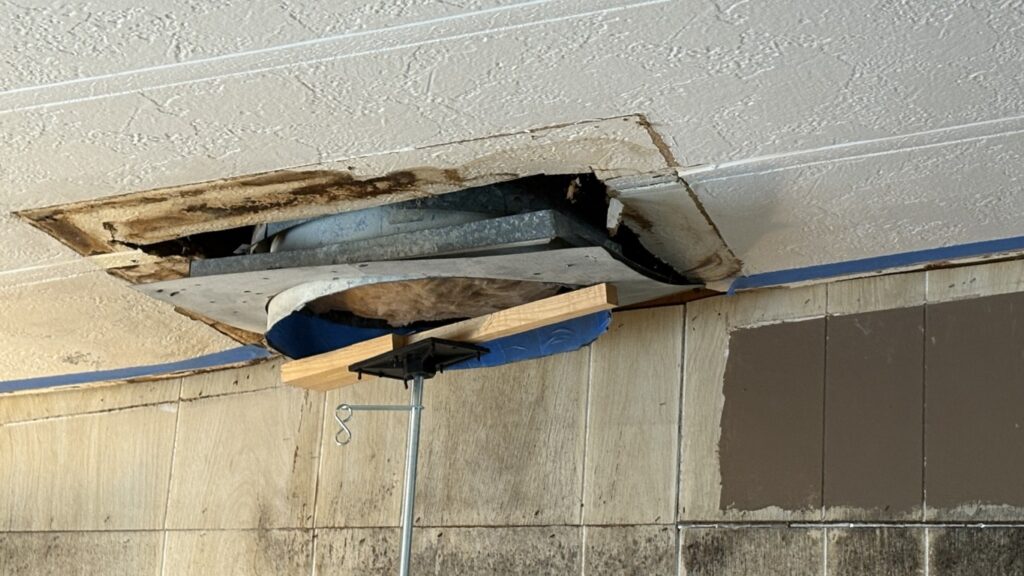
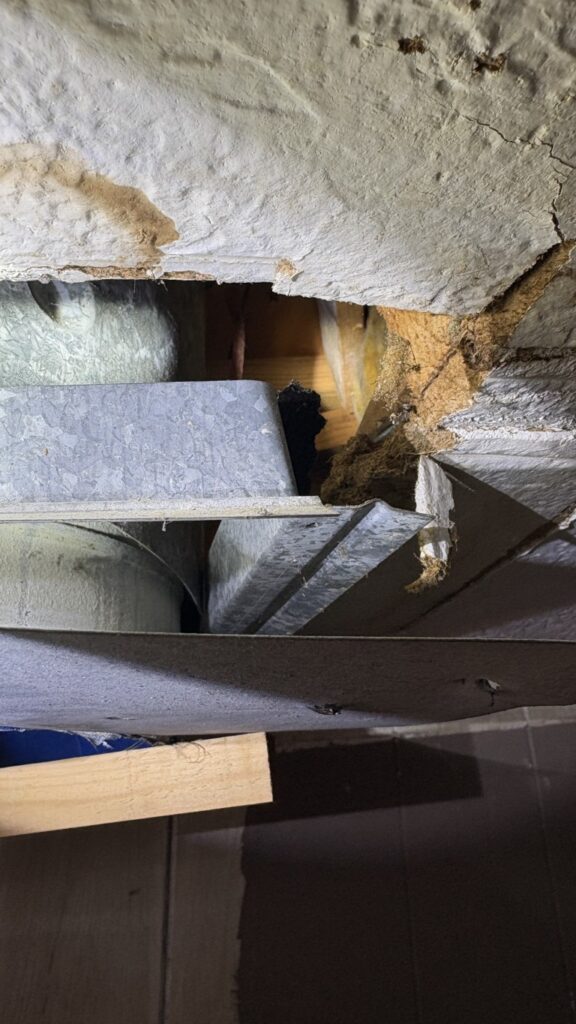
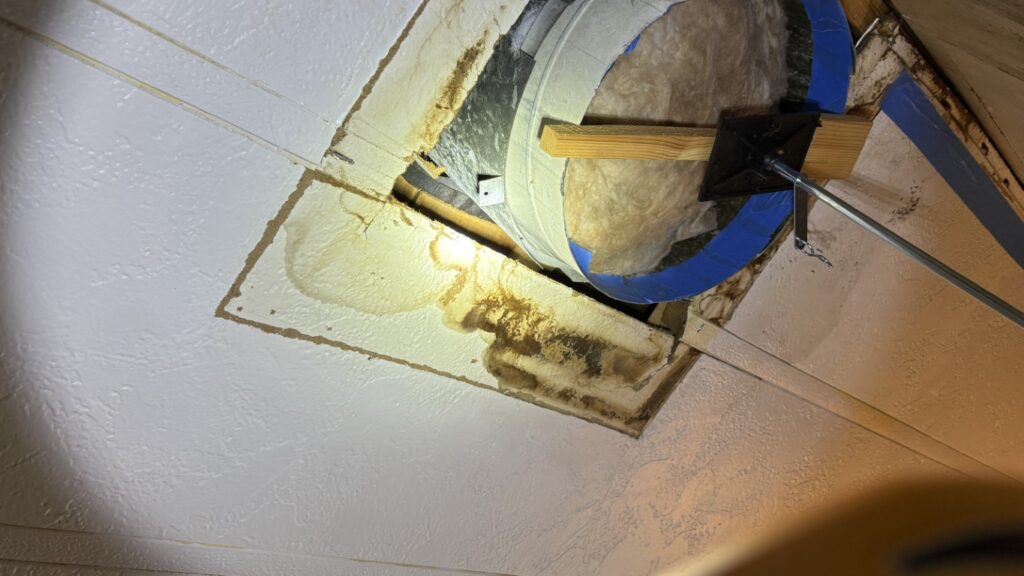
This project came about out of necessity—to address some ceiling damage. Since I’m unable to repair the ceiling directly due to its composition, the idea was to cover the damaged area instead. The photos aren’t the best, but they should give you the general idea: there used to be a fireplace here, and the damage I’m covering is where the flue once exited through the roof. The damaged area, including some old water spots, was carefully measured (thanks, Dave!) to ensure full coverage.
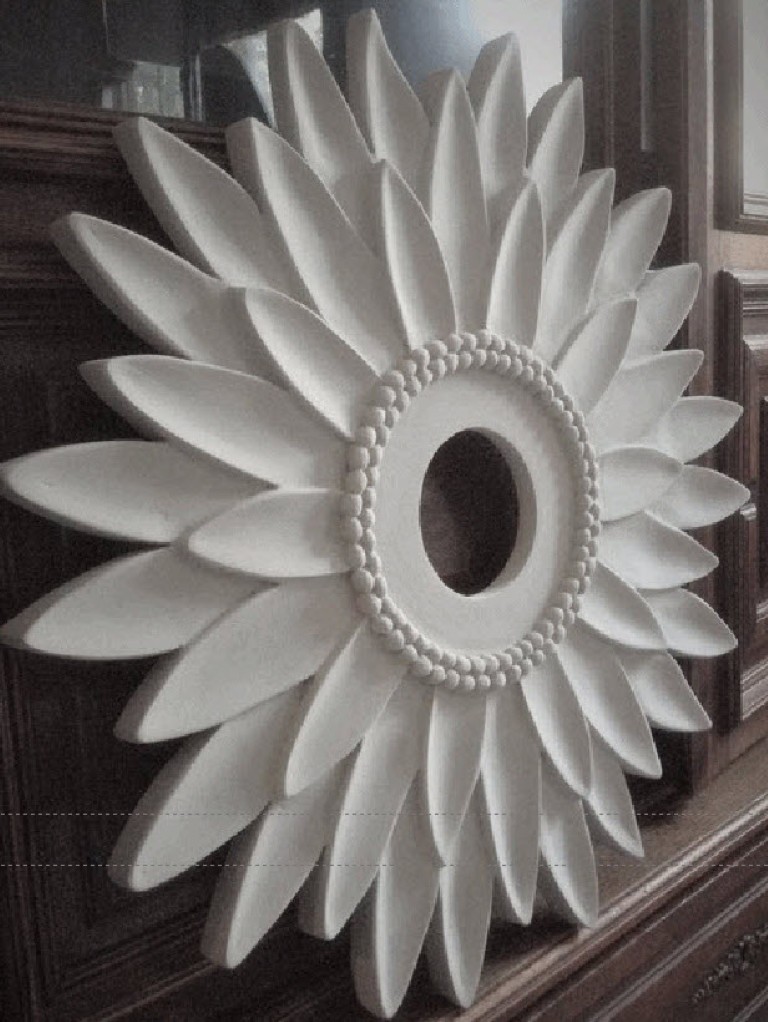
I created a drawing in Vectric Aspire based on an image that I liked…

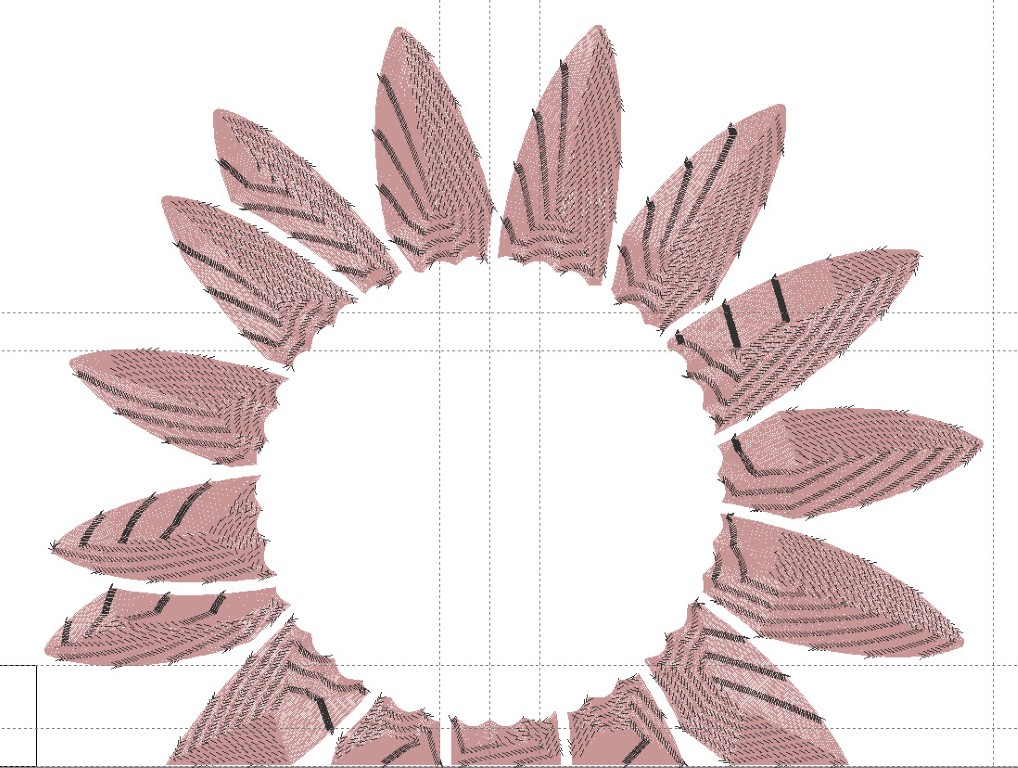
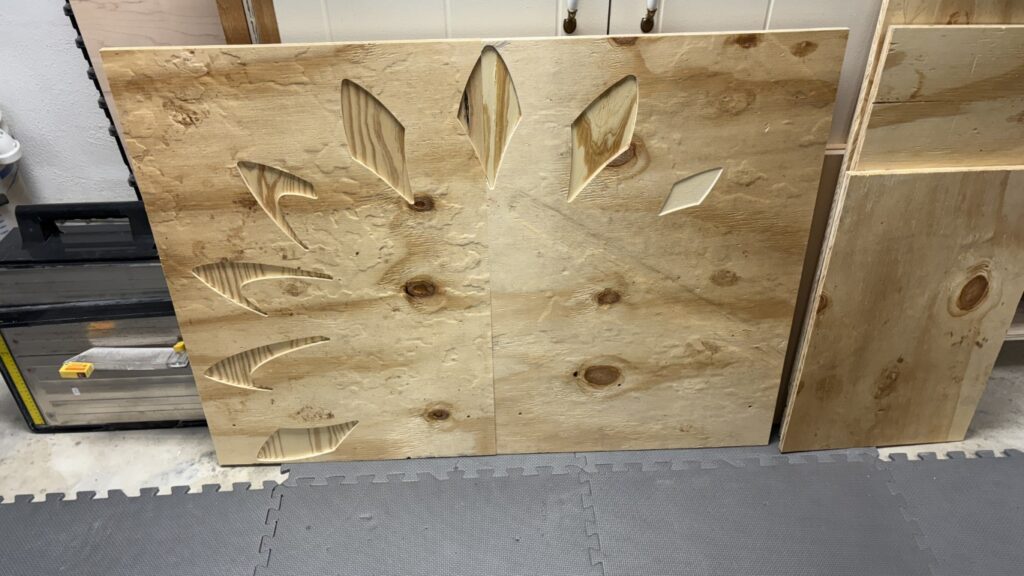
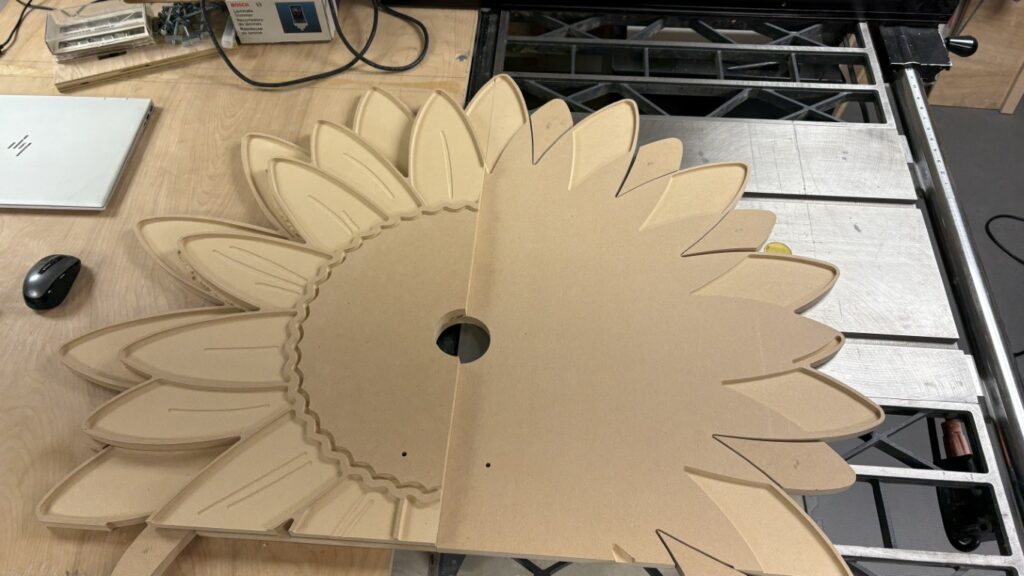
I ran a few test pieces in plywood to make sure I had drawn it correctly and that the panels would align when created. My CNC also has a limited X / Y axis, so the project needed to be “tiled” in Aspire. I was mainly interested in where the panels joined from a testing perspective, and it looks like the tiling worked!
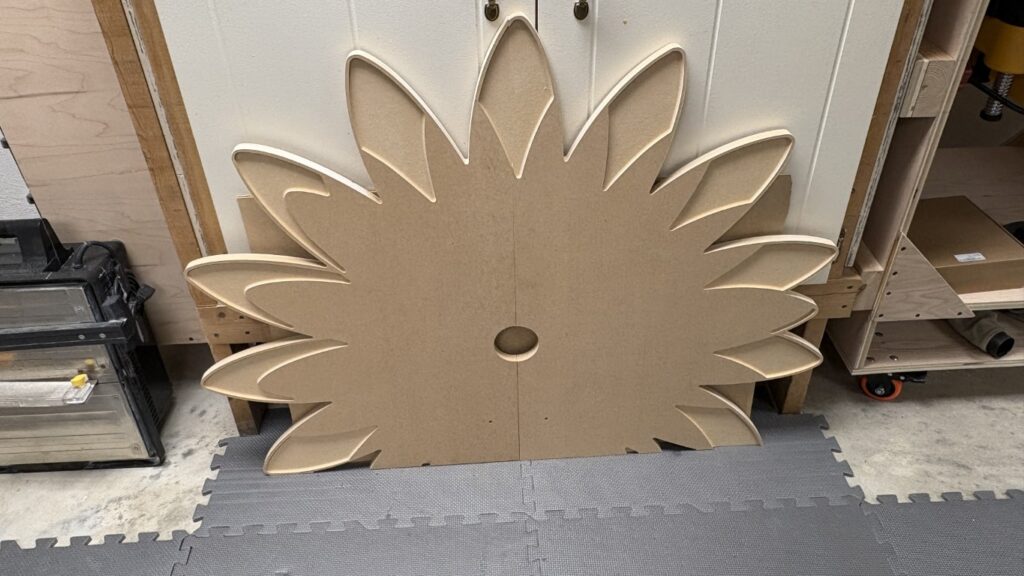
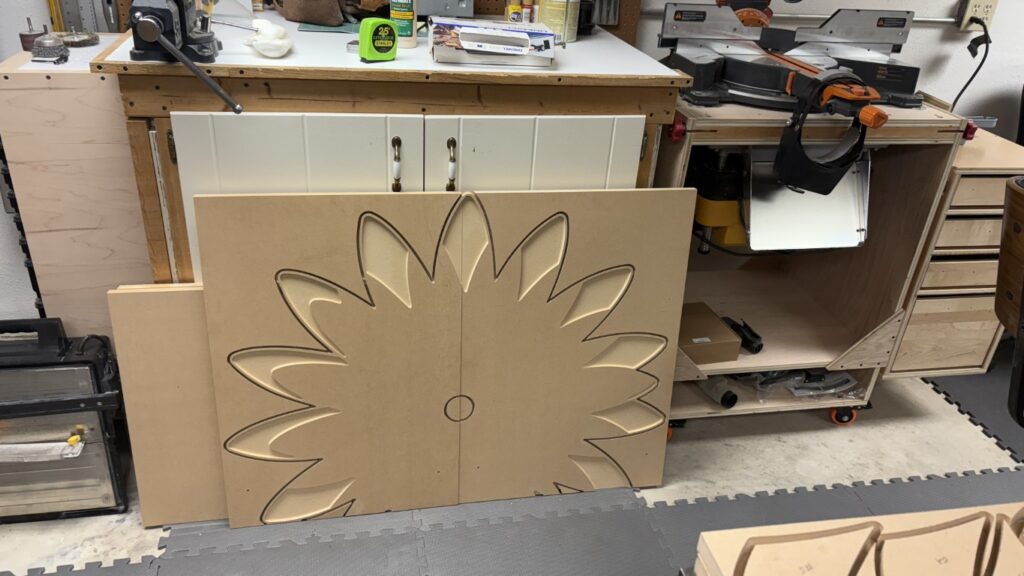
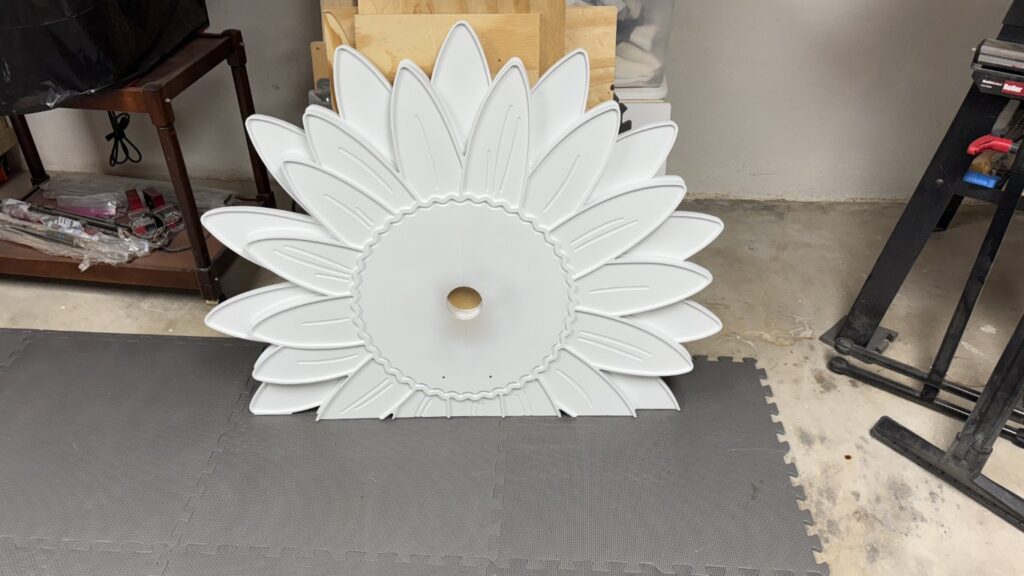
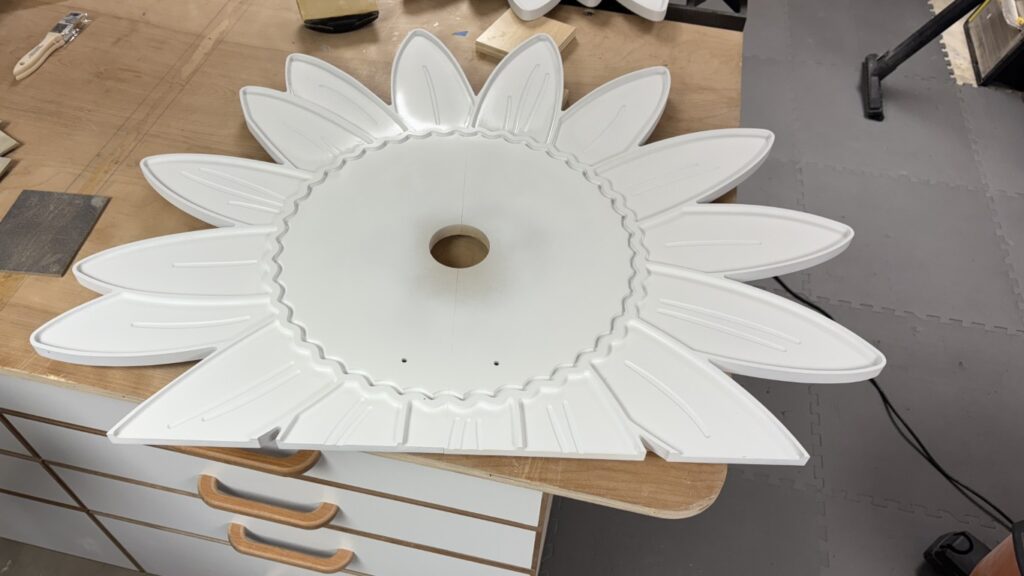
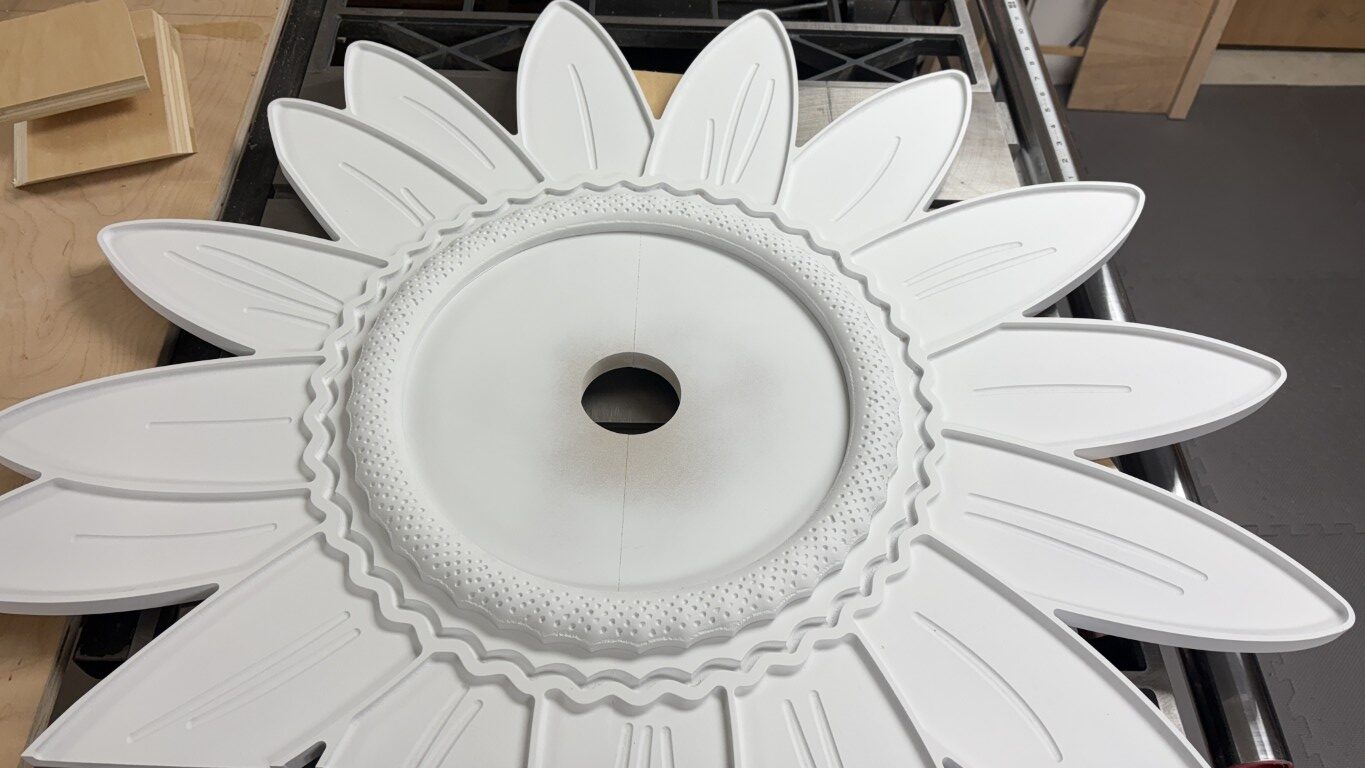
Here are a few pics of the final panels, created from MDF.
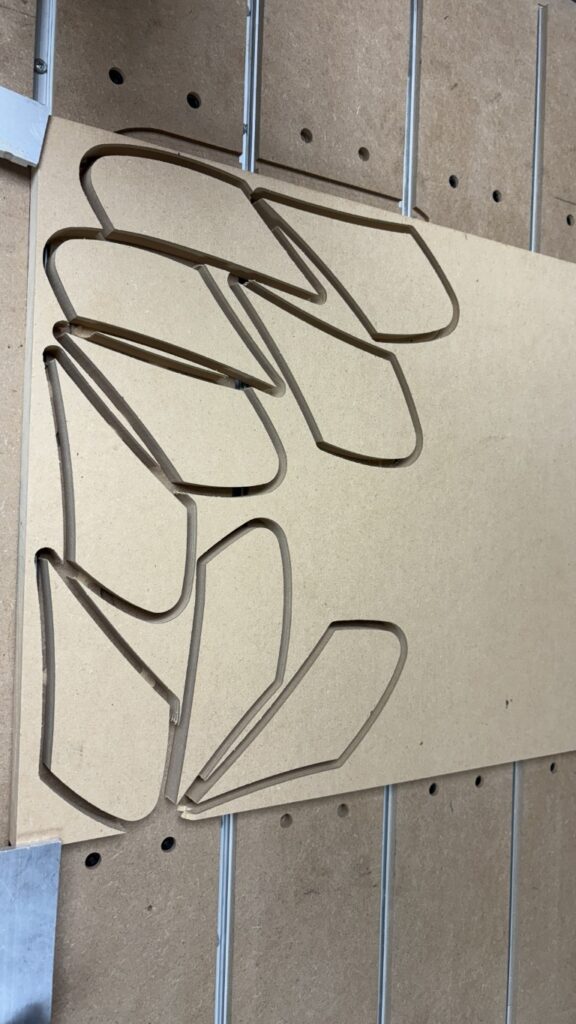
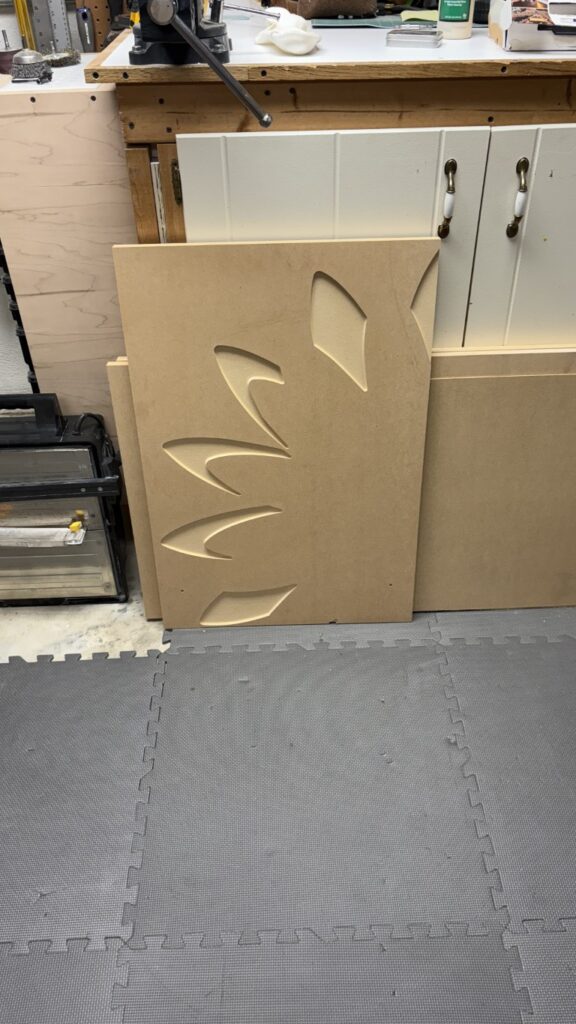


This project will be made from MDF and painted. Since the top surface of the MDF was damaged, I had to “size” it using a mixture of white glue and 50% water. It worked really well in the end, but applying and sanding it was definitely a pain.
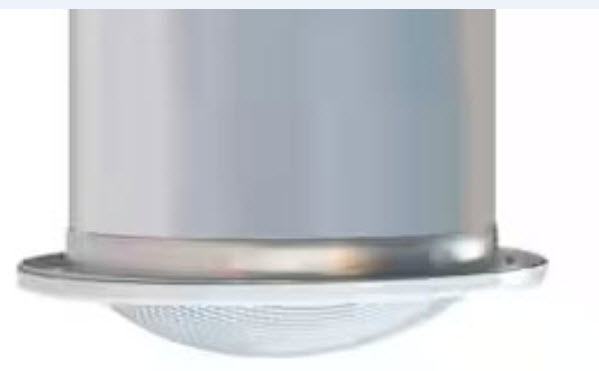
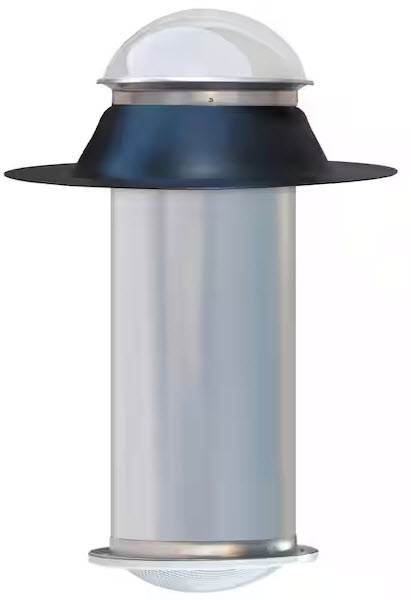
The last piece of this design is to use a tube skylight as the center of the daisy… still finalizing the plans for that, but this is the interior side of the skylight with a raised lens. More to come…!
After all of the designing, thinking and planning… finally the “rubber meets the road” and the installation begins!
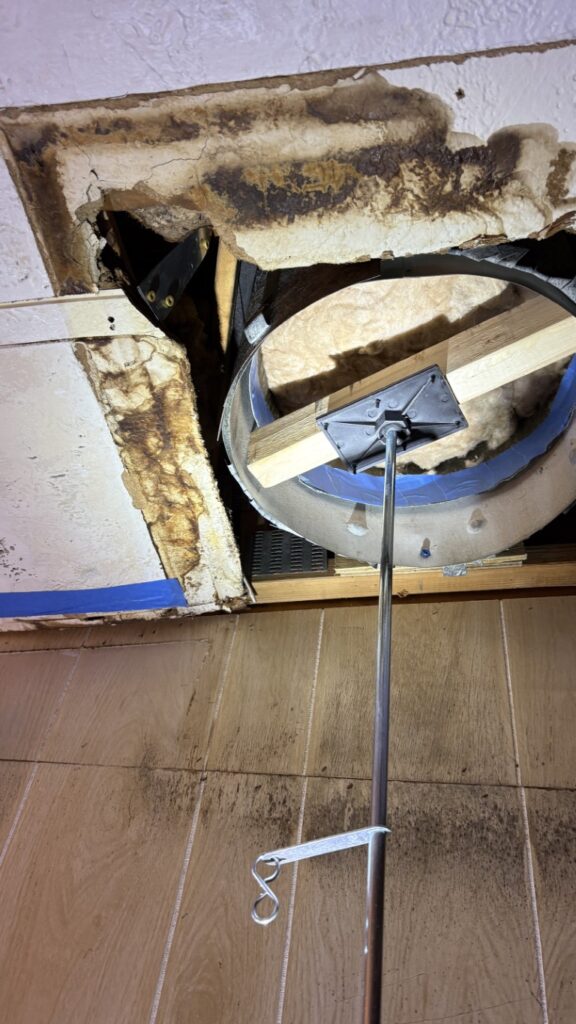
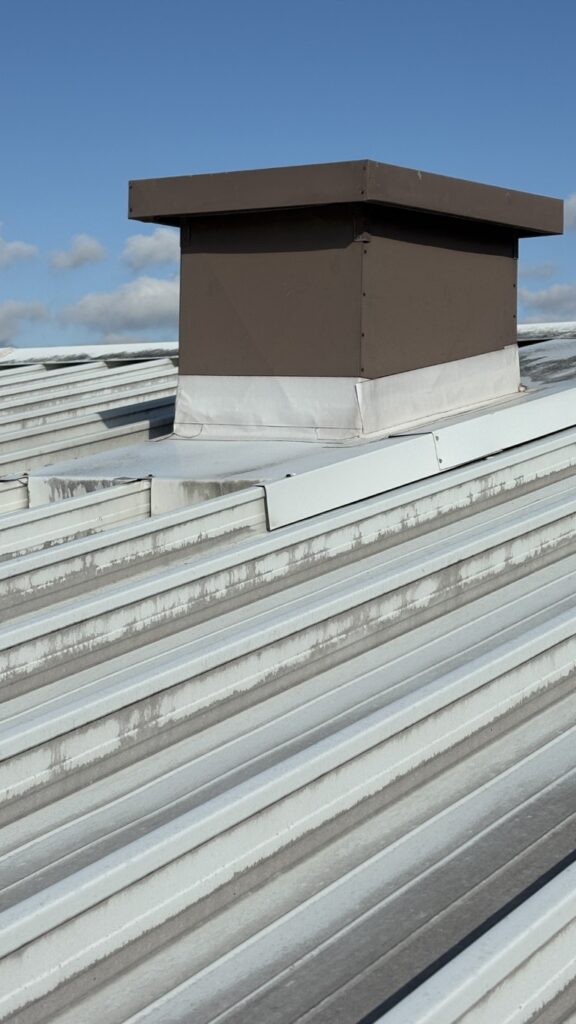
The first task was to ensure the old fireplace flue was flush with the ceiling, allowing the medallion to fit seamlessly. This proved challenging due to the flue’s double-wall design—one pipe inside another. The outer pipe was sealed to the ceiling and flashed to the roof inside a box to prevent leaks, while the inner pipe essentially floats. I removed the fireblock (square sheetmetal) piece from the flue by simply cutting it off, there’s no need for it since there will be no fire. I then used tin snips to trim both the inner and outer pipes, using some painters tape as a line guide, so they would sit flush with the ceiling. I then secured the outer pipe to the house and then the inner pipe to the outer pipe to prevent any movement. Now that the movement is fixed, and it’s flush to the ceiling, I can now move onto the skylight install.

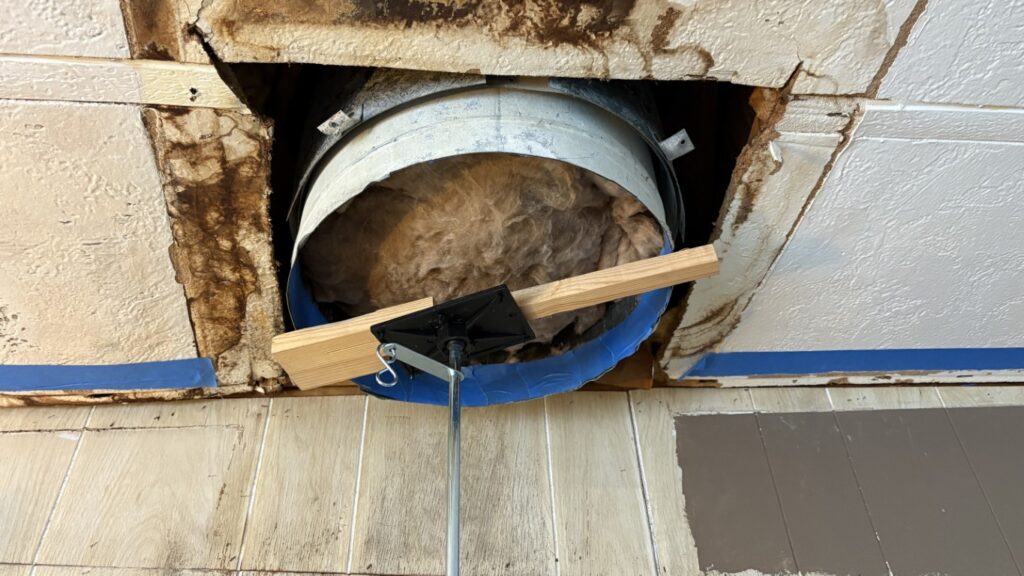
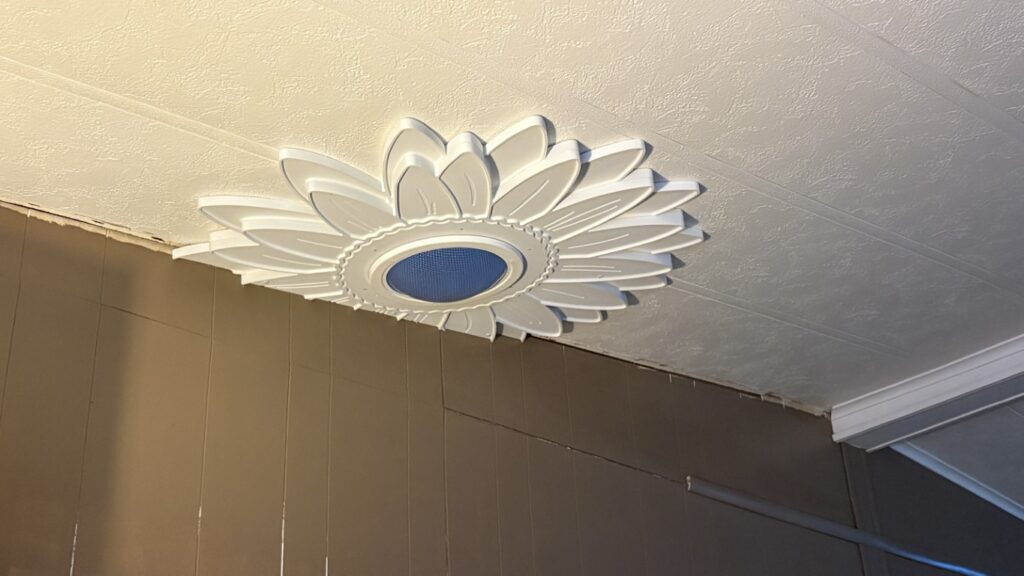
The Skylight itself was somewhat of an after thought, since the flue was 14″ in diameter and there was already a tunnel… I thought I might be able to use that to my advantage and at the same time seal off the old flue from any rain using flashing or whatever would come with the skylight or in this case “tubular skylight”.. the skylight came in a kit with flashing and amazingly a rounded lens for the inside, this fit right in with the Sunflower design!
The flashing was made from aluminum and had an inside diameter of about 15″ inches and was close to perfect for what I wanted. I failed to take some pictures of the work I did inside the roof box but effectively, I trimmed down the flashing to fit over top of the flue pipe within the box itself, and then the skylight tube fit inside the flue pipe, “a pipe within a pipe within a pipe”, and it is a fully functioning skylight! The flue has been closed to the elements and the skylight will not leak… quite ingenious if I do say so myself!
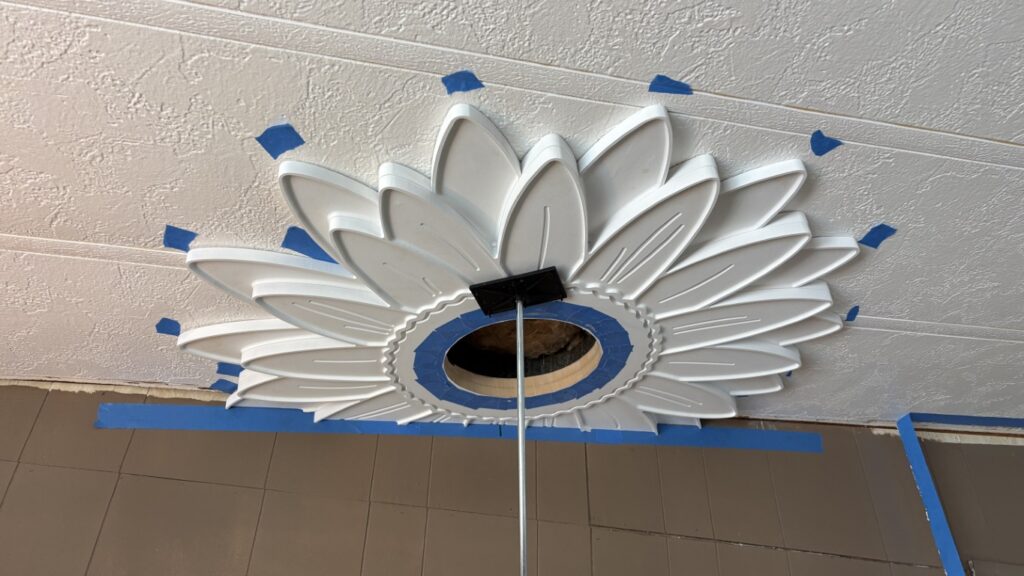
When I designed the medallion, I accounted for some slight movement by adding extra material to the back—where it fits against the wall—so that trimming could be done if needed, and it turned out to be necessary. To position the skylight within the flue, the center of the medallion had to align perfectly within the flue. Trimming the back of the medallion made this possible. After cutting the hole for the skylight, I did a trial fit… and I think I heard sounds from above when it finally went into place!
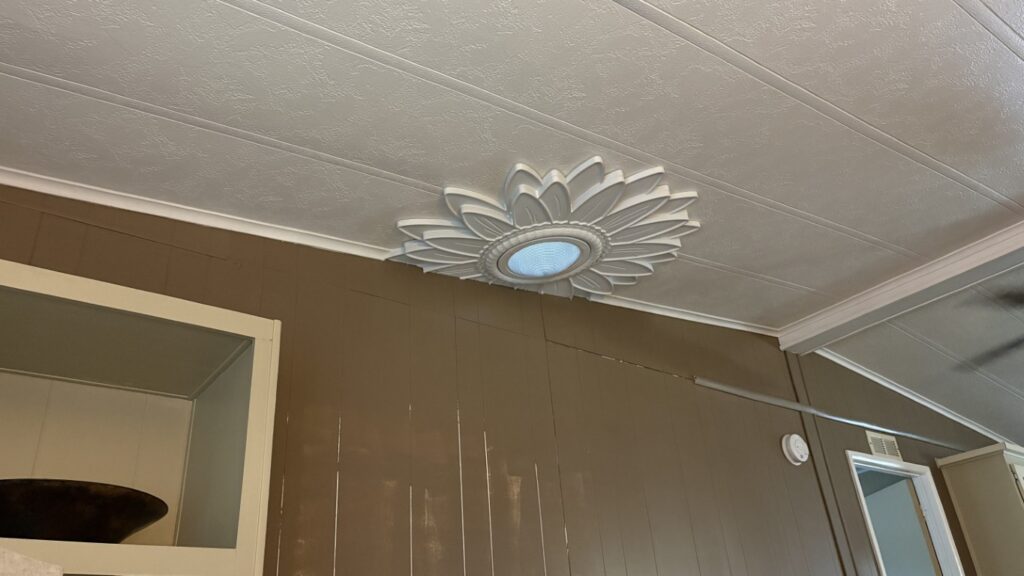
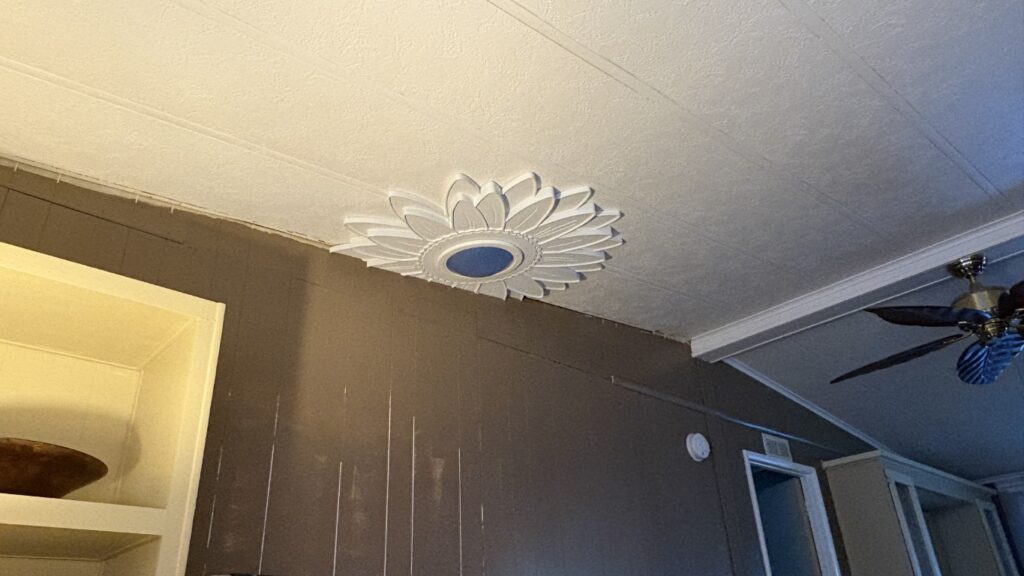
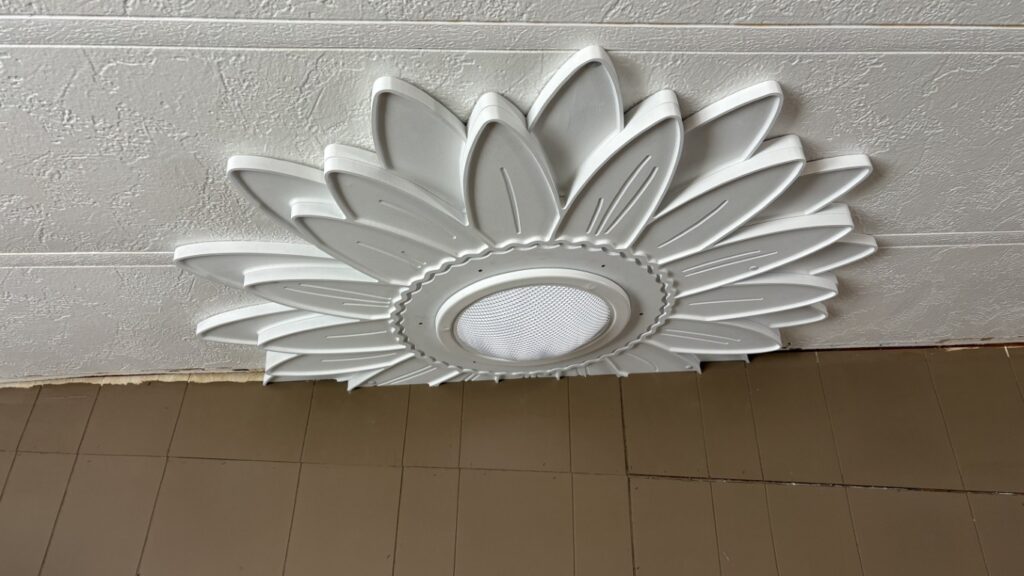
After a lot of hard work, planning, and fabrication, the medallion is finally in place. It’s done its job of concealing the ceiling damage, and I couldn’t be happier with the result. Now, I have a unique piece of “ceiling art” that also makes for a great conversation starter!
There is one additional item of note, and that is that the skylight throughout the day changes color… at night it darkens and during the day it brightens, it just adds a little more character to the ceiling art!