

Since the last time I created an SSL key for my QNAP Start.com changed their website, its actually a little easier to navigate. Here is a quick tutorial…
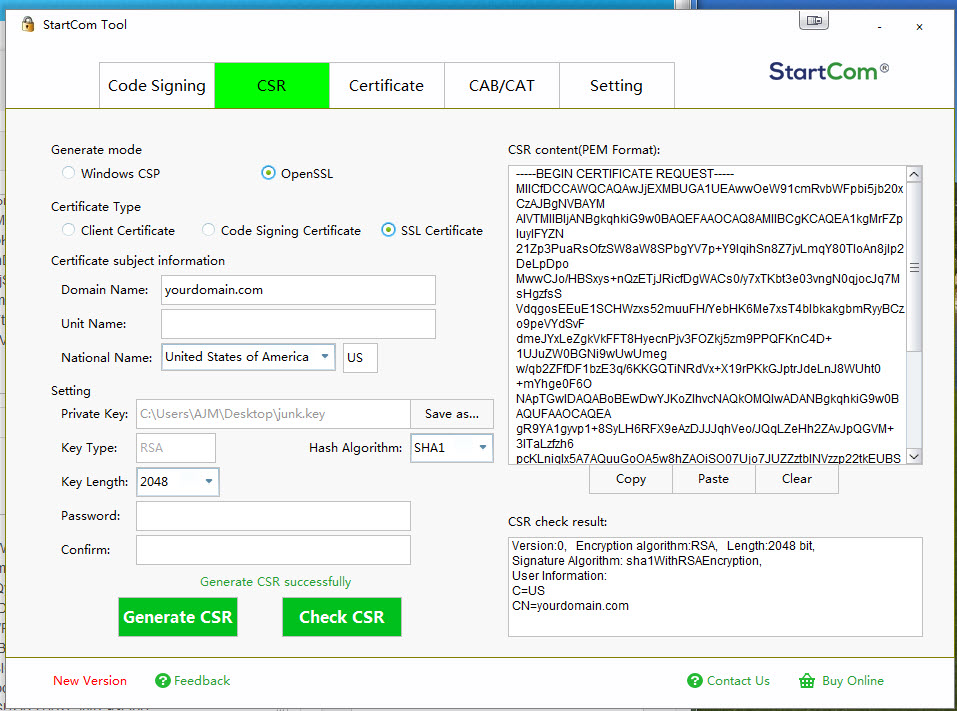
First you need to create a CSR (Certificate Signing Request). Start offers a utility for generating one on their site, I used it. Fill in your Domain Name, National Name, Private Key Name, Password is optional, then hit the Generate CSR button
wait for it to generate the key
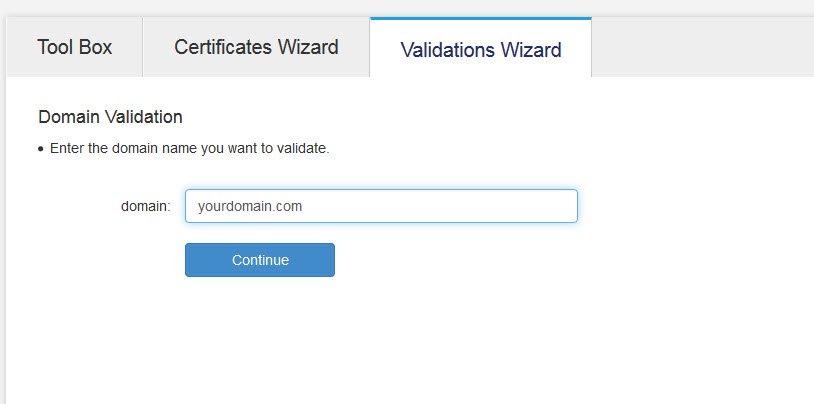
Go to the Validations Wizard and here it will validate your domain, this must match the CSR domain from above
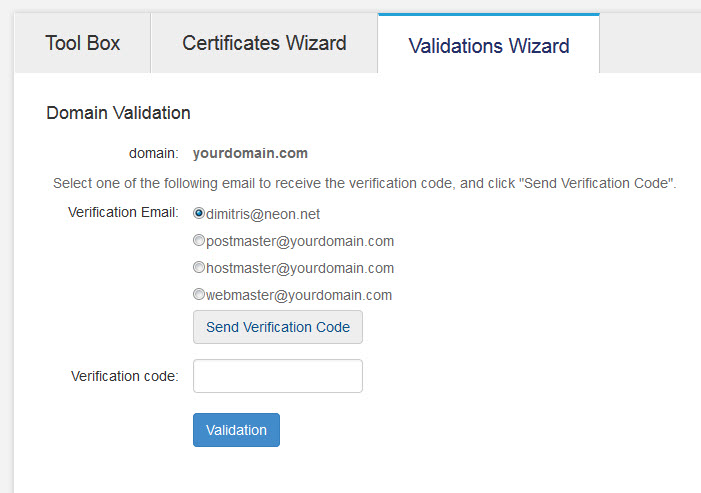
Hit the Validation button, a validation code will be sent to the email on file, in this case Dimitris@neon.net.
Then go to the Certificates Wizard and select Web Server SSL/TLS Ceertificate and click Continue.

Enter your domain into the top box (the red one here) and click outside the box, it should have a green check mark if its good to go, if not, do not go further until you figure out what is wrong. in this case its because I don’t own the domain but you get the idea. 
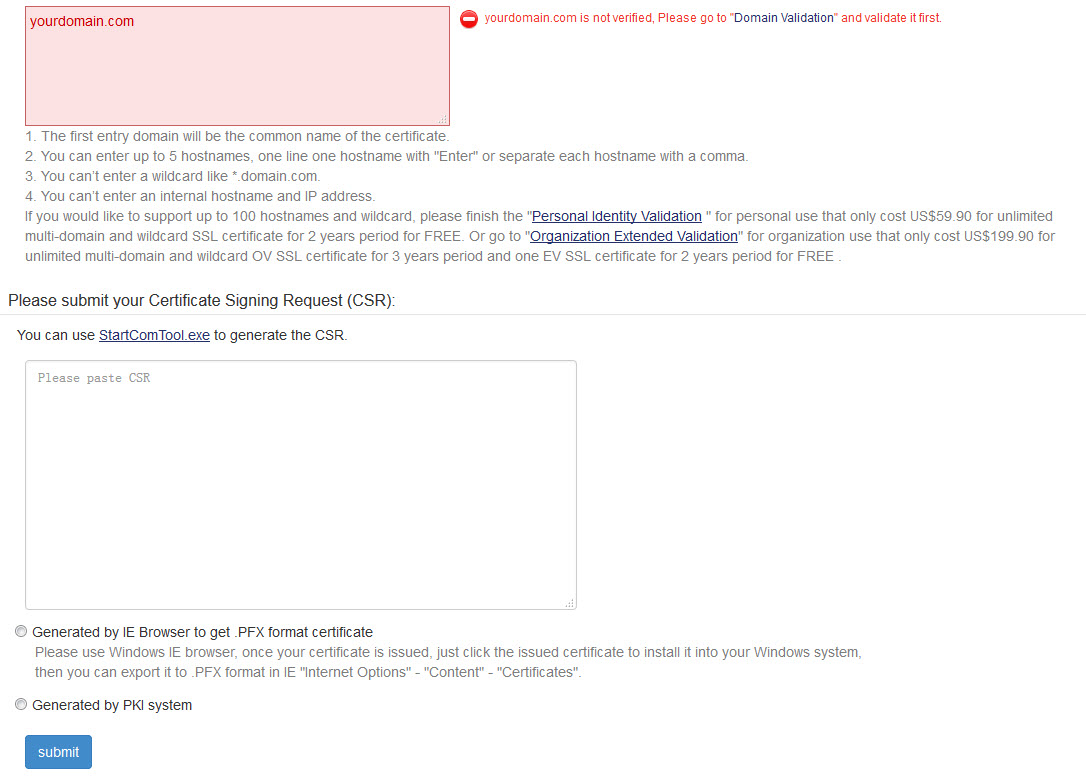
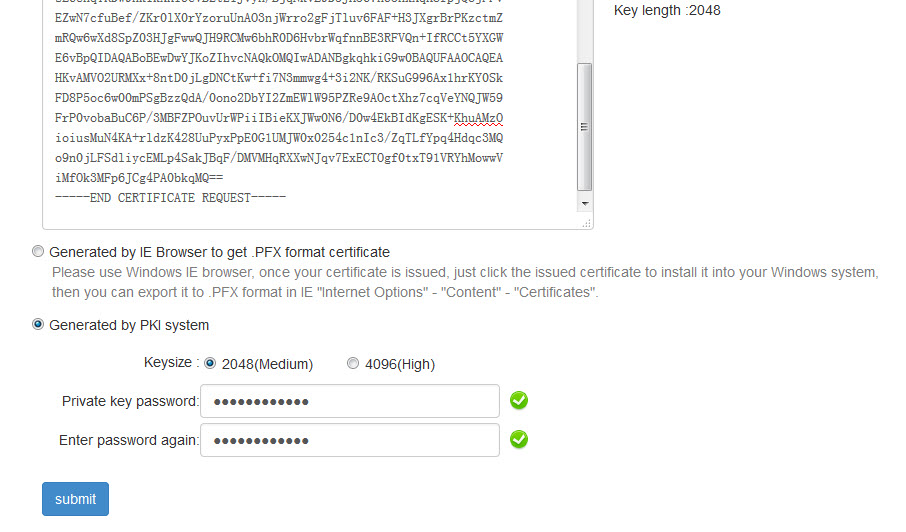
Enter your CSR from above and make sure to click on the “Geneated by PKI system”, enter a password for your private key.
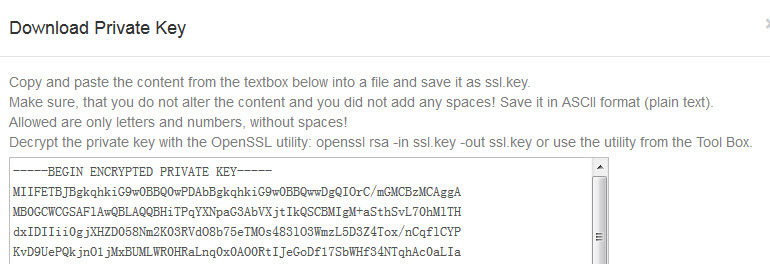
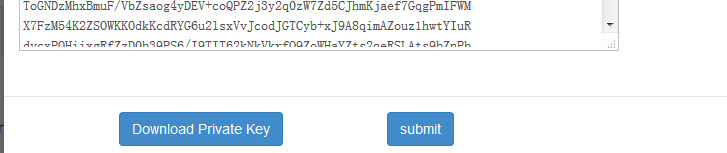
You will get a popup window for downloading your “Private Key”, download and save.
Then hit the “submit” button.
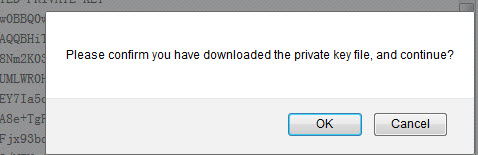
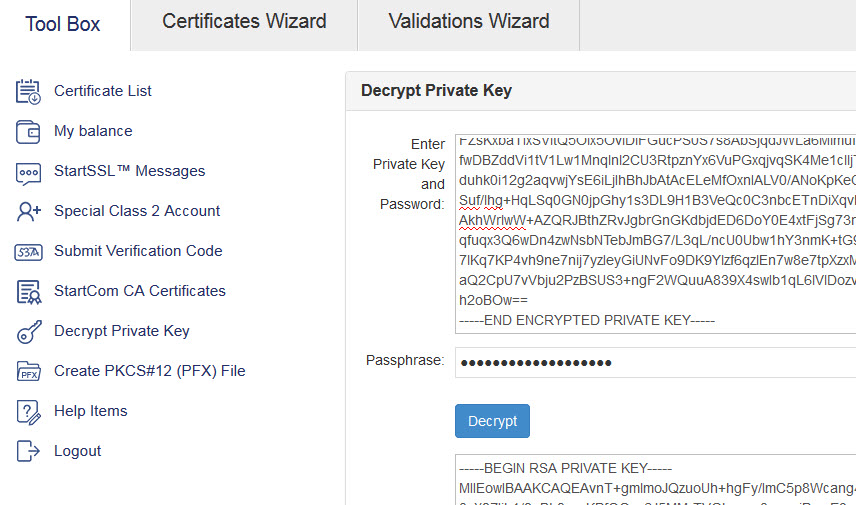
Confirm you downloaded the key. This is your PRivate Key in an encrypted state.
For the QNAP this Private Key must be decrypted.
Decrypt it using the website and save it.
The remaining keys are then created for you to download.

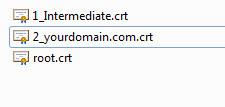
The file contents of the zipped file are as follows.
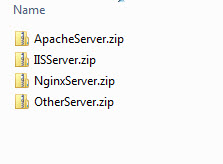
For the QNAP we need the “OtherServer” file contents.
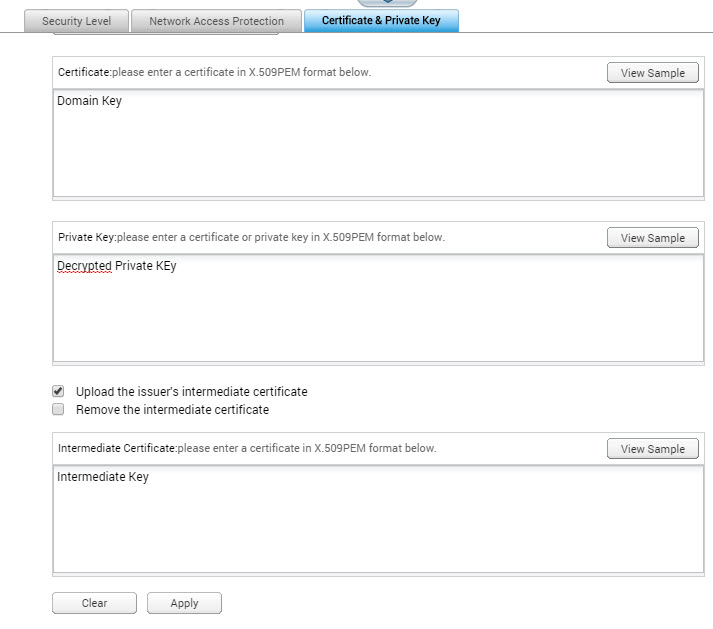
After entering the Key’s as labeled above, then hit the “Apply” button.. wait a couple of minutes and all should be good.
In the event that you get the keys wrong and get locked out of the QNAP, SSH into the QNAP and copy the default.pem file after stopping the tunnel, then restarting it. This should allow you to log back in and fix the problem.
[/] # /etc/init.d/stunnel.sh stop
[/] # cp /etc/default_config/stunnel/stunnel.pem /etc/stunnel/stunnel.pem
[/] # /etc/init.d/stunnel.sh start
If I was able to help you figure out and fix your problem, buy me a beer! and Thanks..
![]()