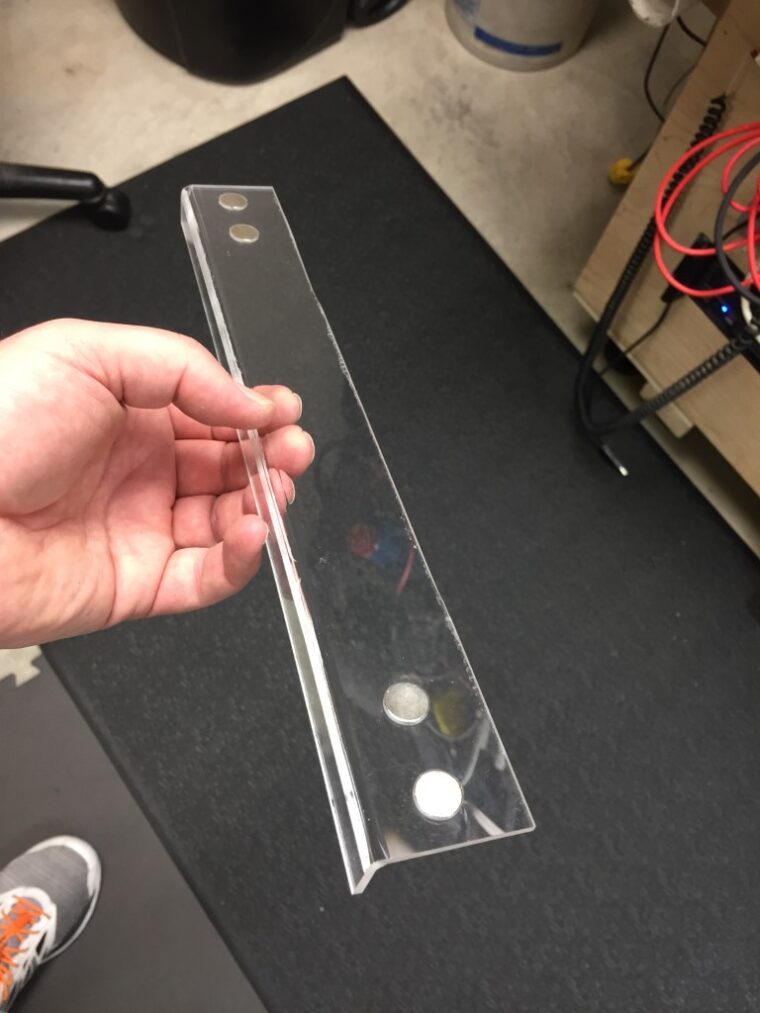
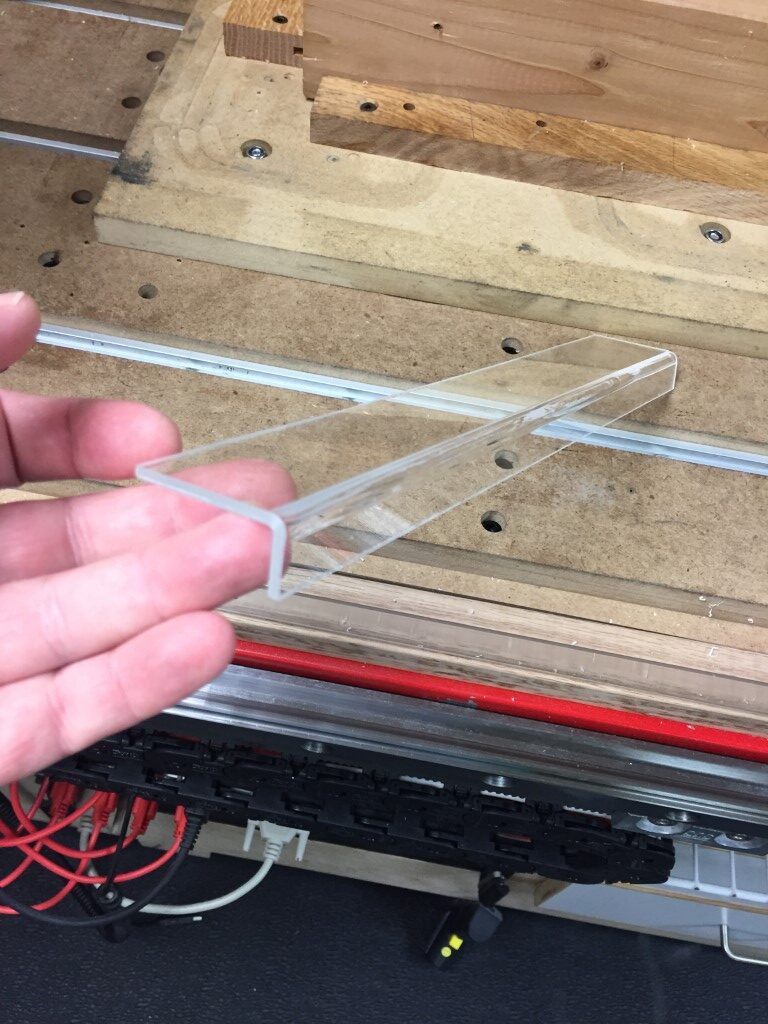
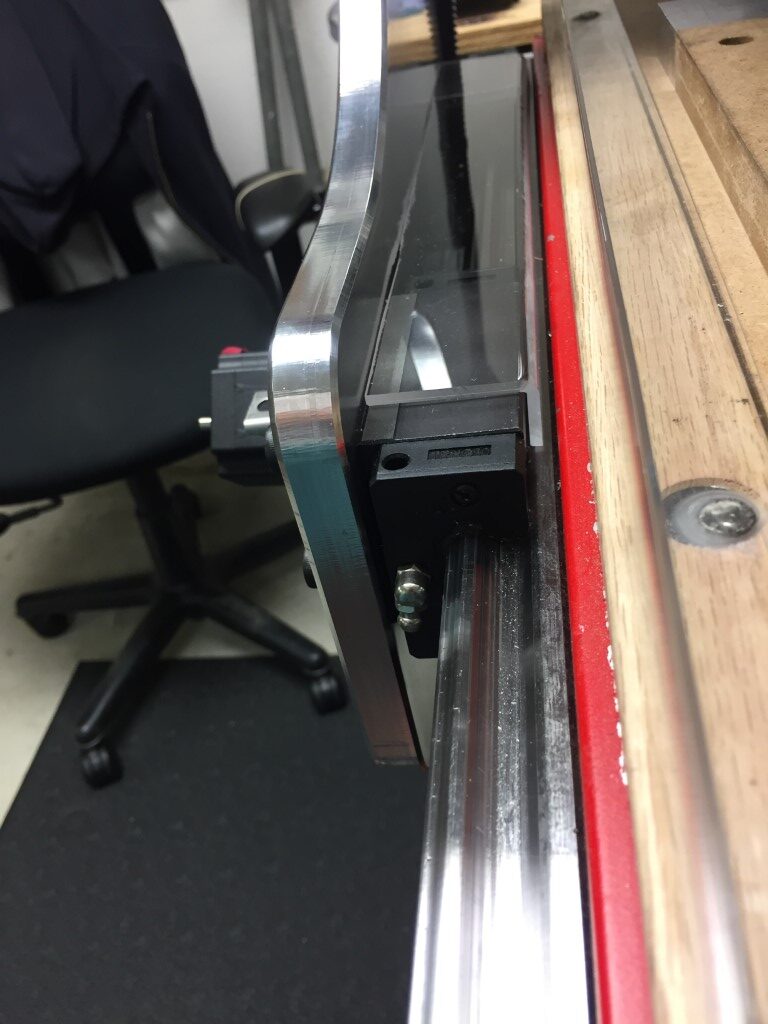
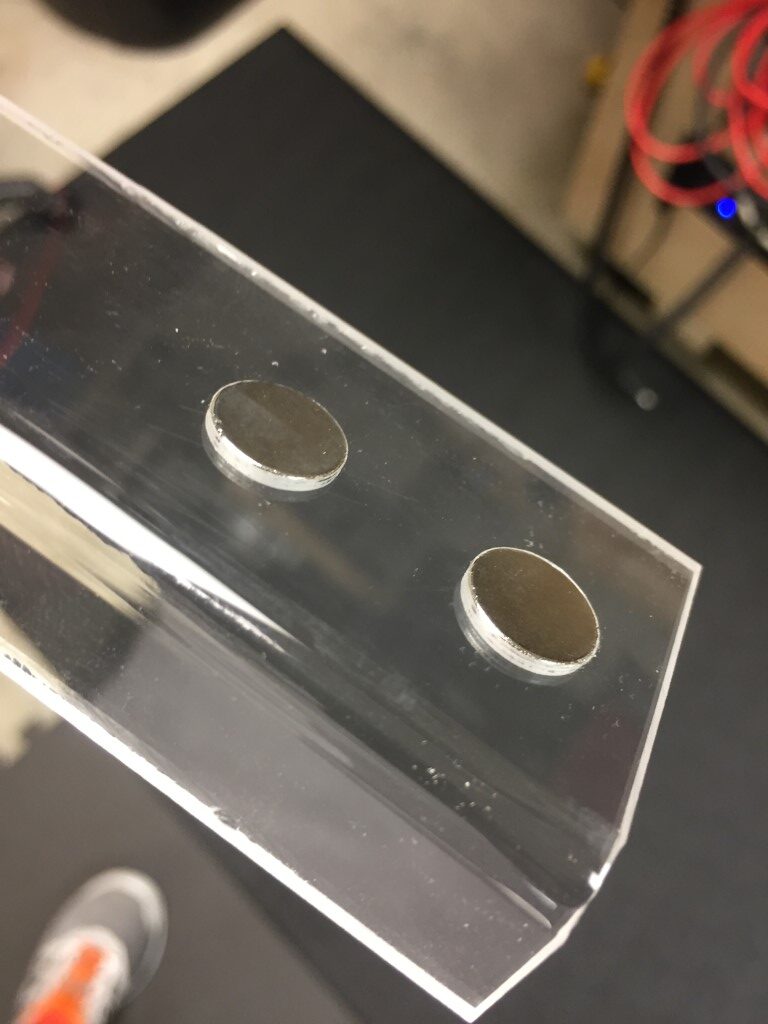
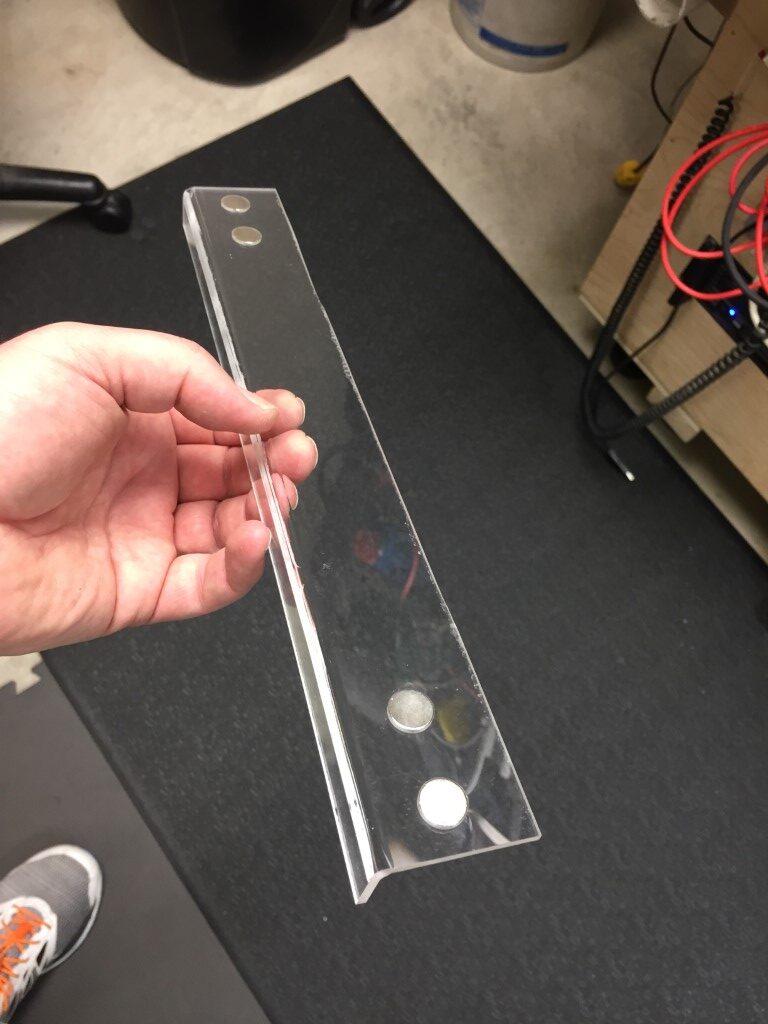
I had the need to bend some acrylic for the CNC to try and help keep the linear bearings and rails a little cleaner, probably not necessary but an easy add on. I simply needed a piece of plexiglass bent at a 45 degree angle with magnetic clamping to attach to the bearings.
This project is made easy by using Nichrome wire, the same wire that is used in your toaster, hairdryer, heat guns, etc.. Essentially you apply power to the wire and the properties of the wire generate heat; we then focus the heat and it allows the plastic to melt and therefore for it to bend.

To build this project you need a few things fairly handy, plywood, a spring, 2 hinges and aluminum U-Channel. The aluminum U-channel helps direct the heat and can be picked up at Lowe’s or Home Deport for cheap.
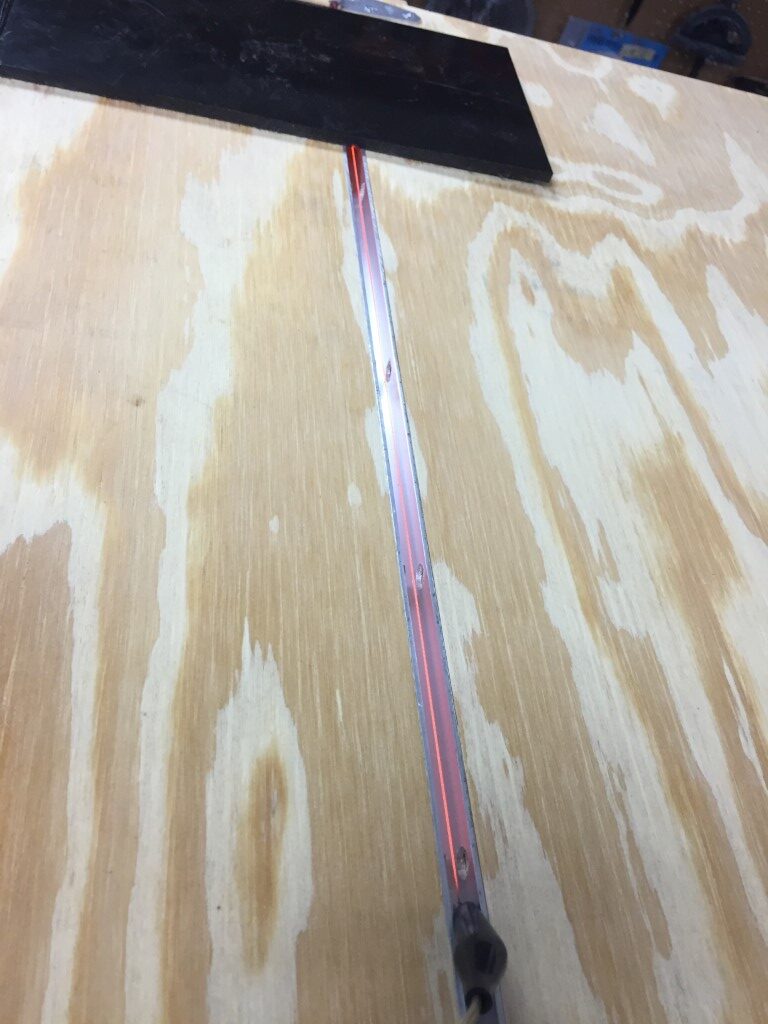
Simply cut two pieces of plywood larger than the size required for the bend. I cut two pieces 12×24, you will also need a “fixed base”, this base extends beyond the two pieces of plywood and is used to attach the Nichrome wire to. I also added a 90 degree straight edge from some scrap, attached to the fixed base, for aligning purposes. Notice that the bottom portion of the jig is fixed and the top portion pivots on the hinges.
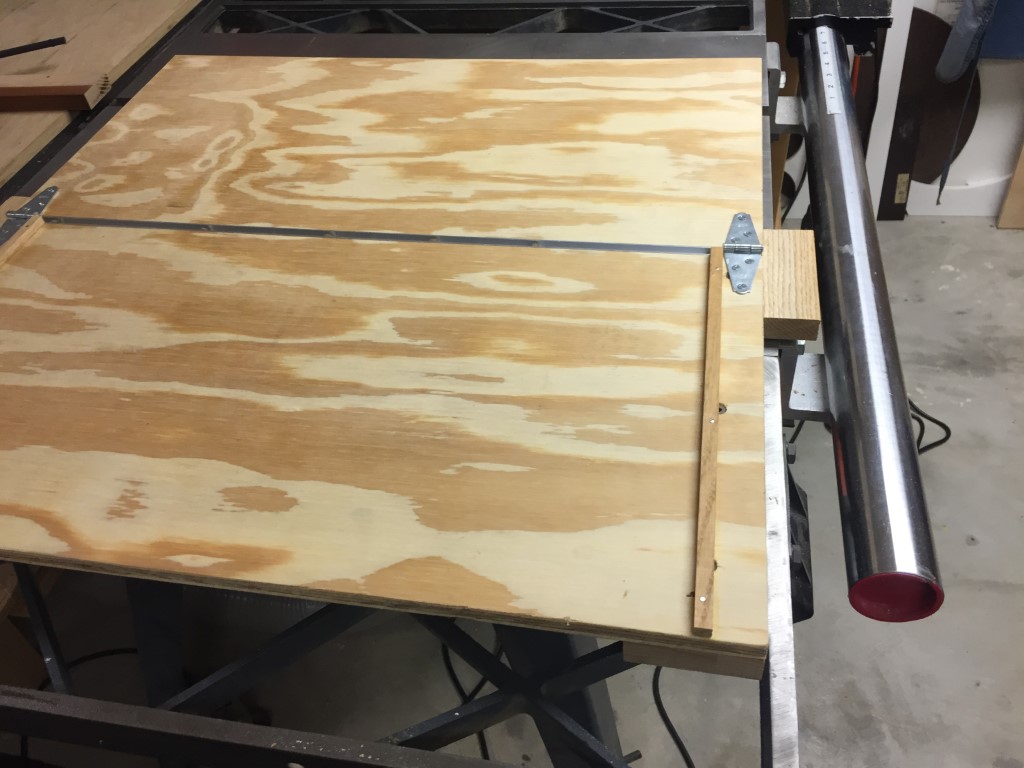
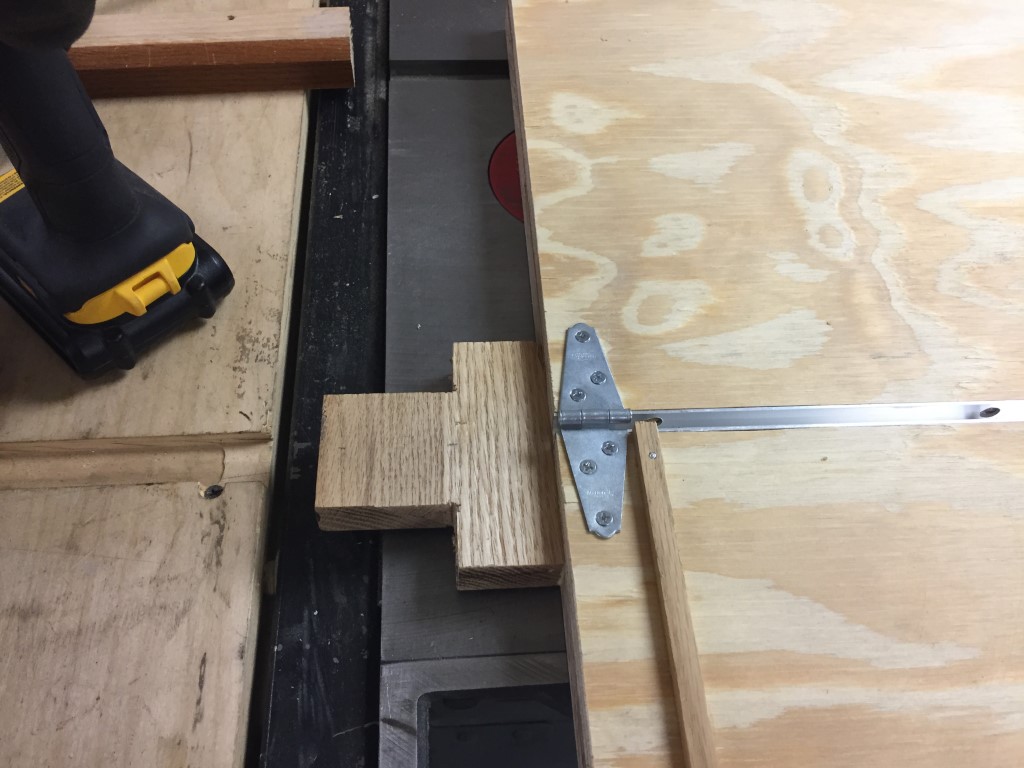
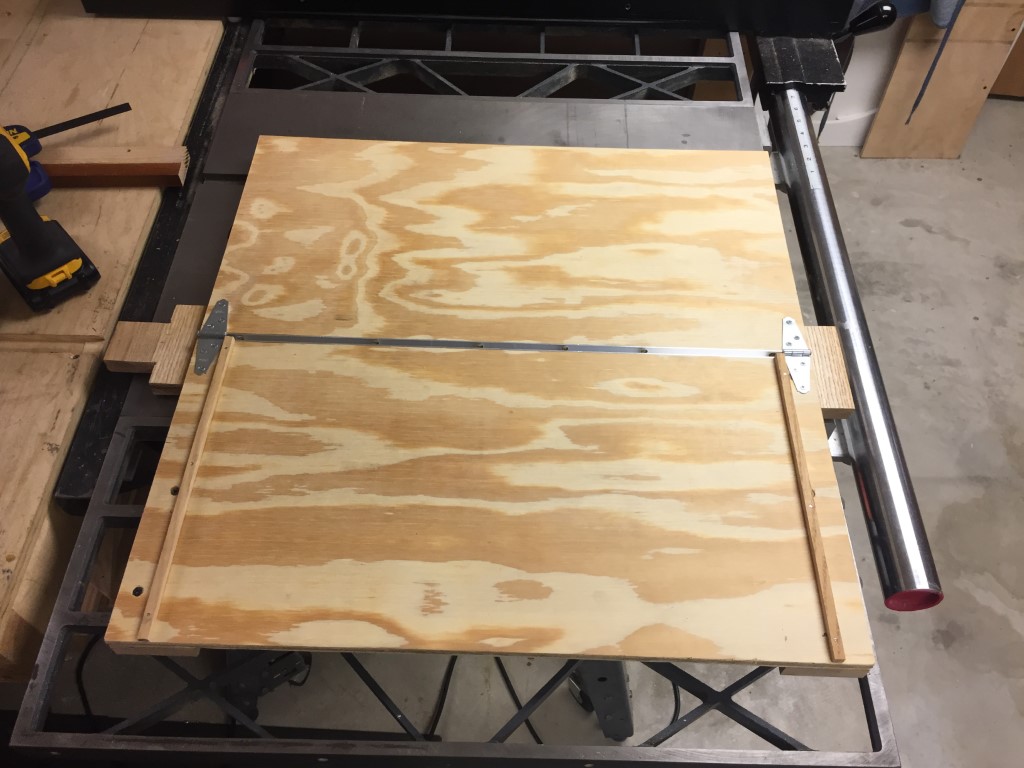
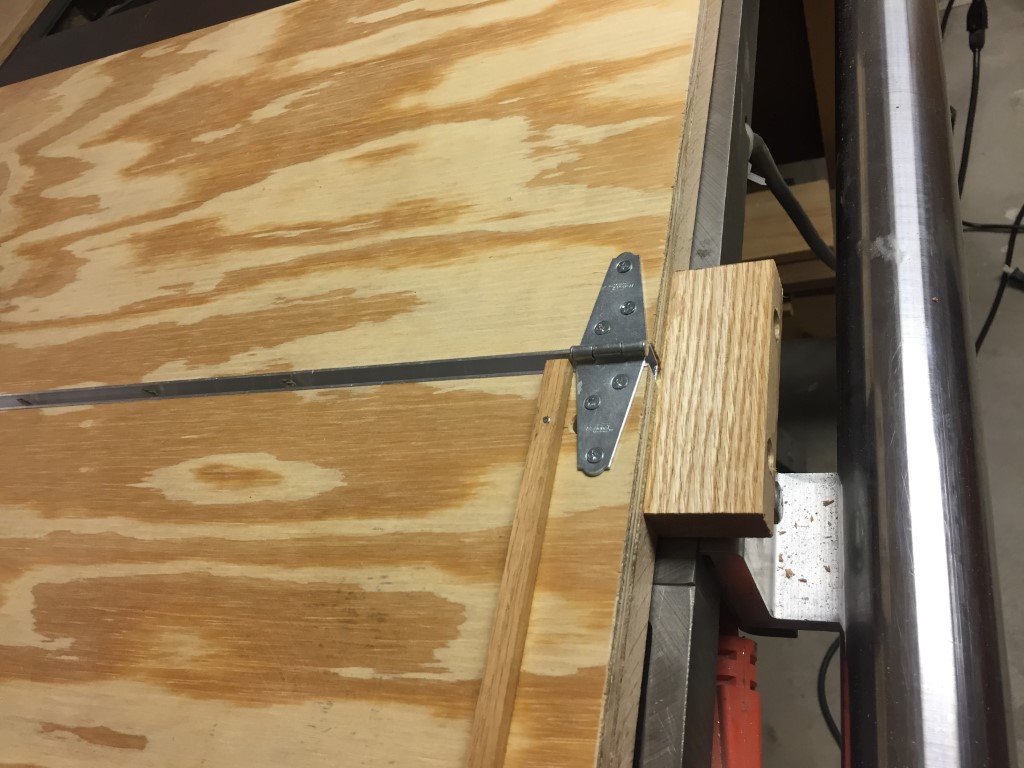
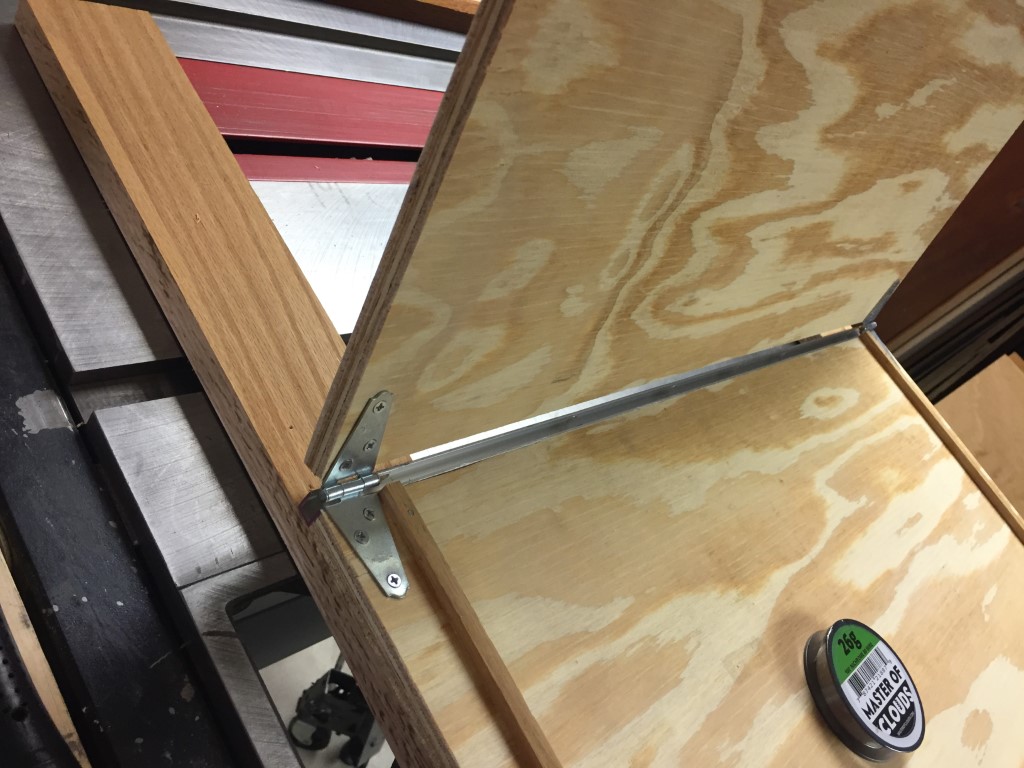
Since Nichrome tends to lengthen as it is heated a spring is required to take up the slack as it heats. So, the Nichrome wire is fixed on one end and attached to a spring on the other end. It’s a little hard to see from this view but there is a fixed screw in one end of the “fixed base” and the other attaches to a spring.
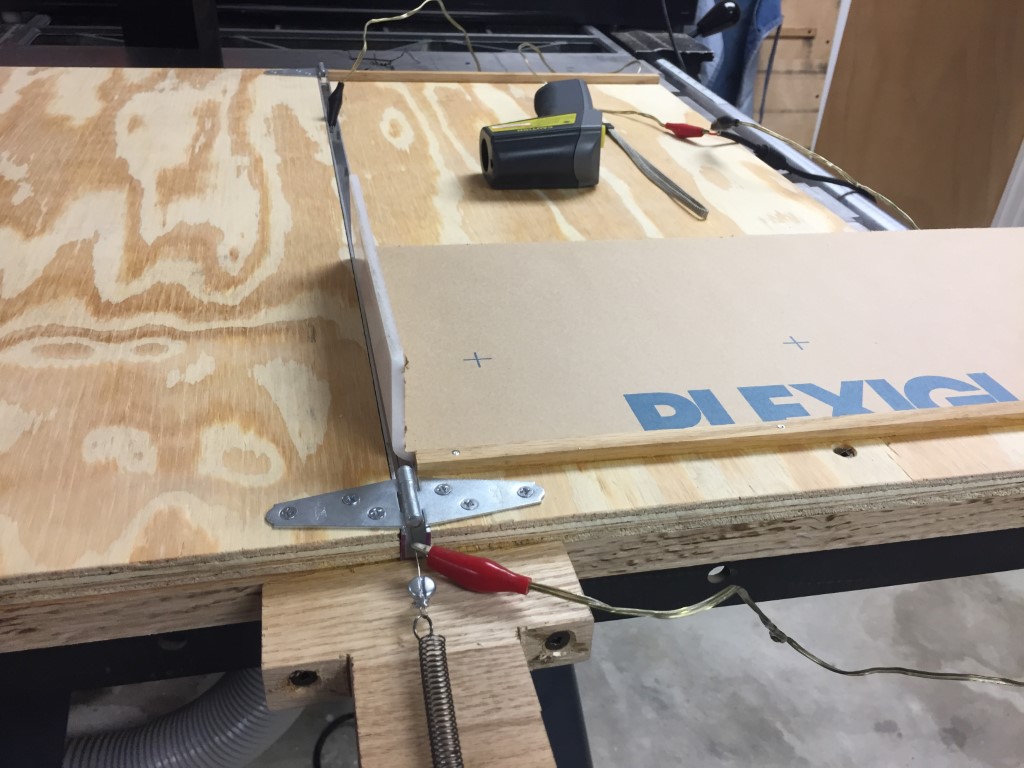
After the wire is attached its a matter of applying energy to the wire, waiting for it to heat the acrylic and slowly bending the acrylic by pulling the top portion of the jig towards you…
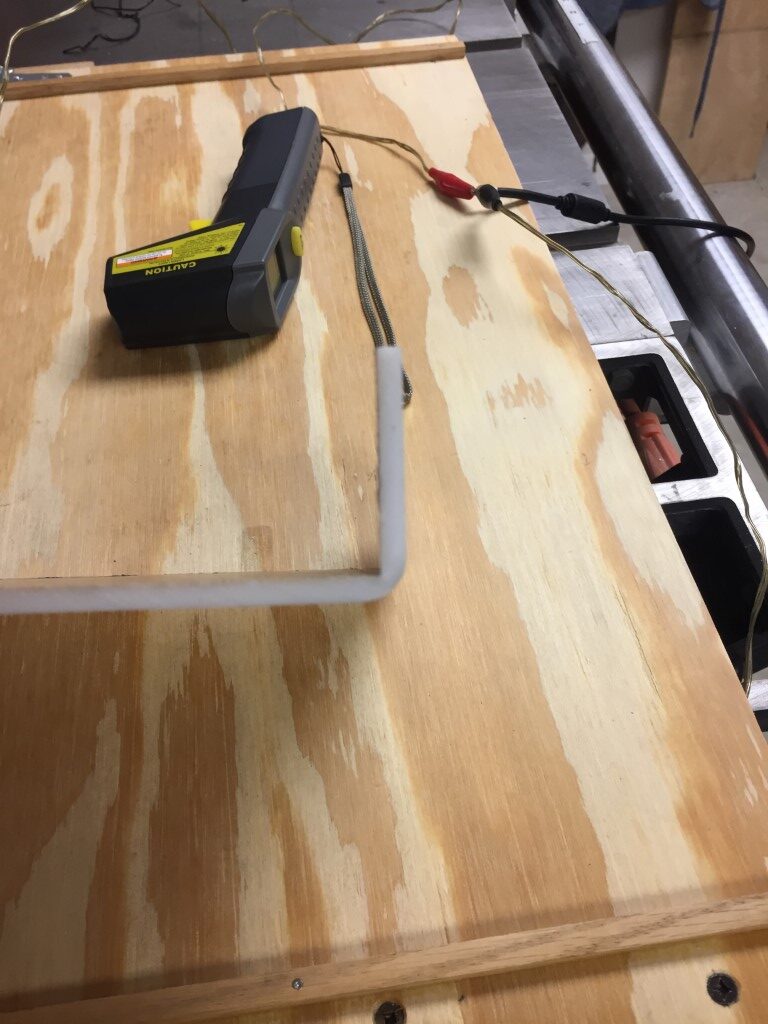
I use an inexpensive power supply that I have for electronics testing and it works great. I tested the jig on a few scrap pieces of acrylic I had laying around.
note: I did peel the paper before attempting to bend…

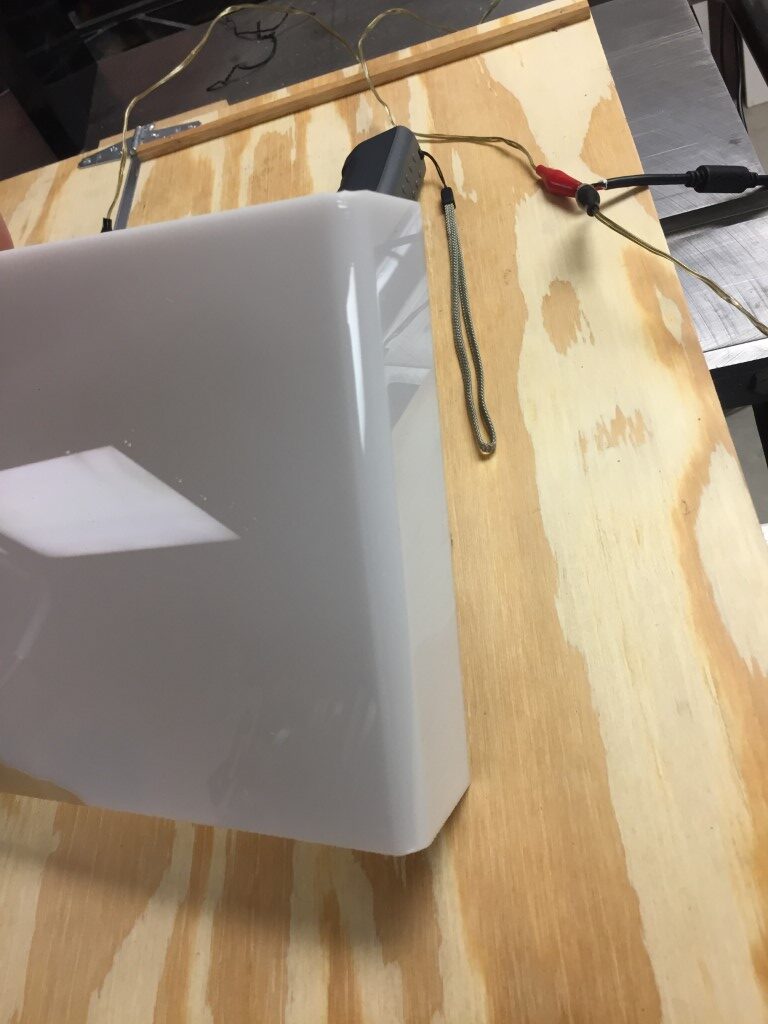

After the test, I took some more precise measurements on what was needed for the CNC and made the bend. I tested for fit on the linear bearings and then drilled the acrylic for some rare earth magnets for attachement.
Hope this helps you build your own acrylic bender.
Feel free to buy me a beer if this was helpful…


