

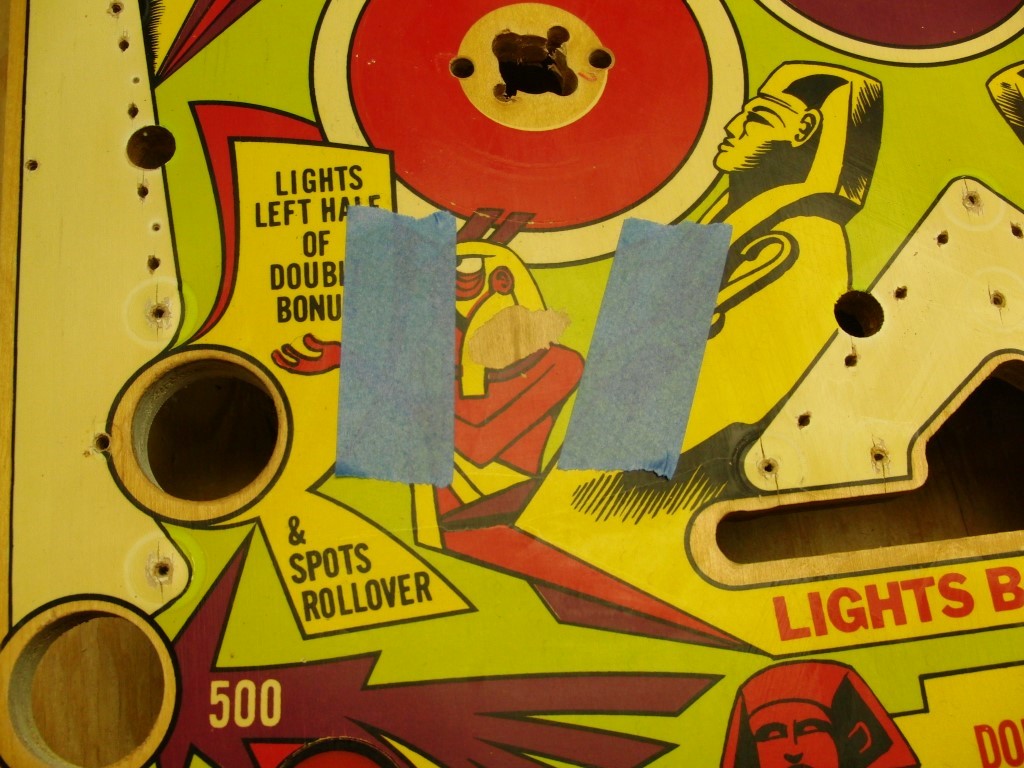
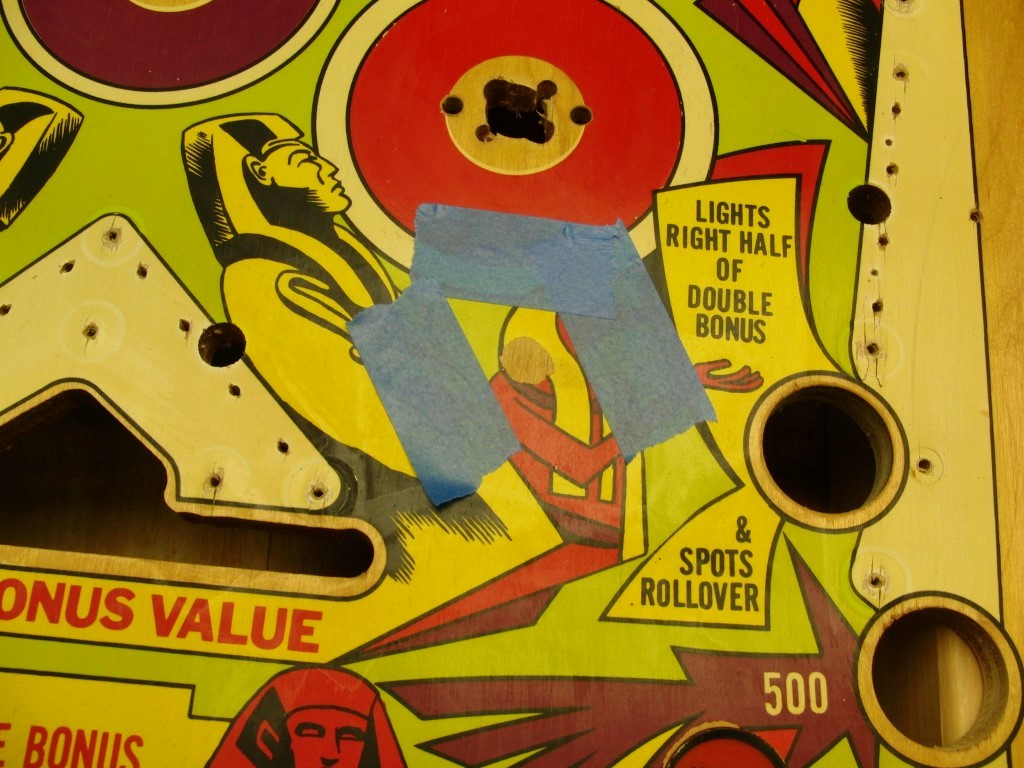
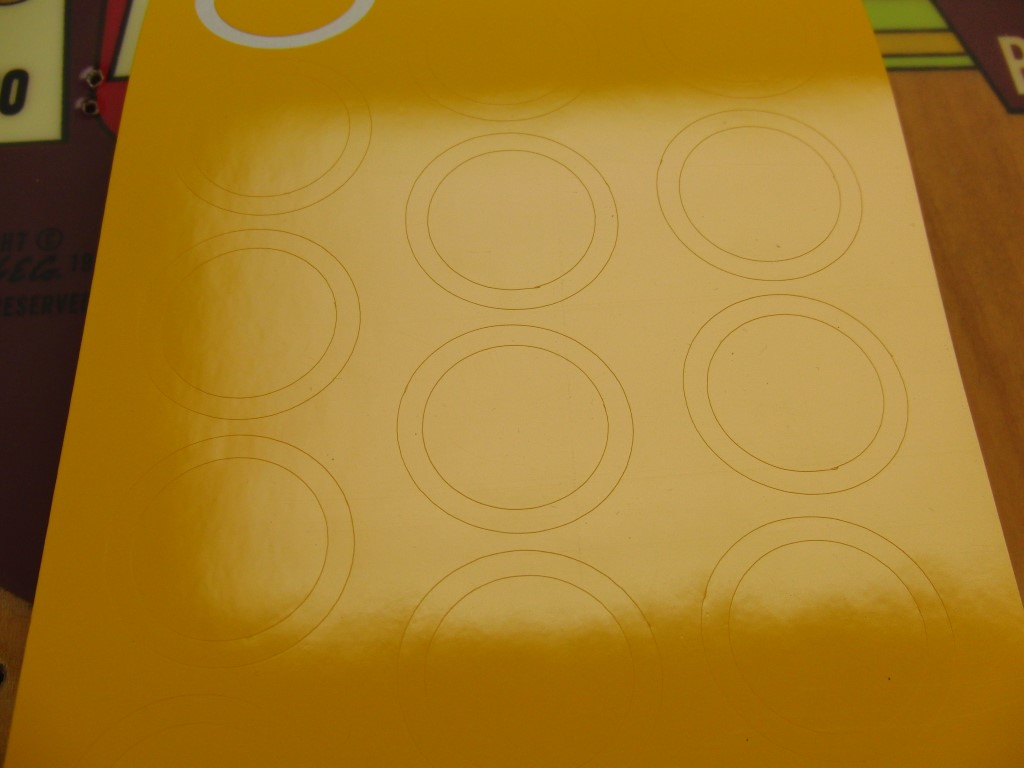
The decal paper showed up, Papillio clear and white “Bake on”. Maybe I’ll get to finishing this thing this weekend… probably not since I’ll still have to polish it and need to let the clear dry.
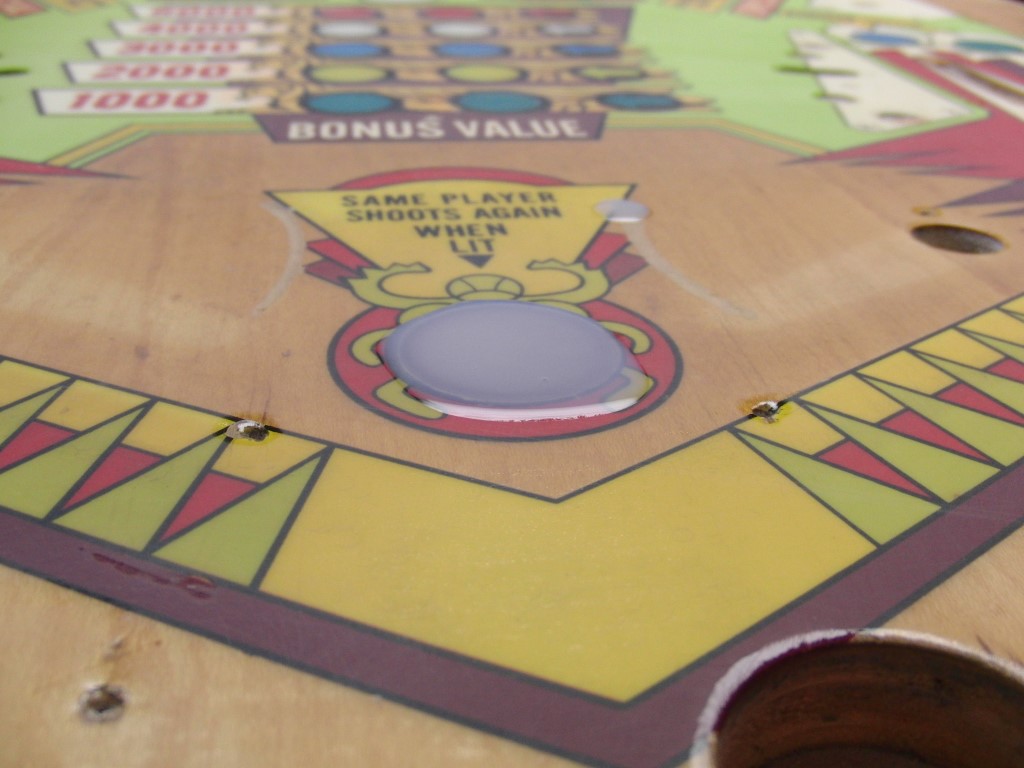
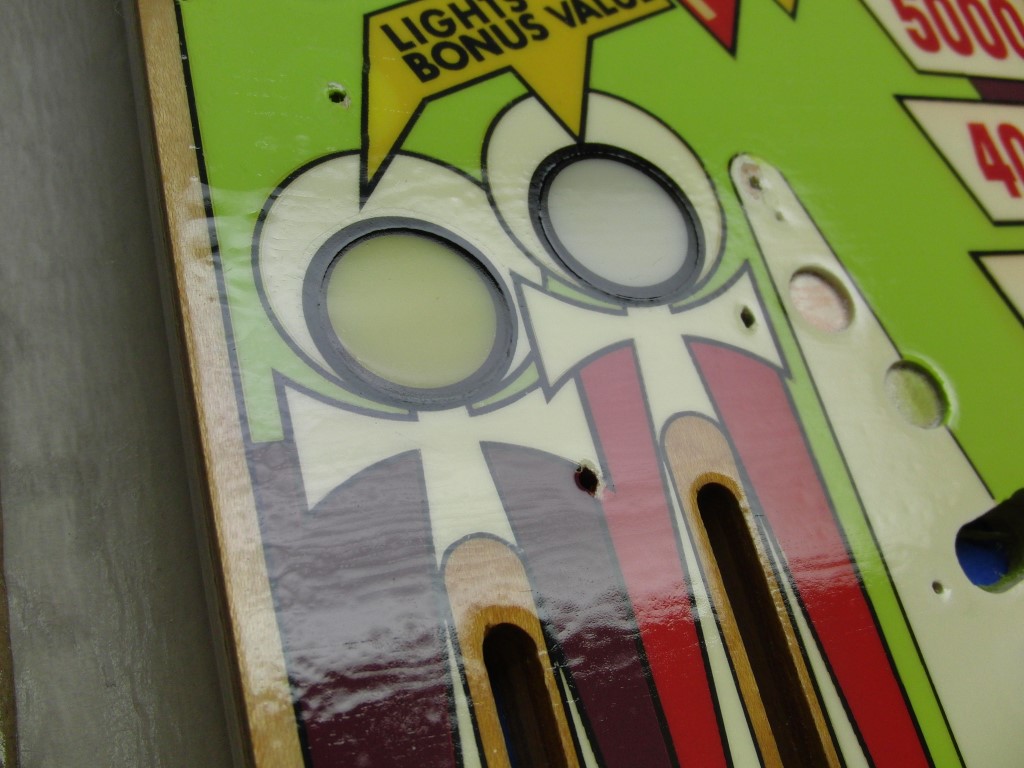
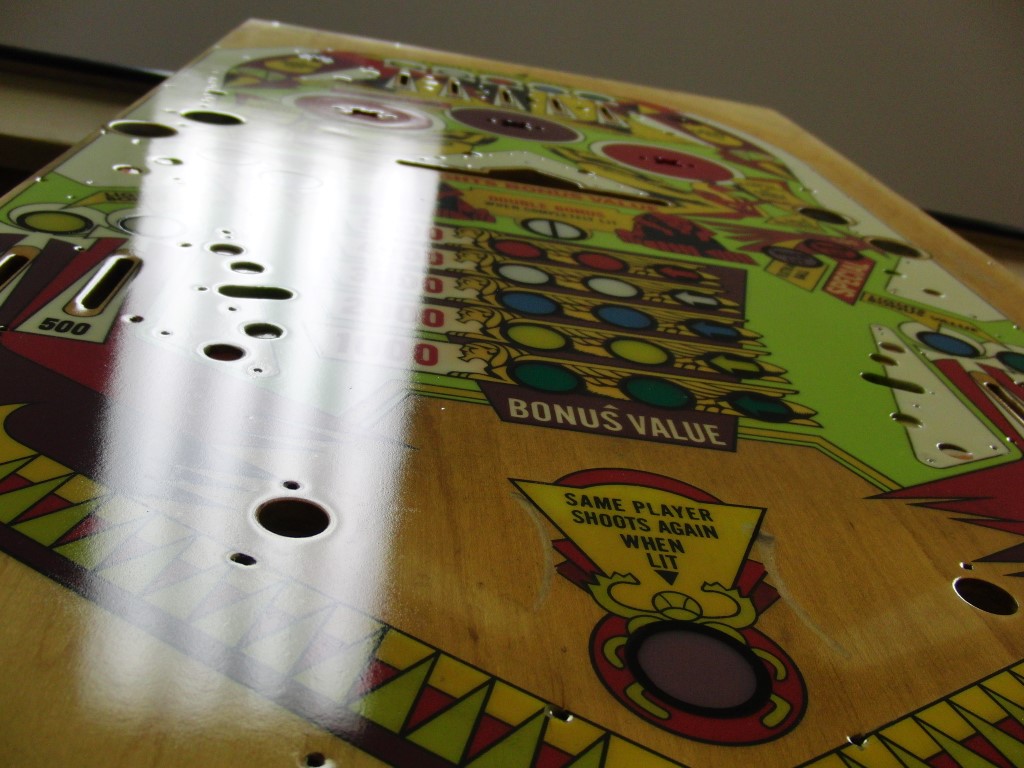
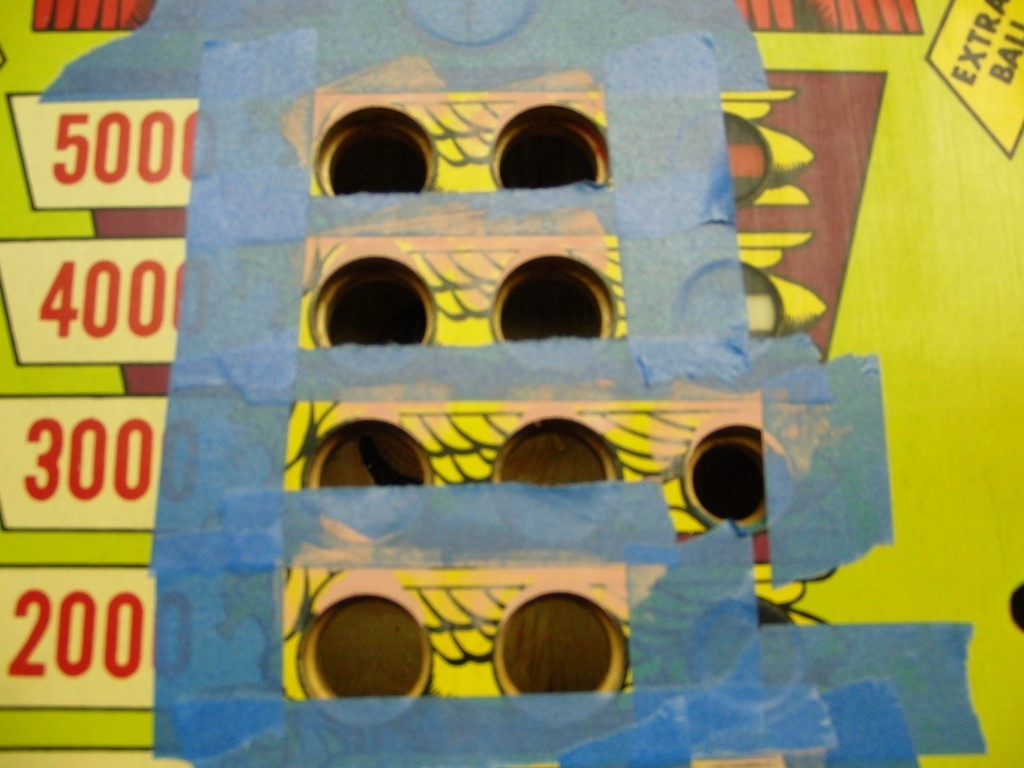
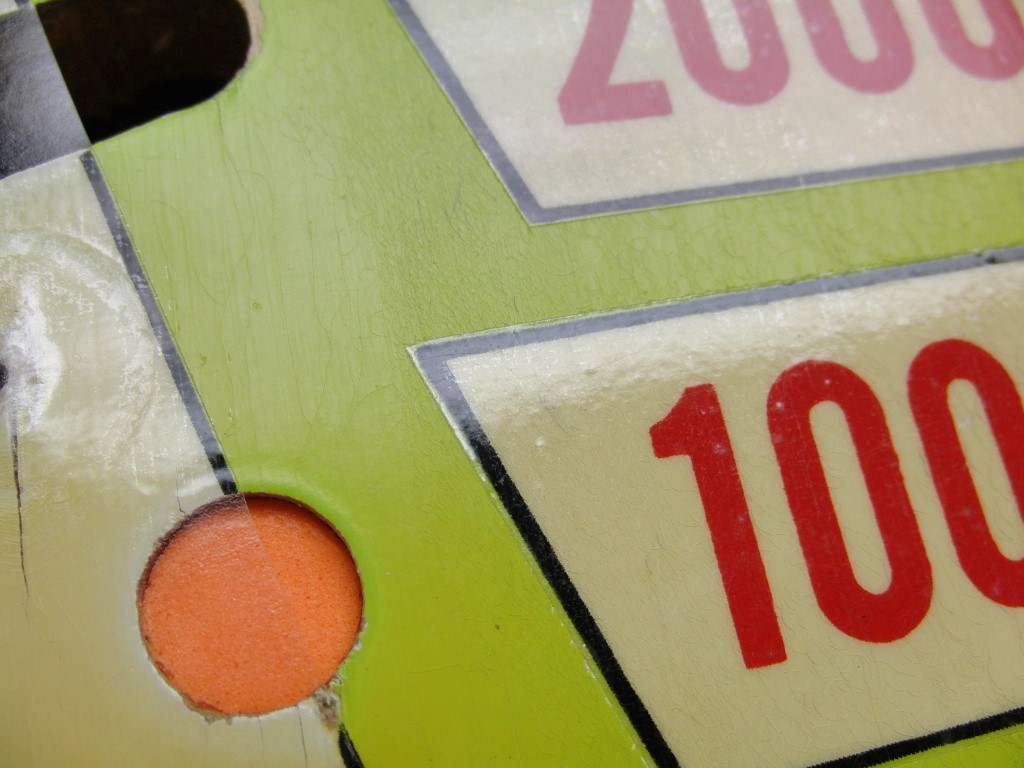
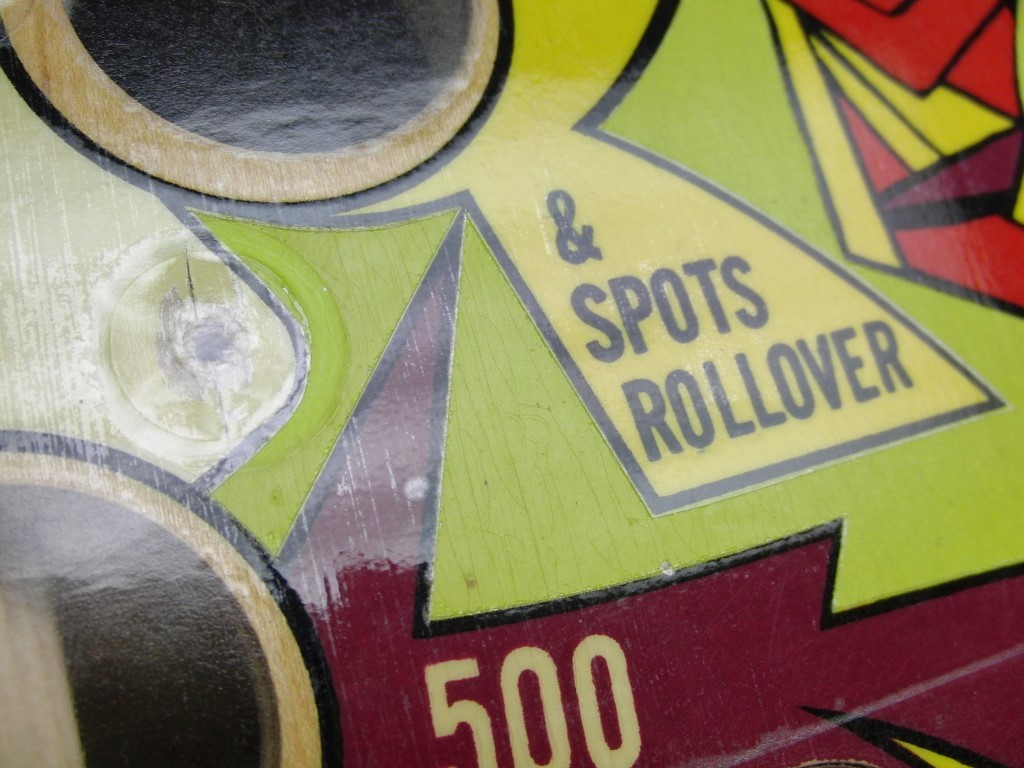
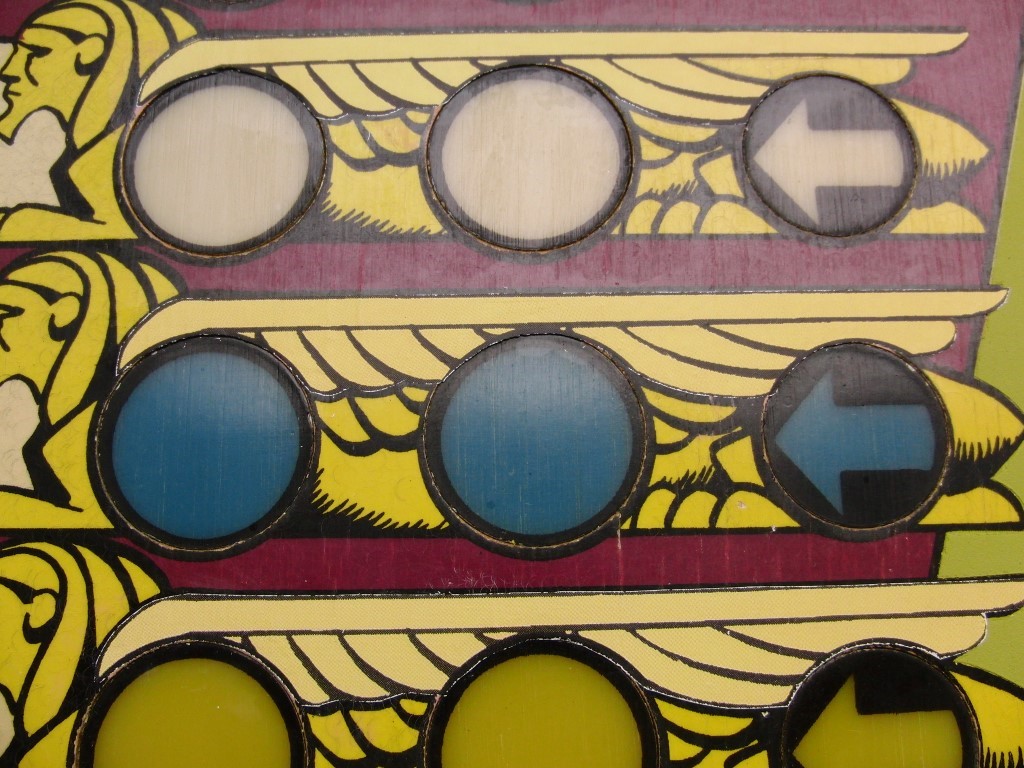
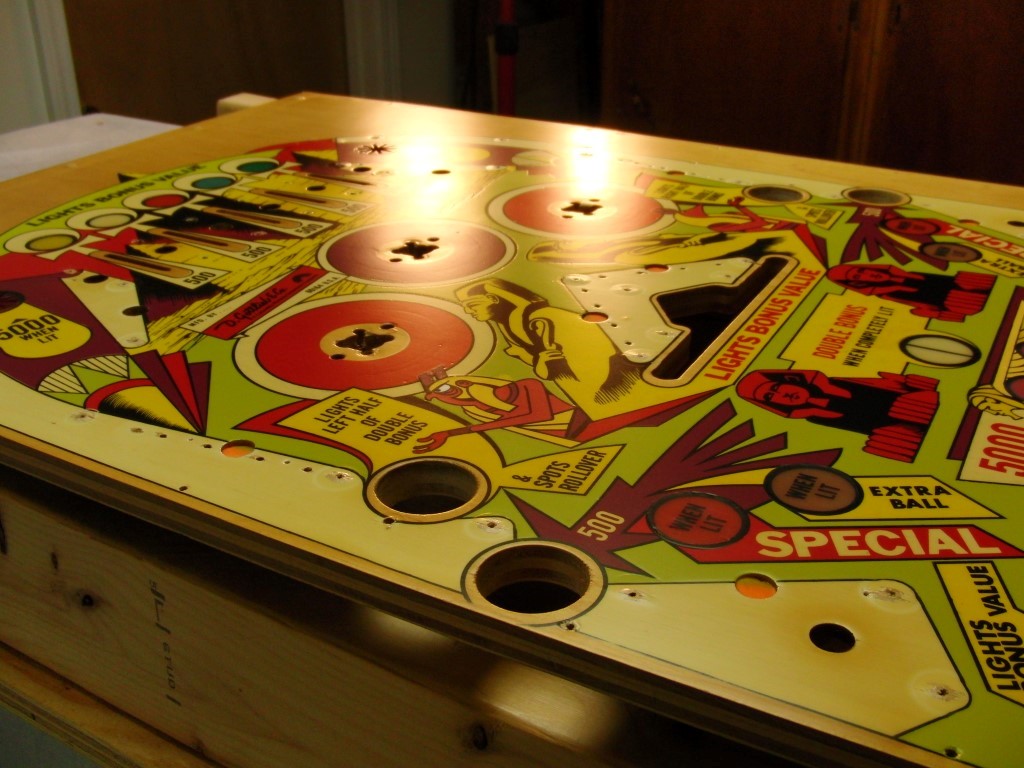
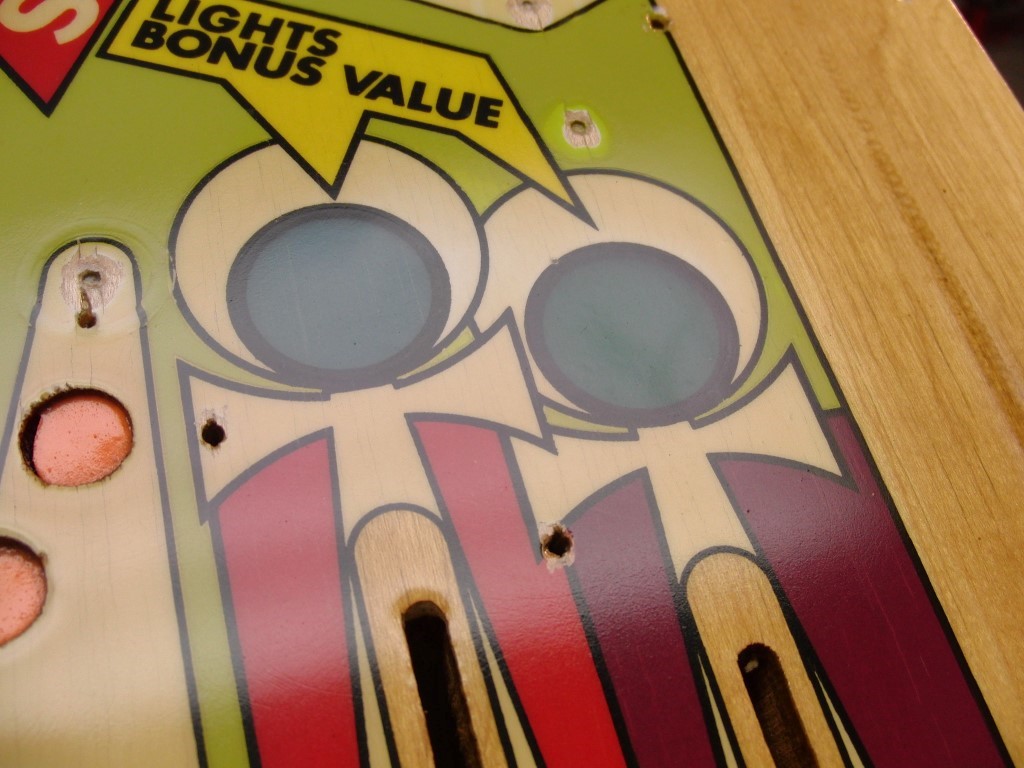
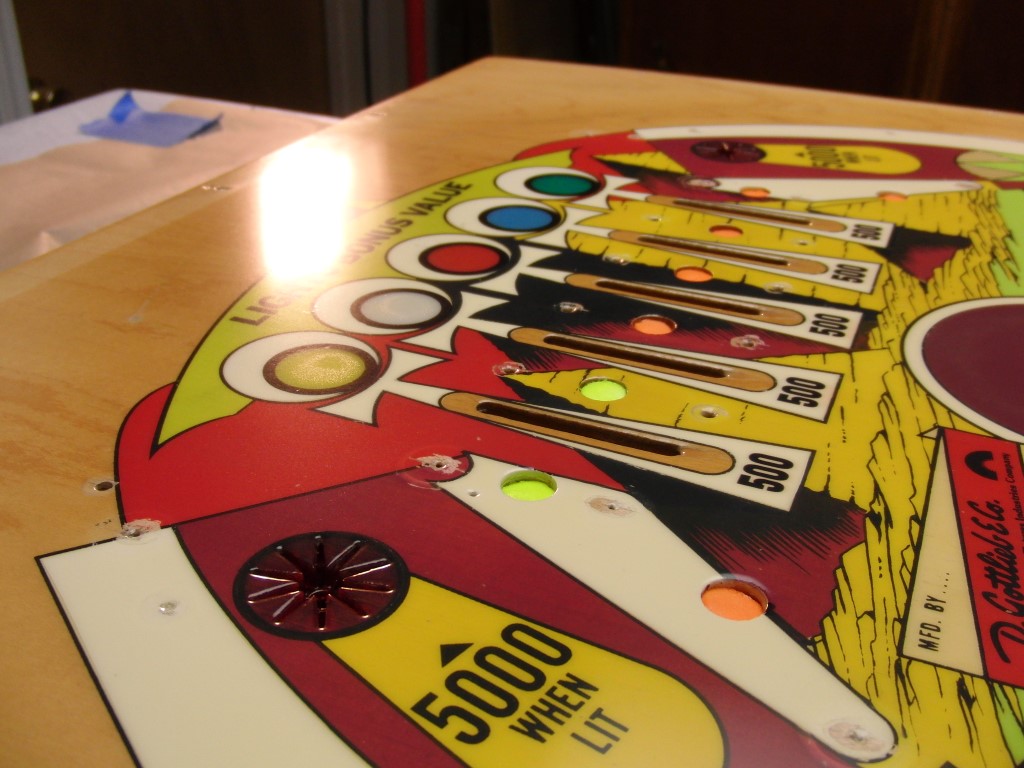
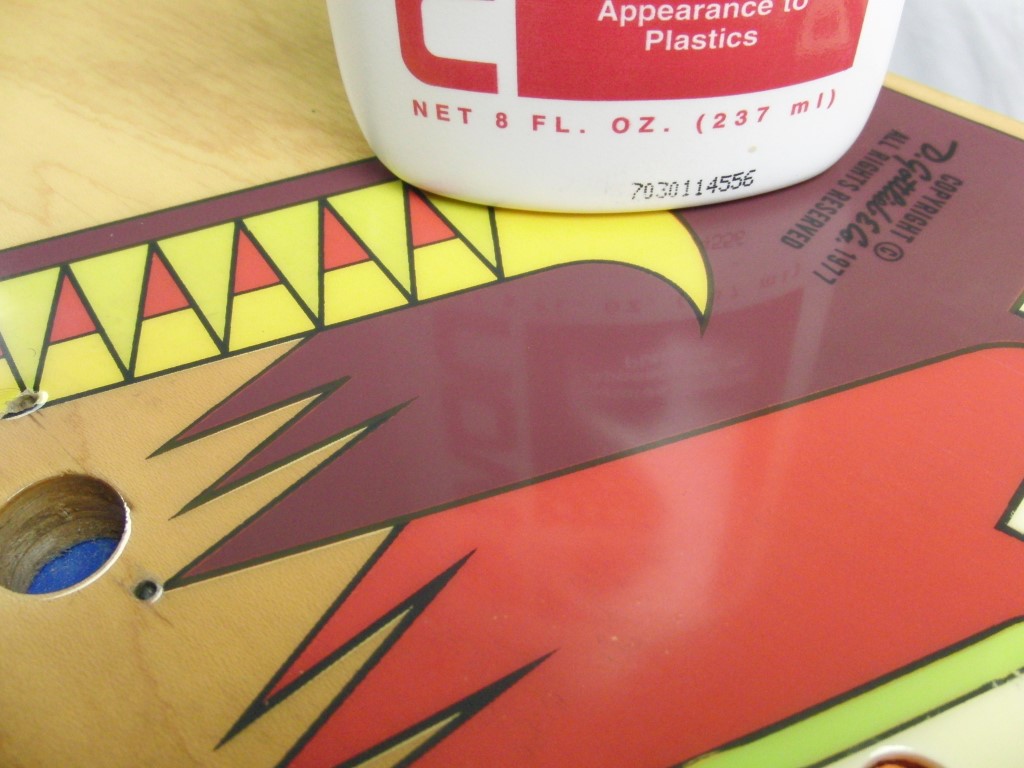
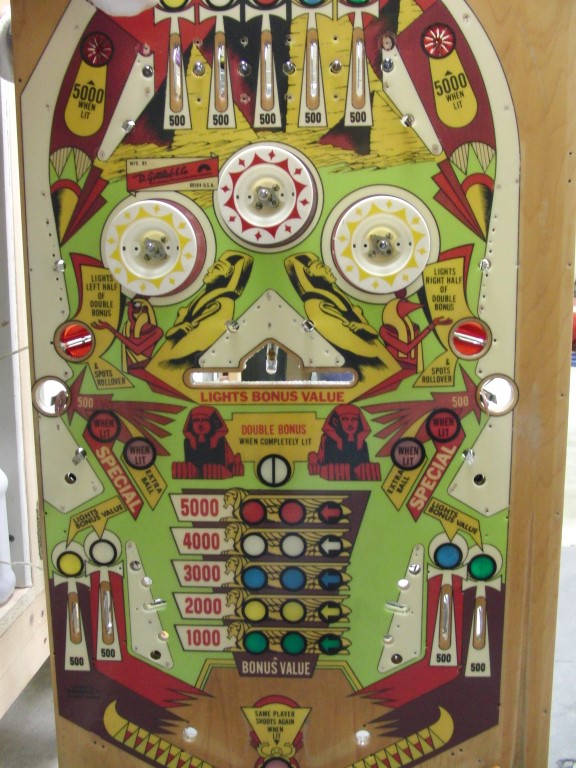
I went ahead and leveled 2 of the inserts (see pics). When that clear was dried I sanded them flat, it was kind of a pain since the clear wants to “roll up” and clog the sand paper, probably because it’s still a little soft. the other thing is the clear dried with a bunch of holes but sanded right out. I sanded with 320, 600 and 1200 it really is looking good, I’ve actually considered using the original playfield instead of the replacement…hmmm???
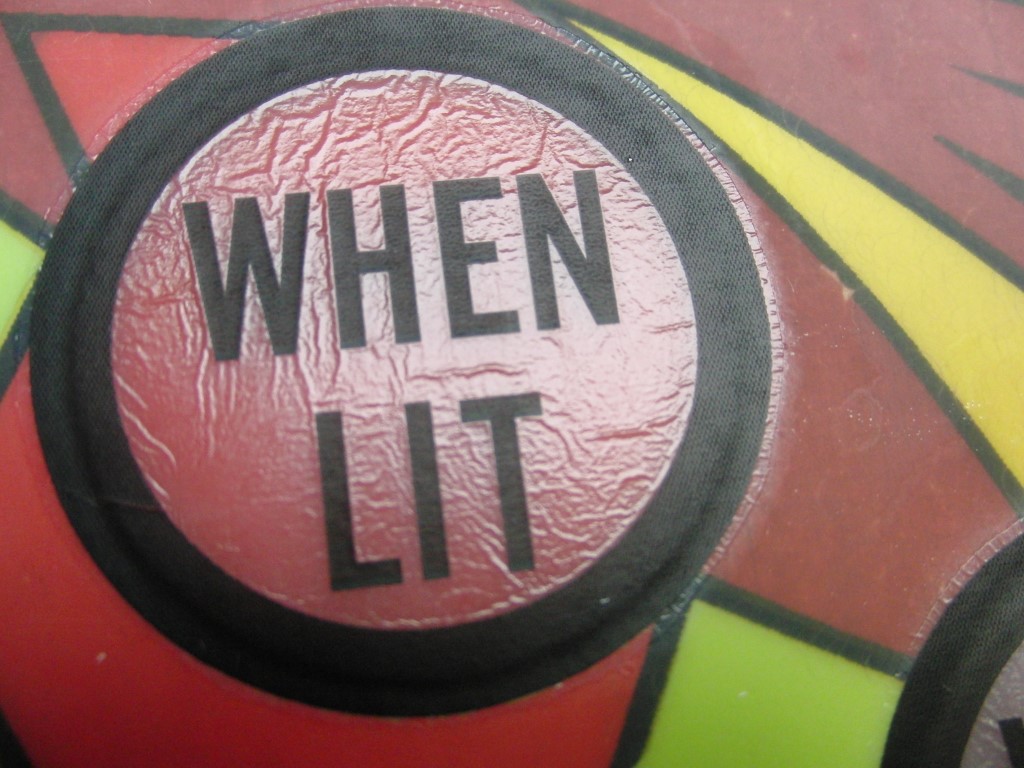
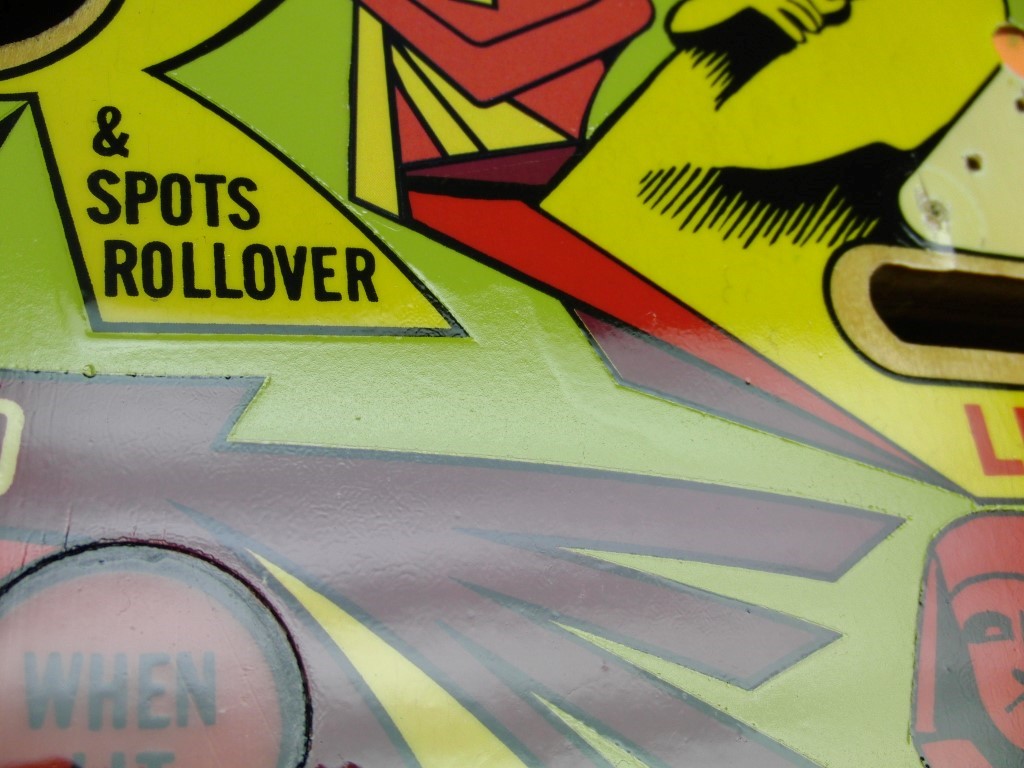
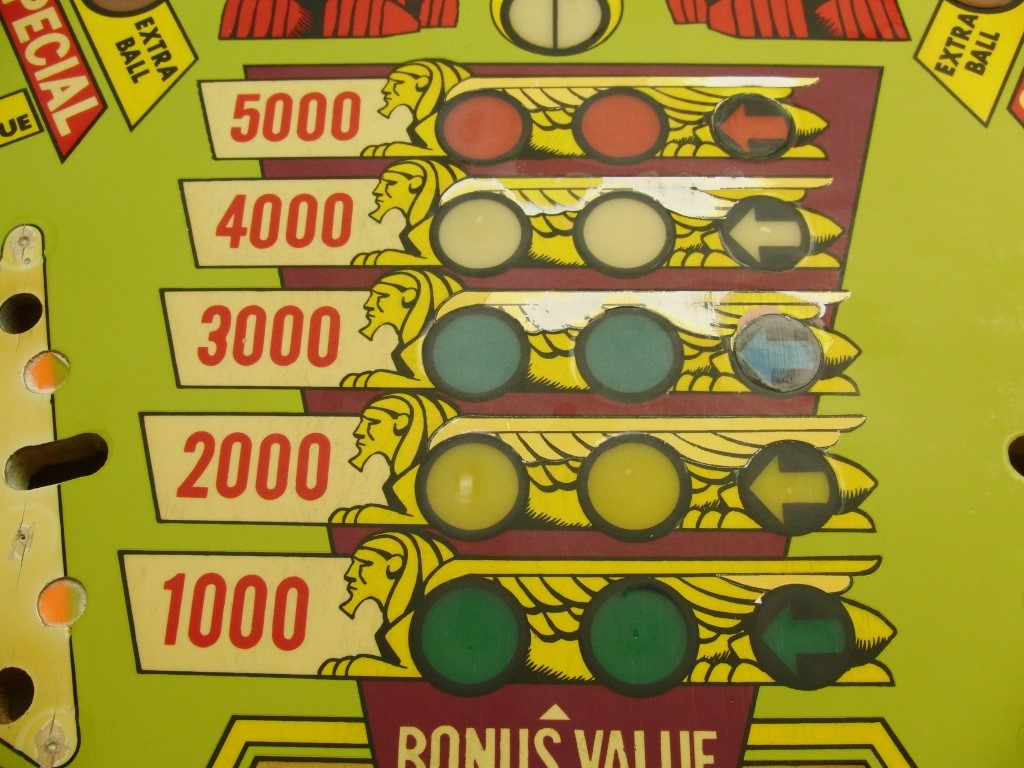
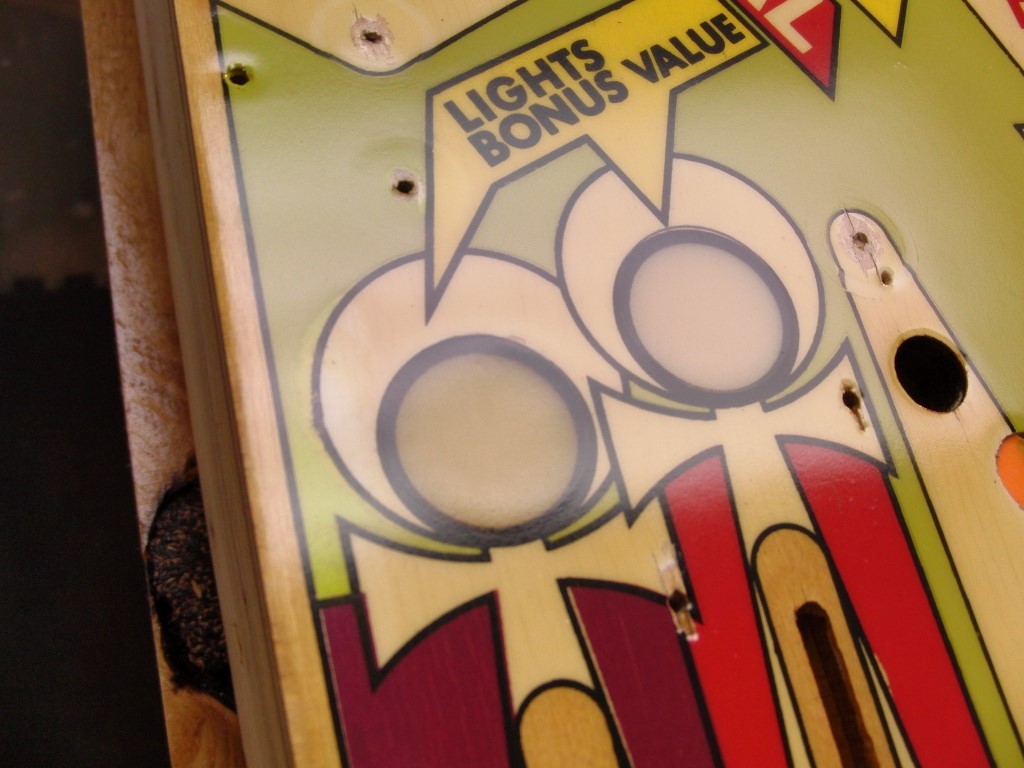
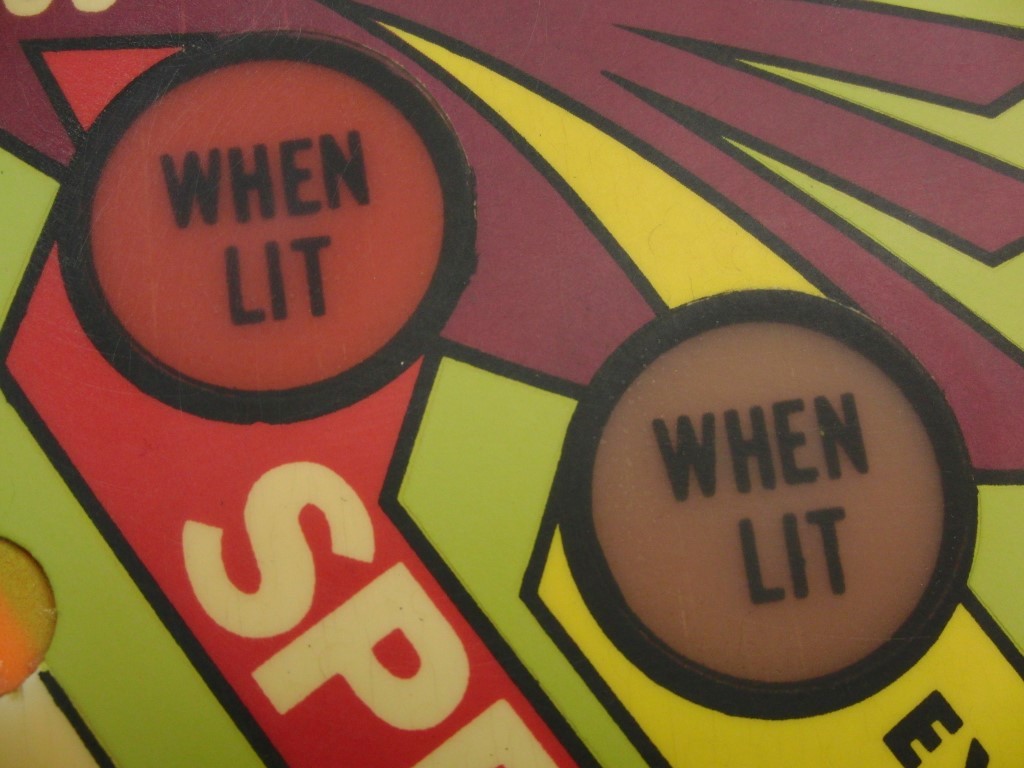
I went about installing the decals a little differently this time. I put them in water for a bout 1 minute, pulled them out and sat them on apiece of paper towel and waited about 2 minutes, then added some setting solution to the play field and applied the decal(s). There are some before and after pics of the decals setting, they really turned out nice.
I think I’m going to let this set of decals set another day or so just in case they need more dry time to avoid any reaction with the clear. I’m also going to apply the clear with a 4″ foam brush and see how that works since I need a heavier coat over the decals.
The one thing I can say with certainty is the flatter the surface for applying the decals the better, I’ll be filling any imperfections before doing the next PF.
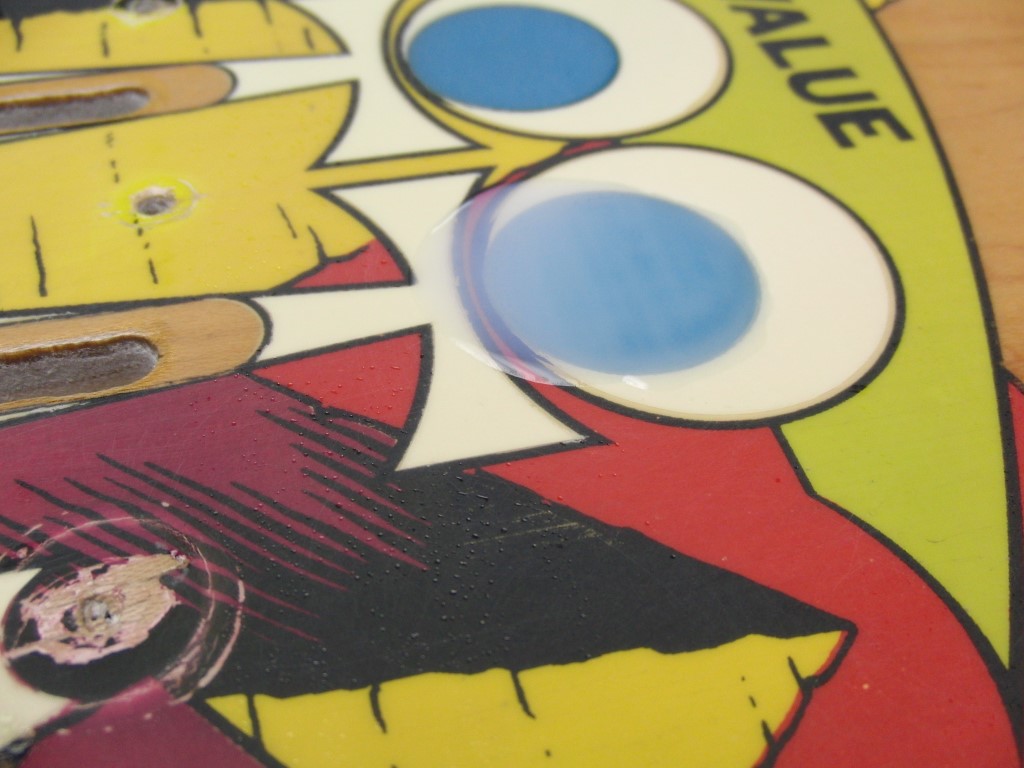
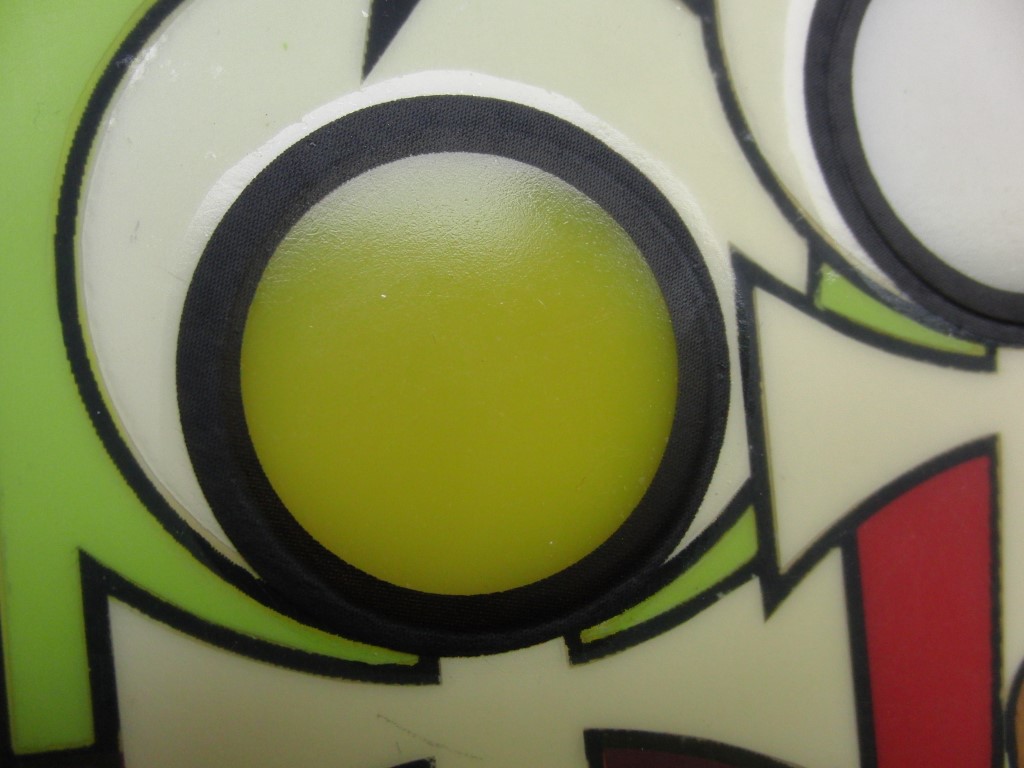
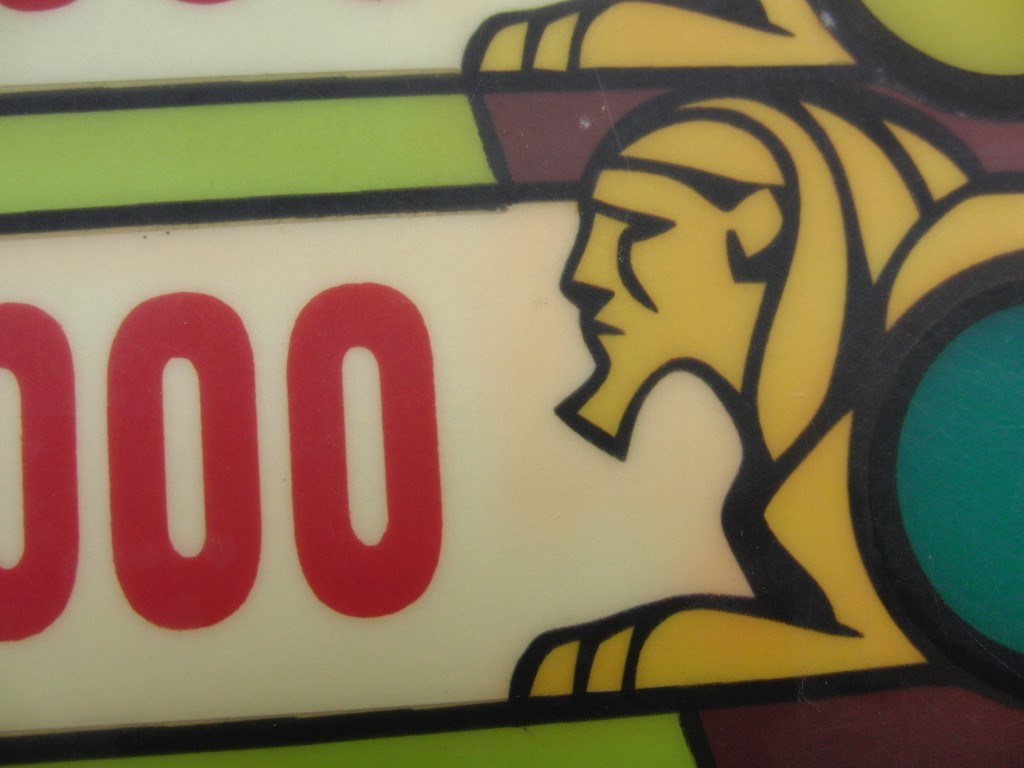
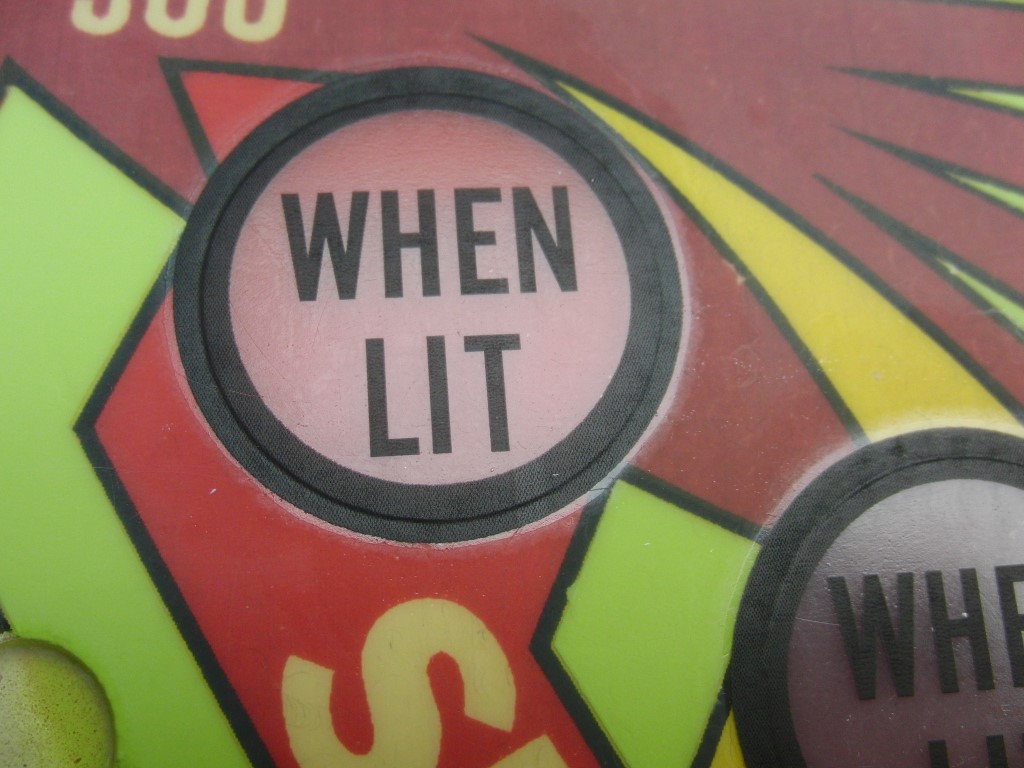
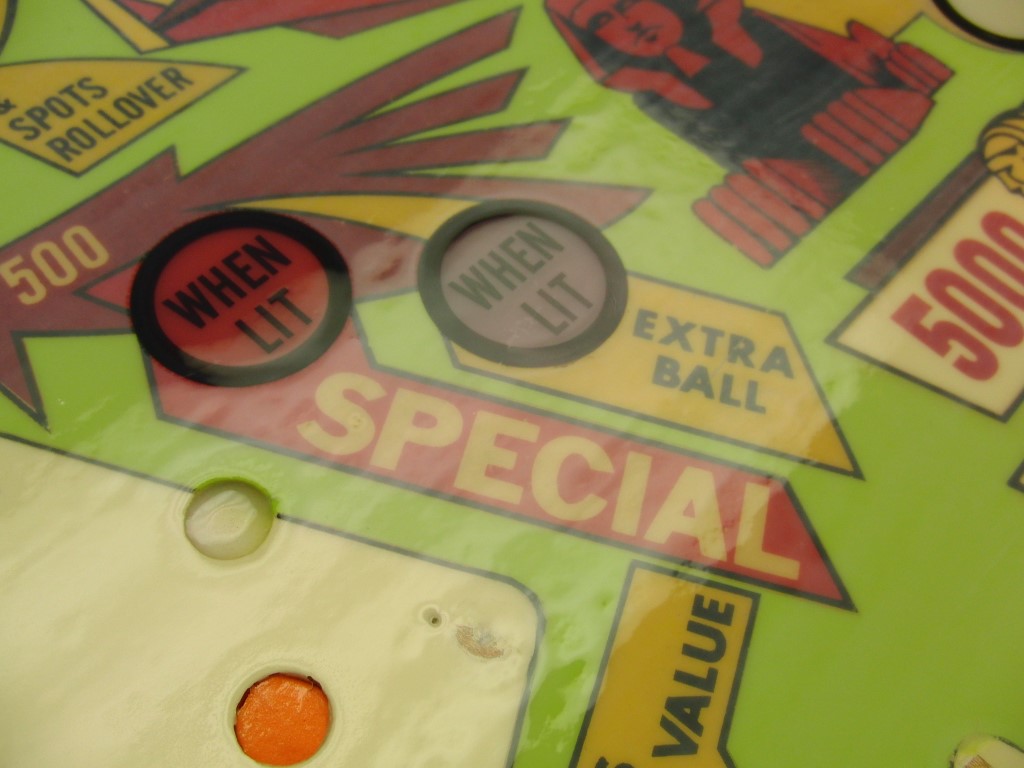
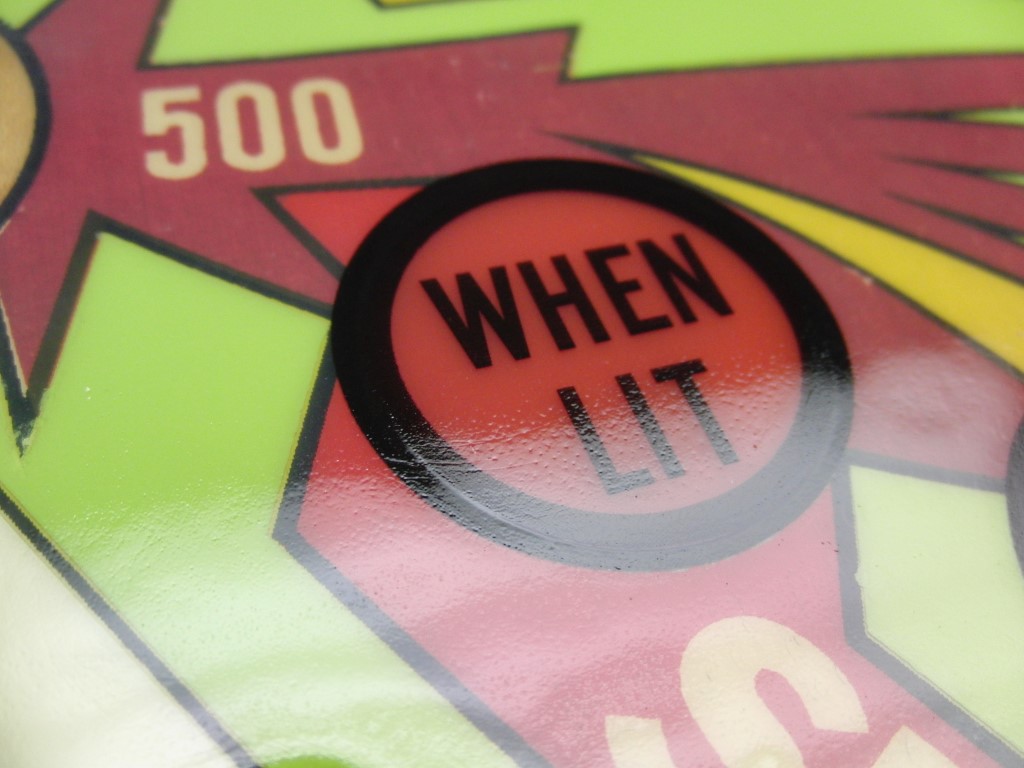
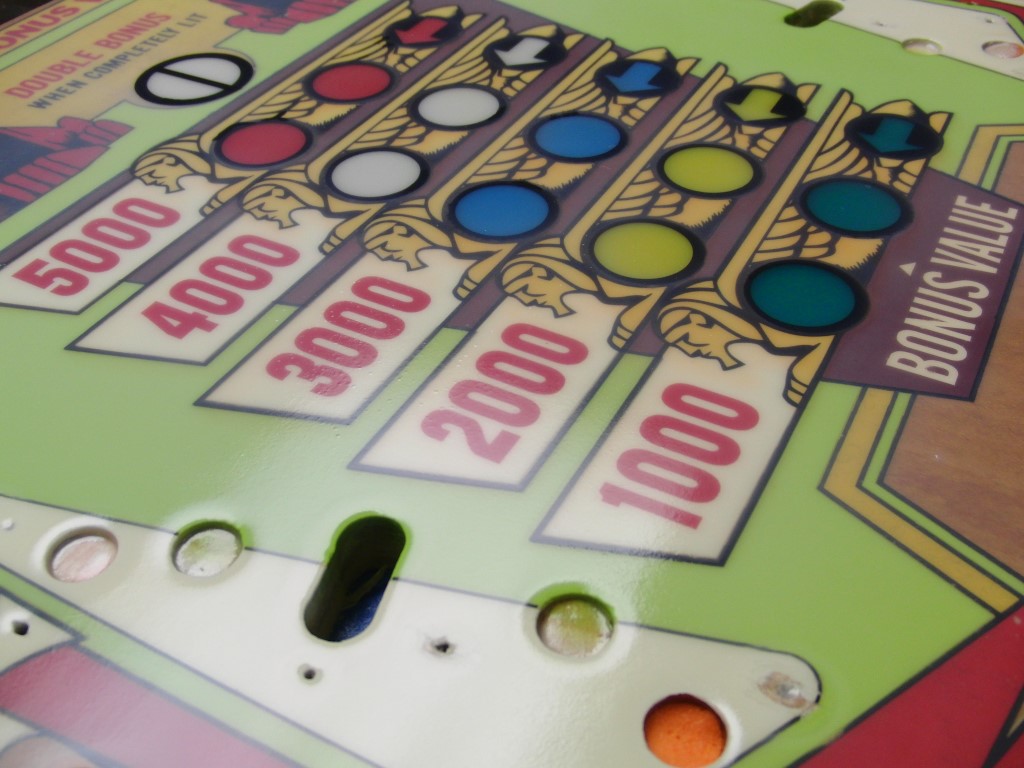
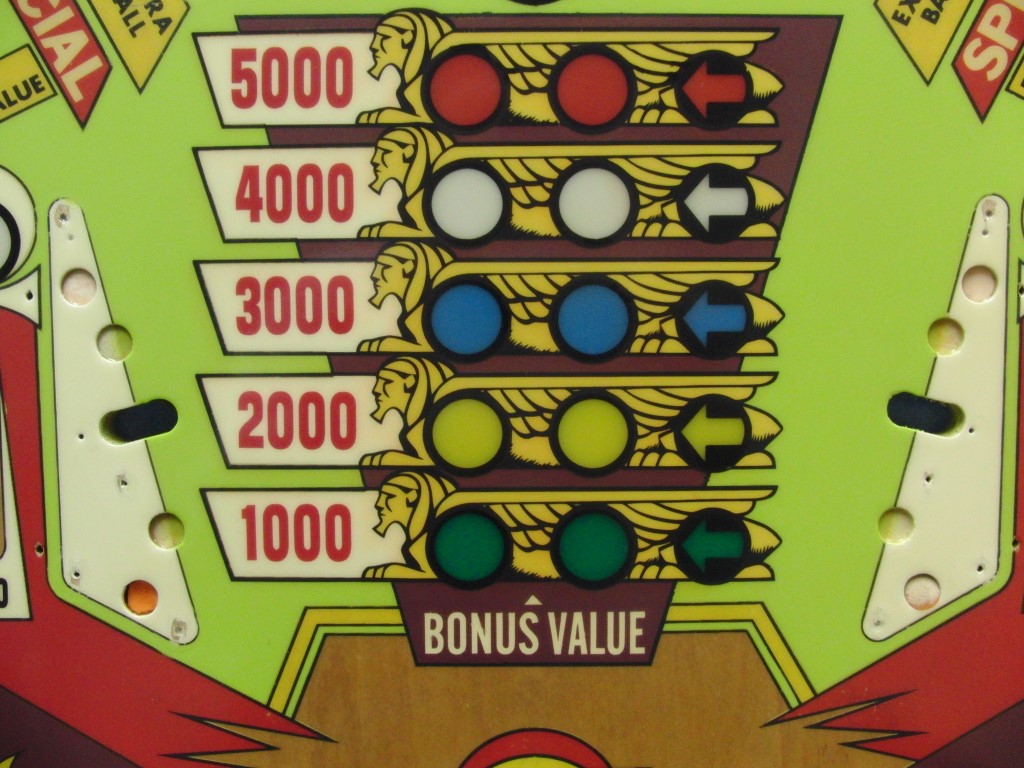
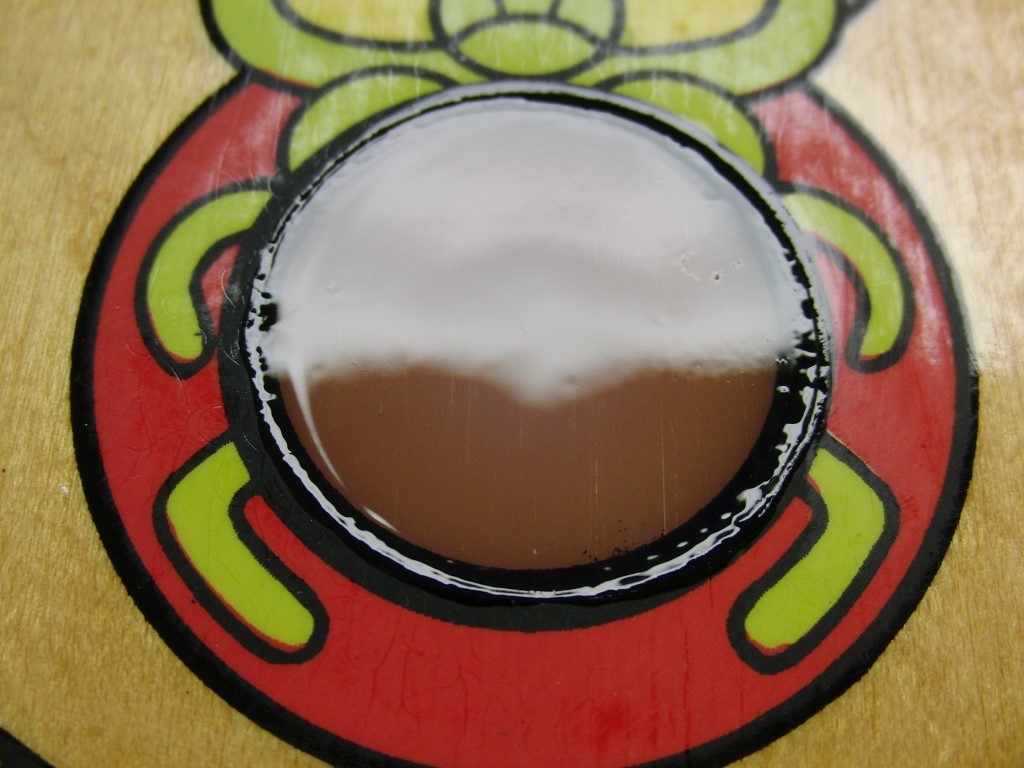
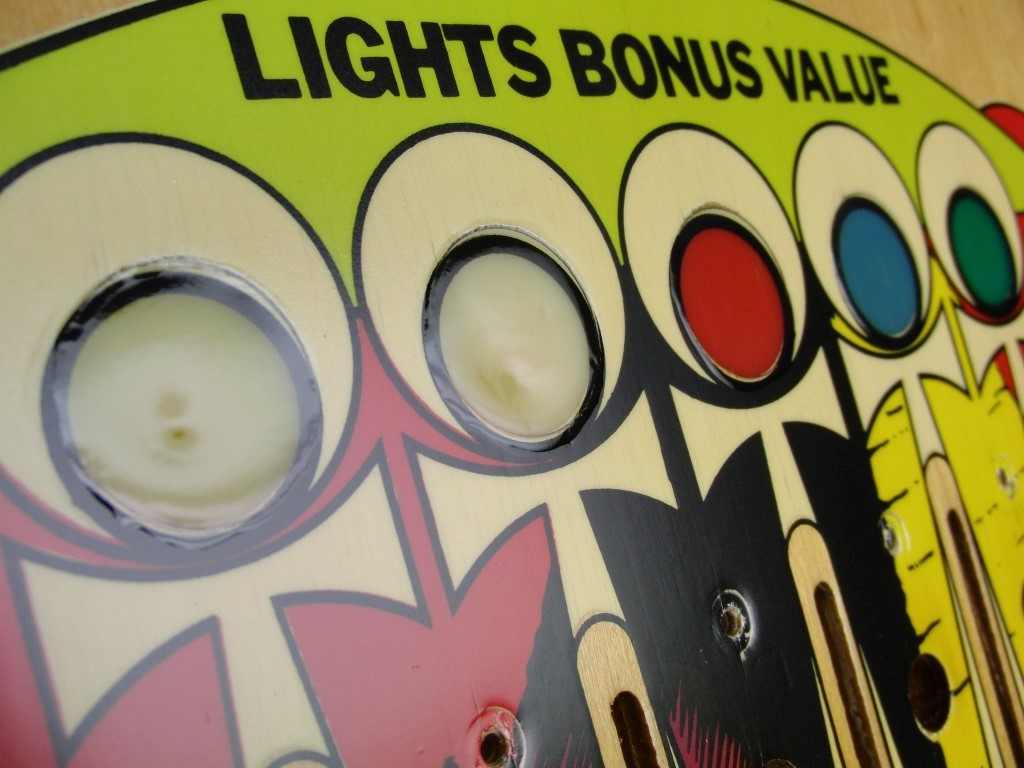
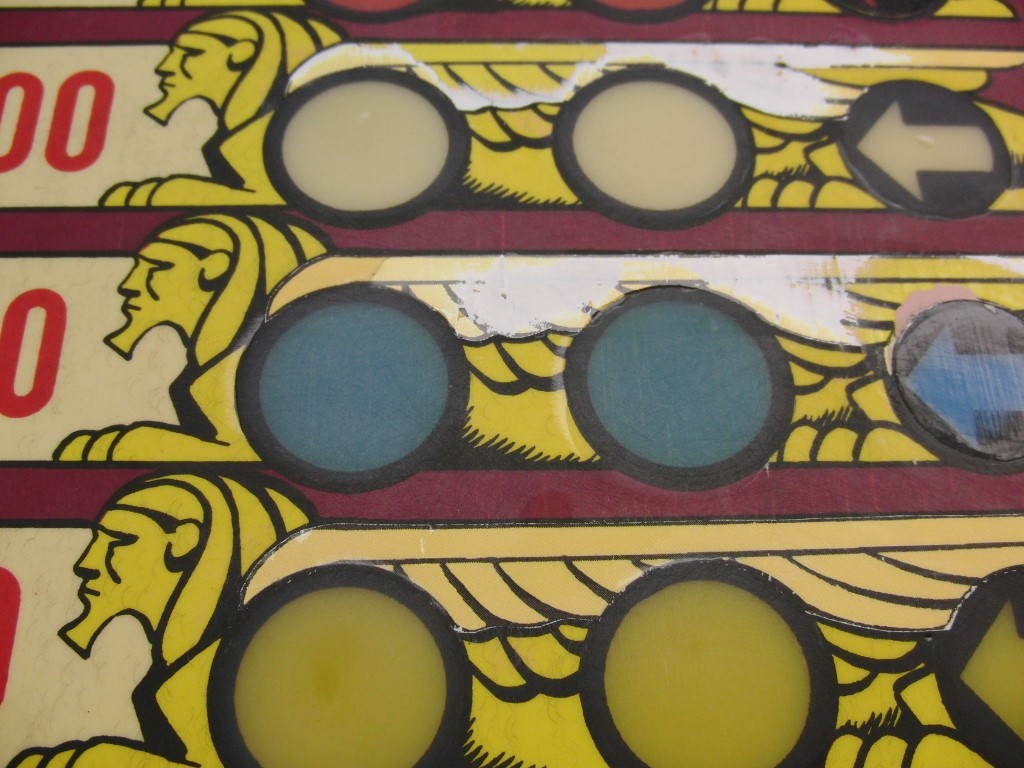
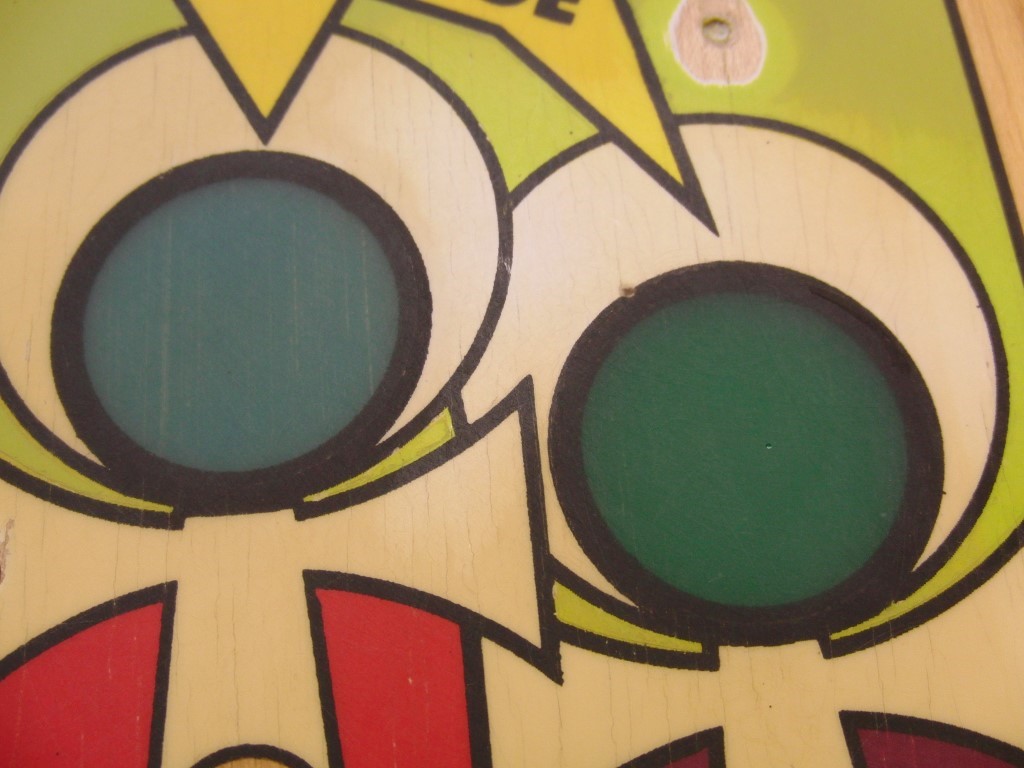
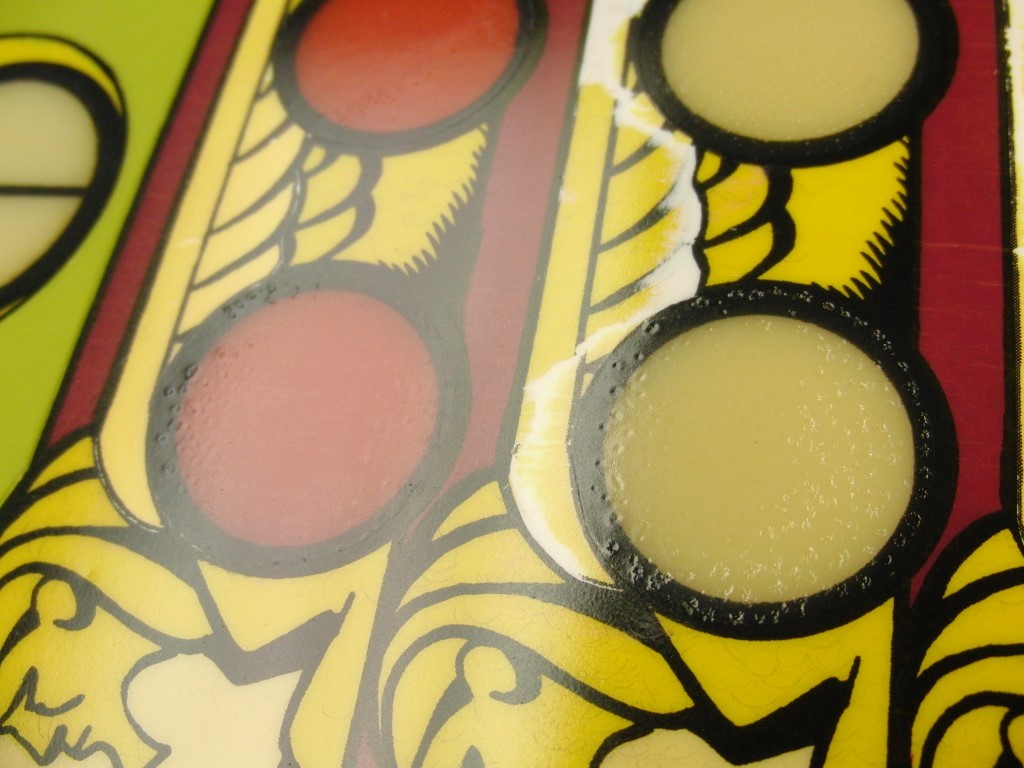
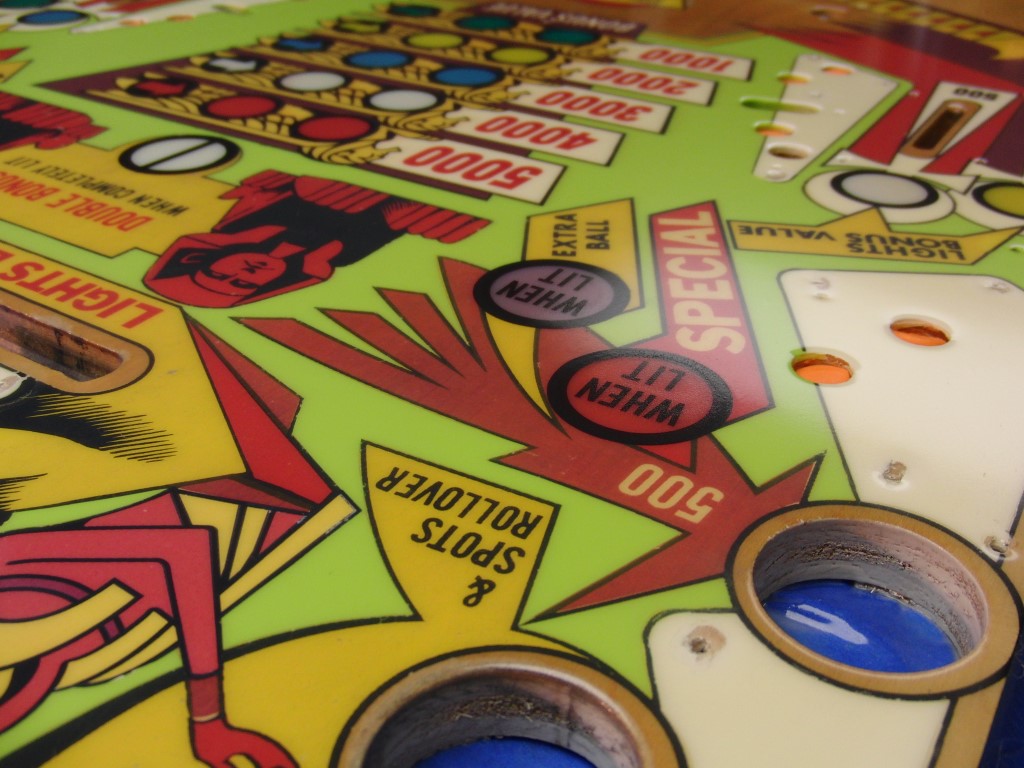
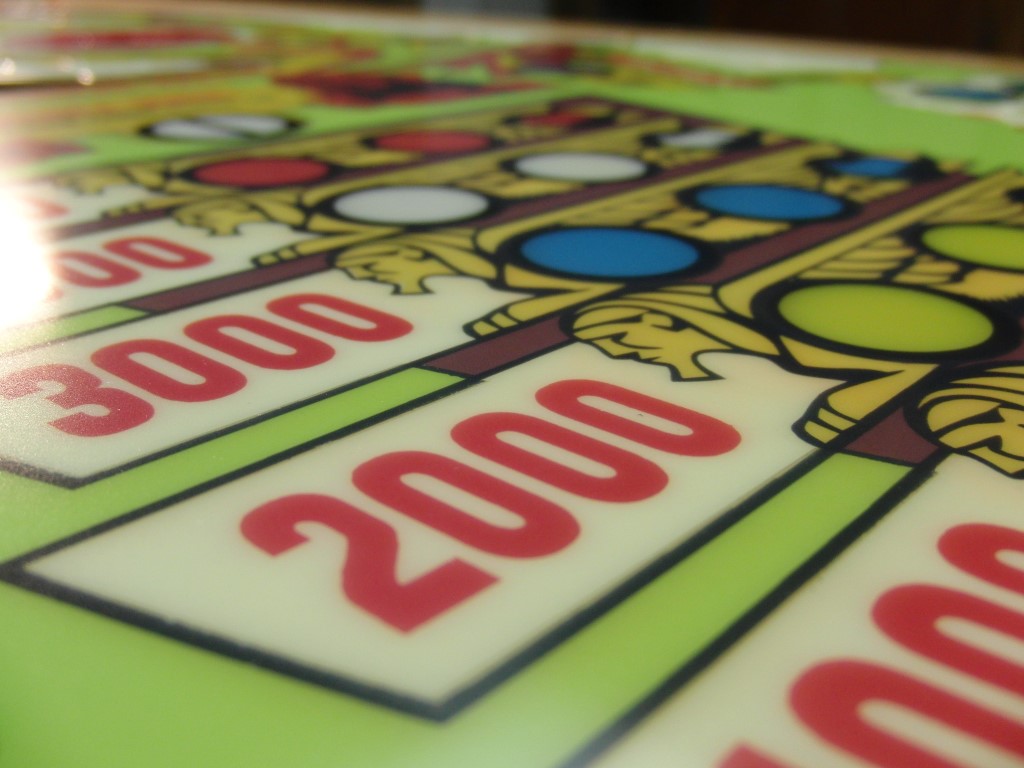
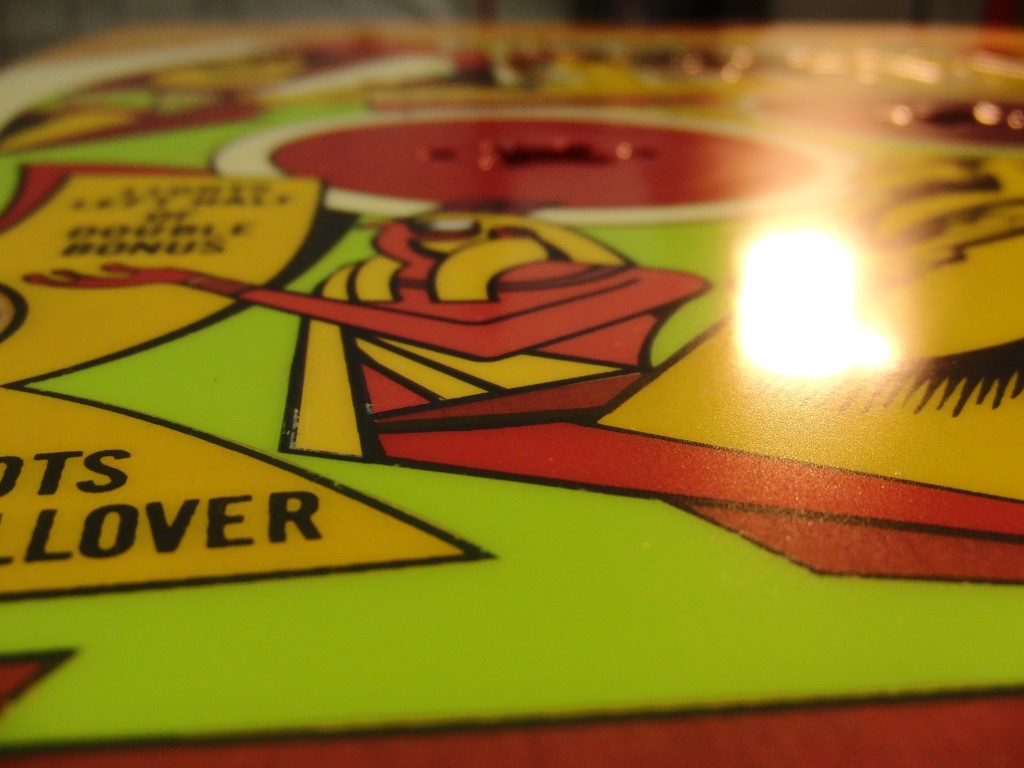
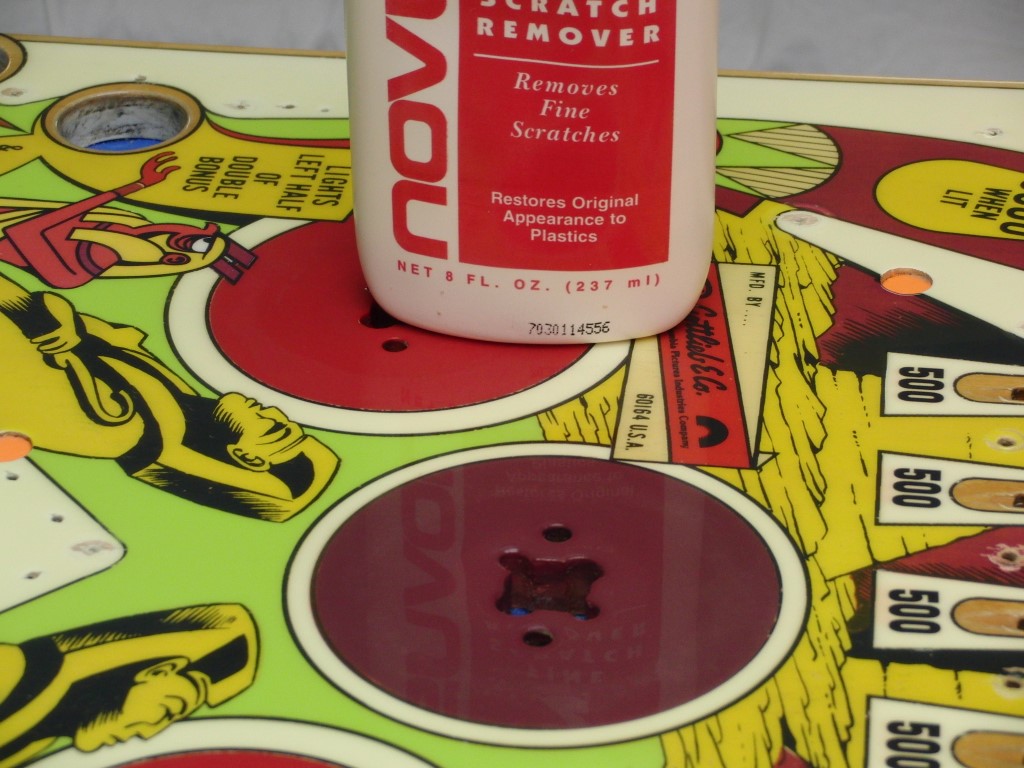
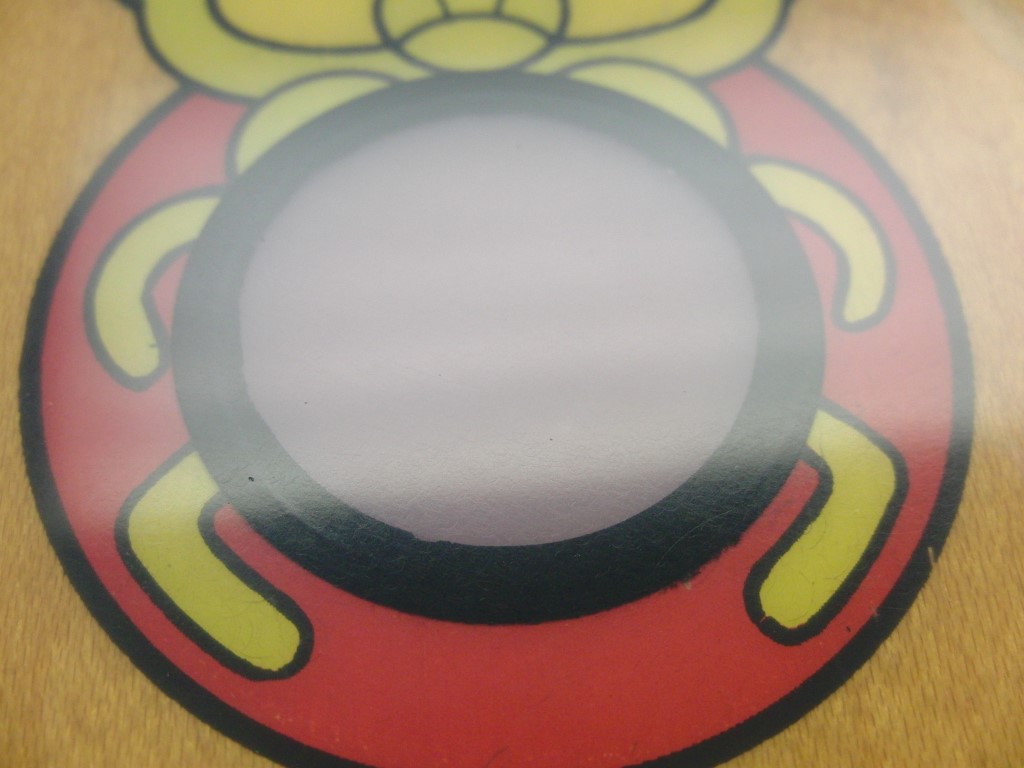
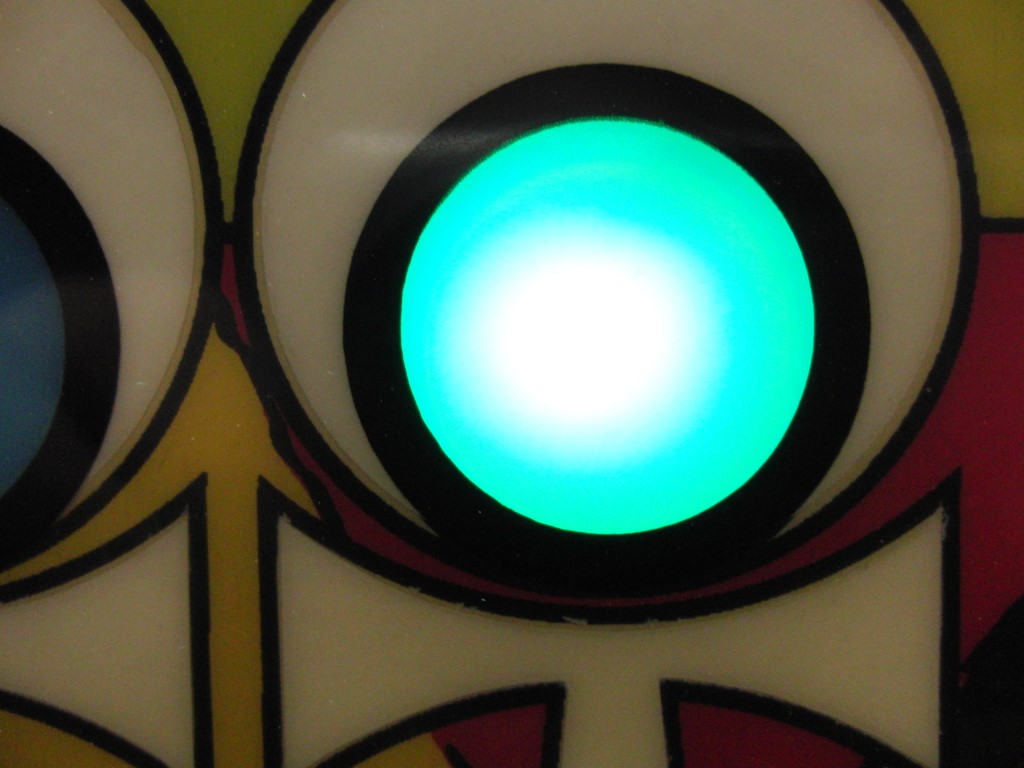
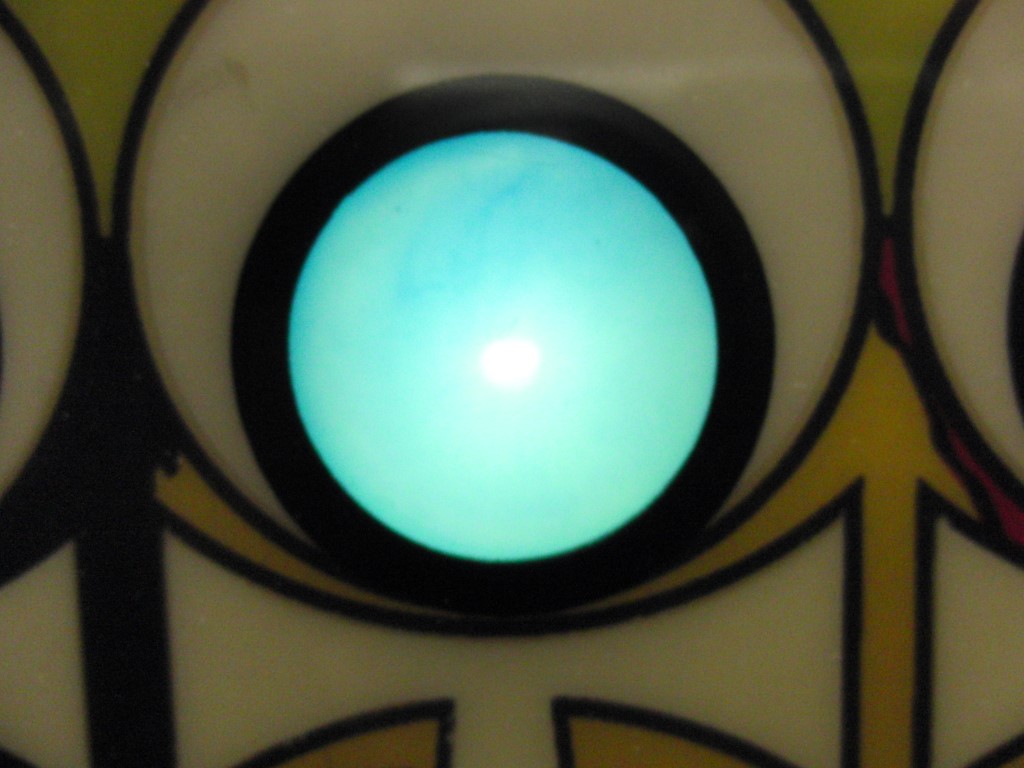
I finally figured out the”Macro” mode on my camera and took a couple of close-ups of the pinkish color and what not… more pics.


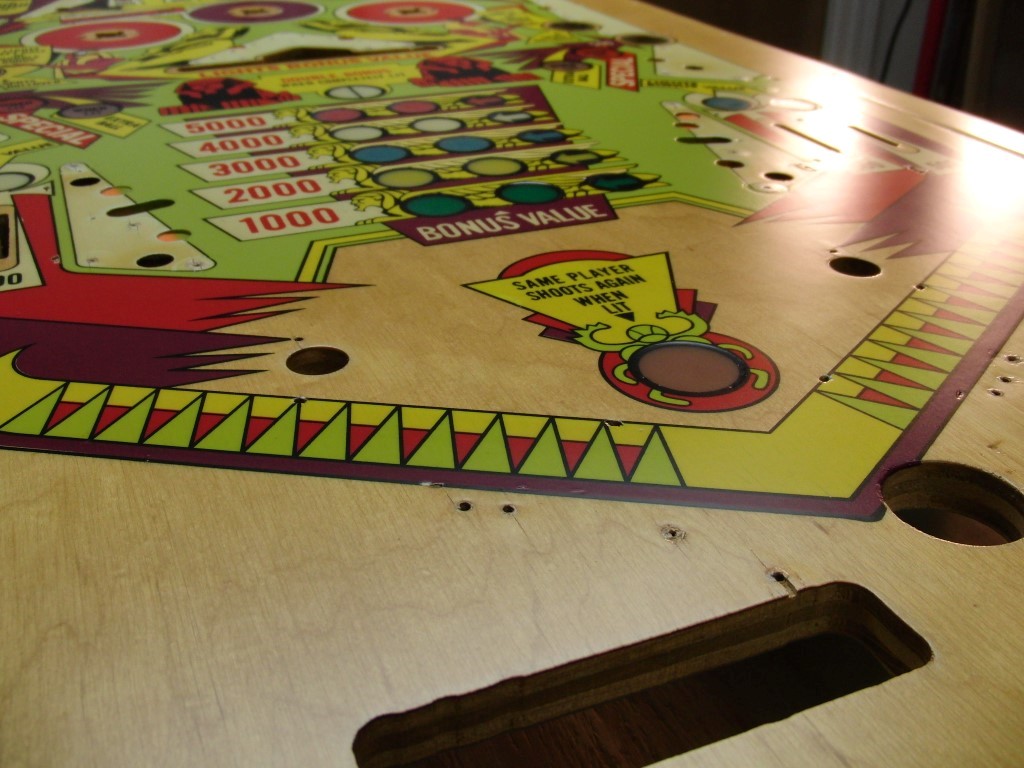
Well, I can now attest that using a foam brush is NOT the way to go!
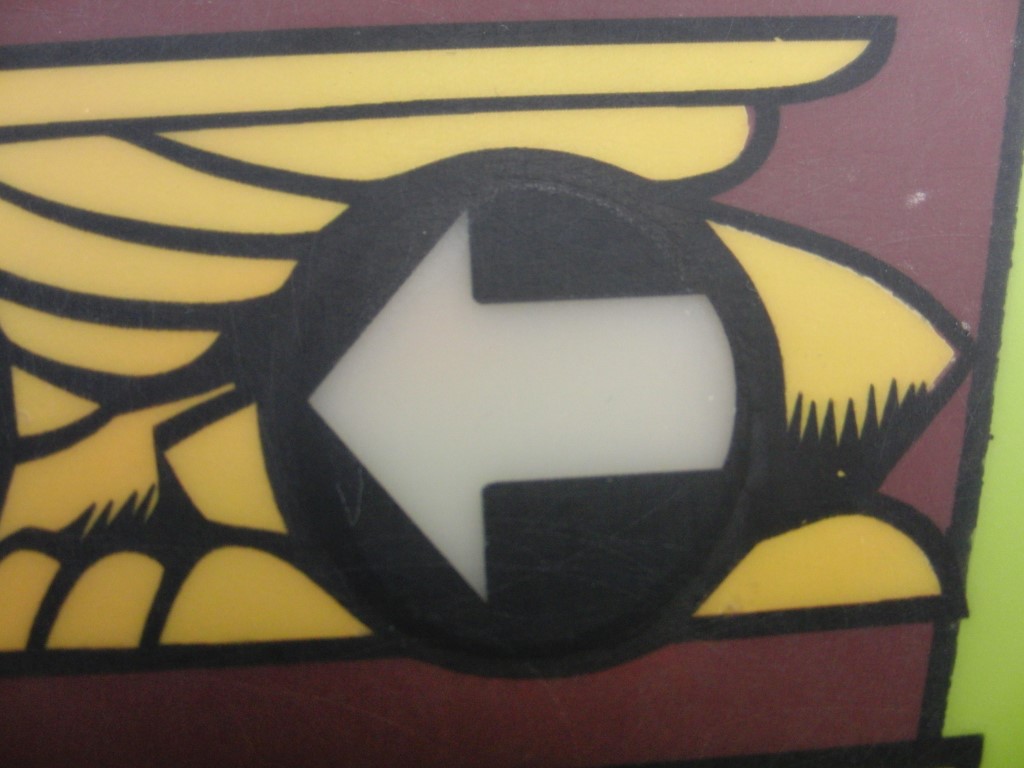
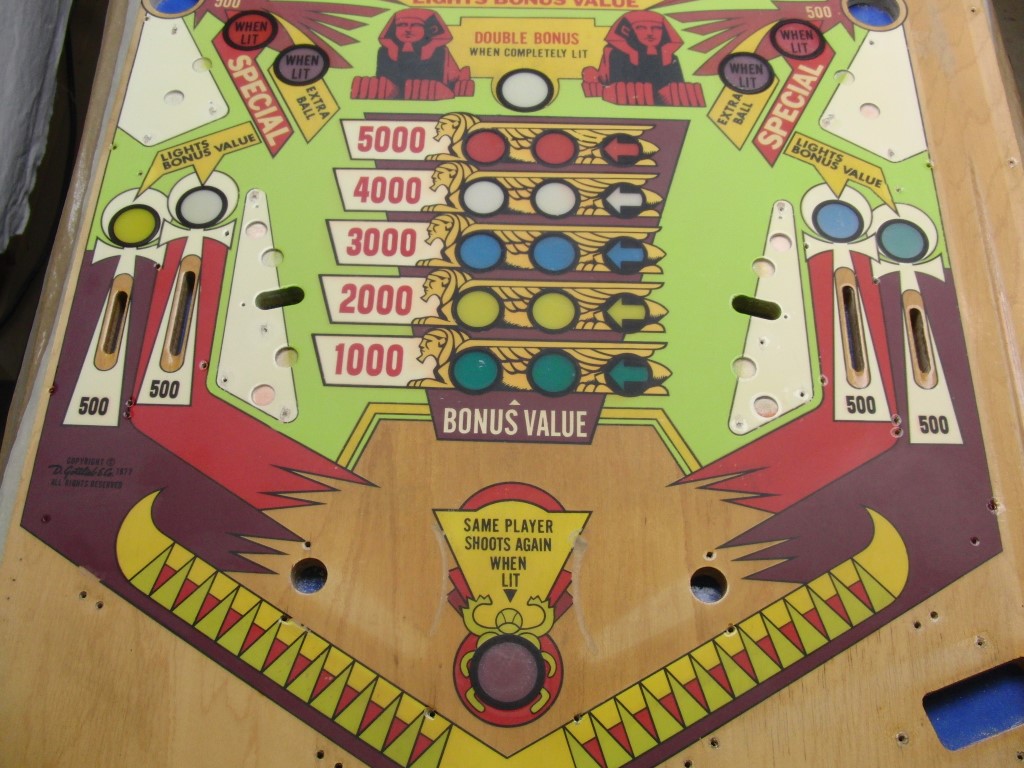
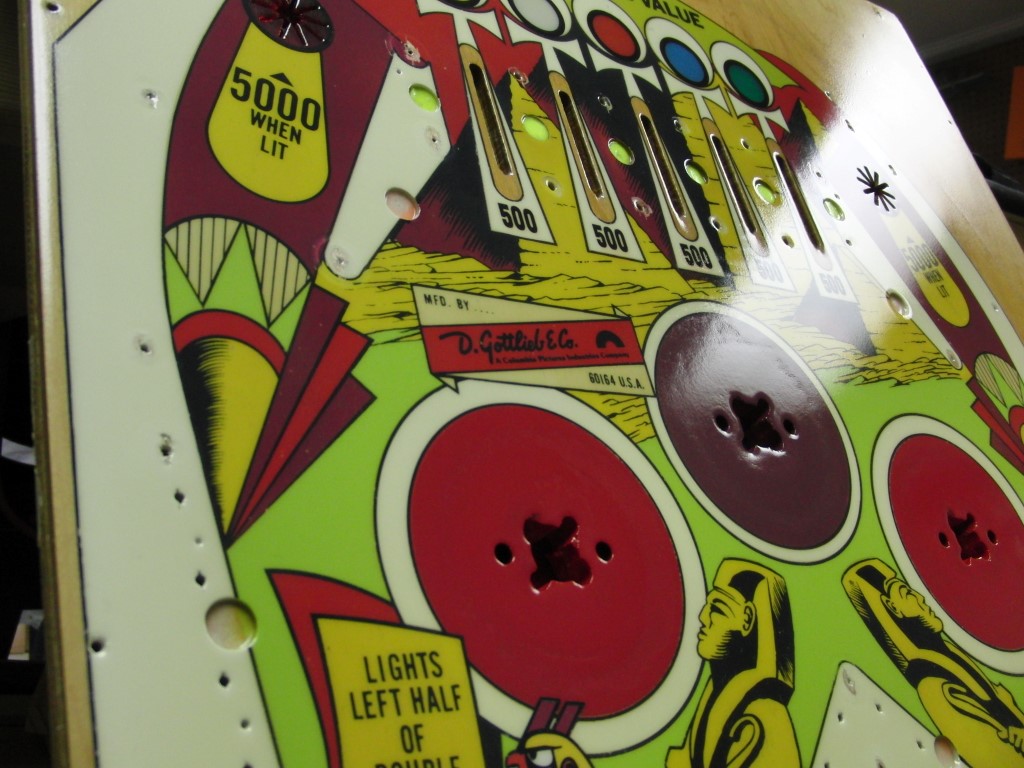
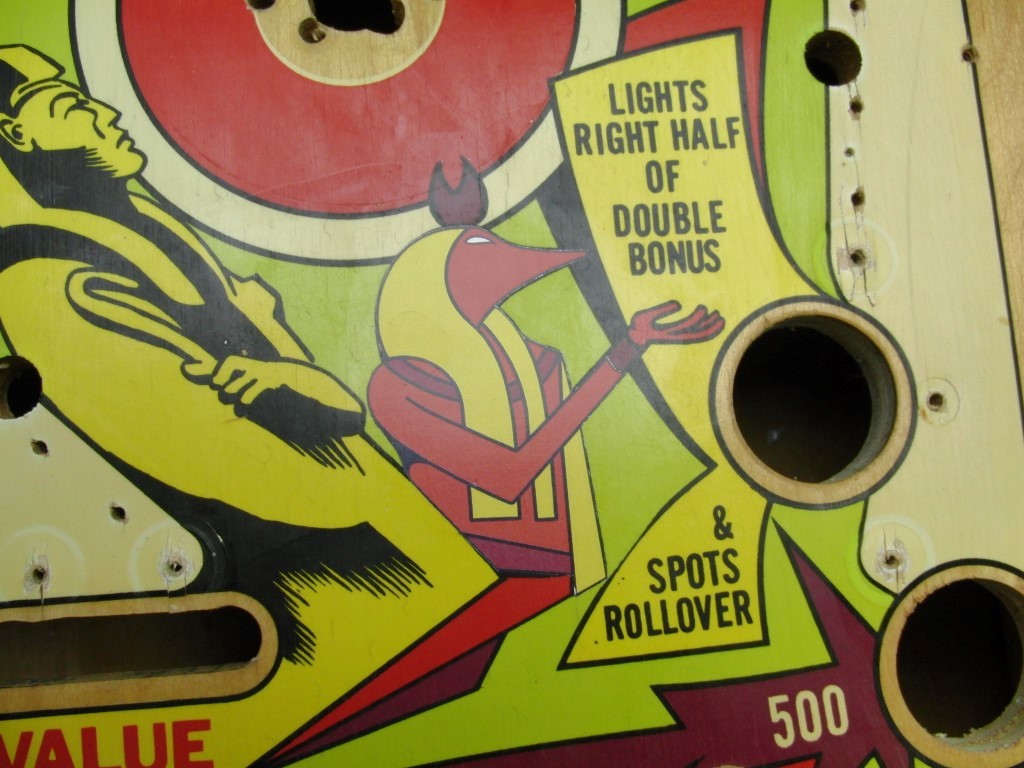
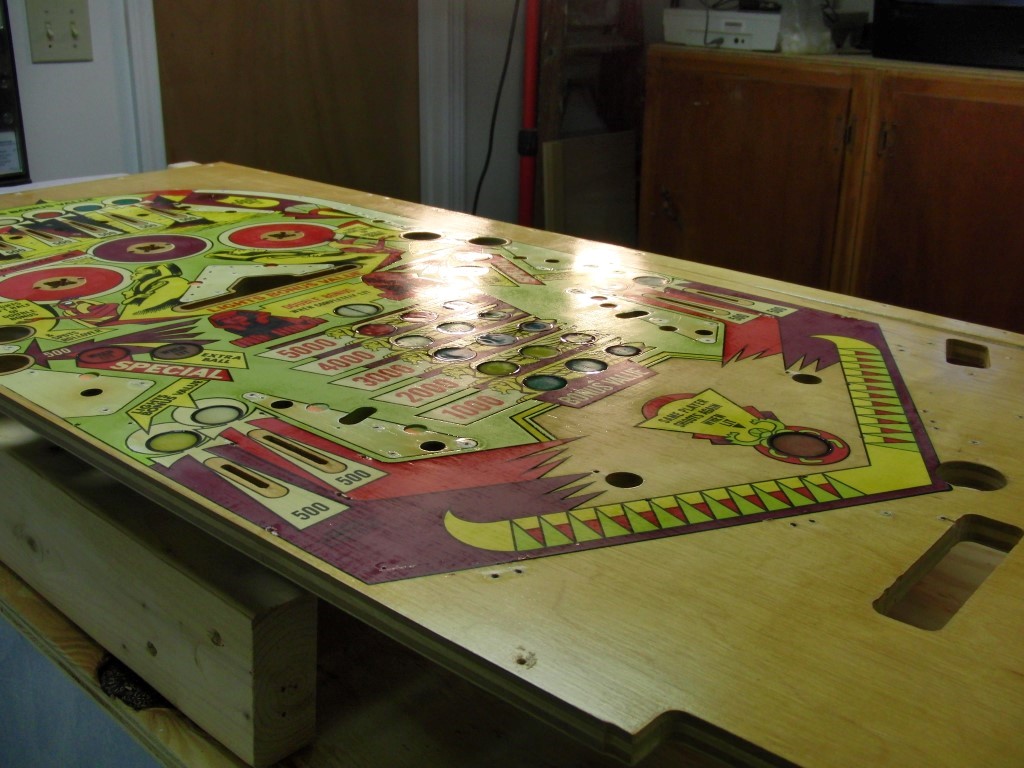
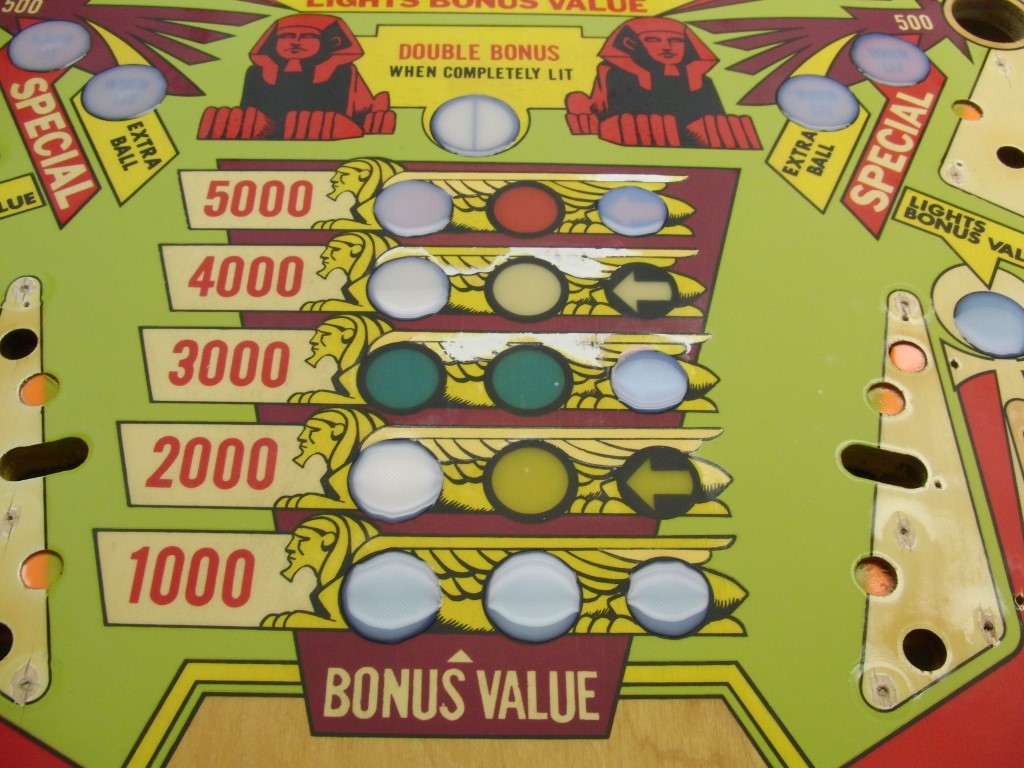
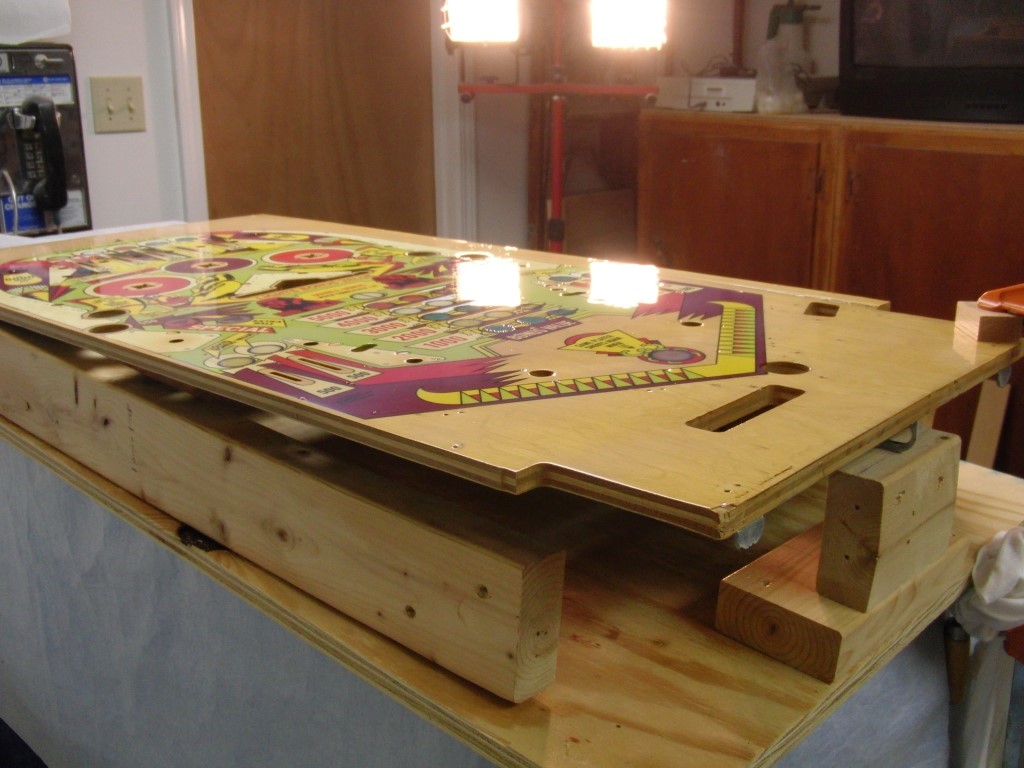
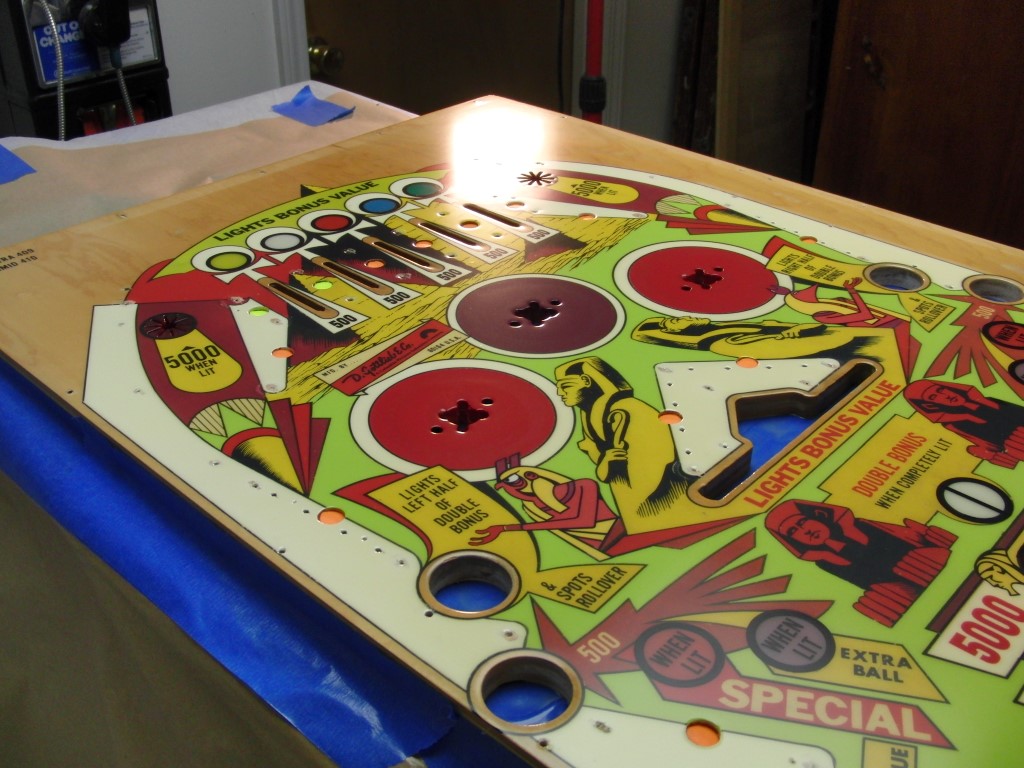
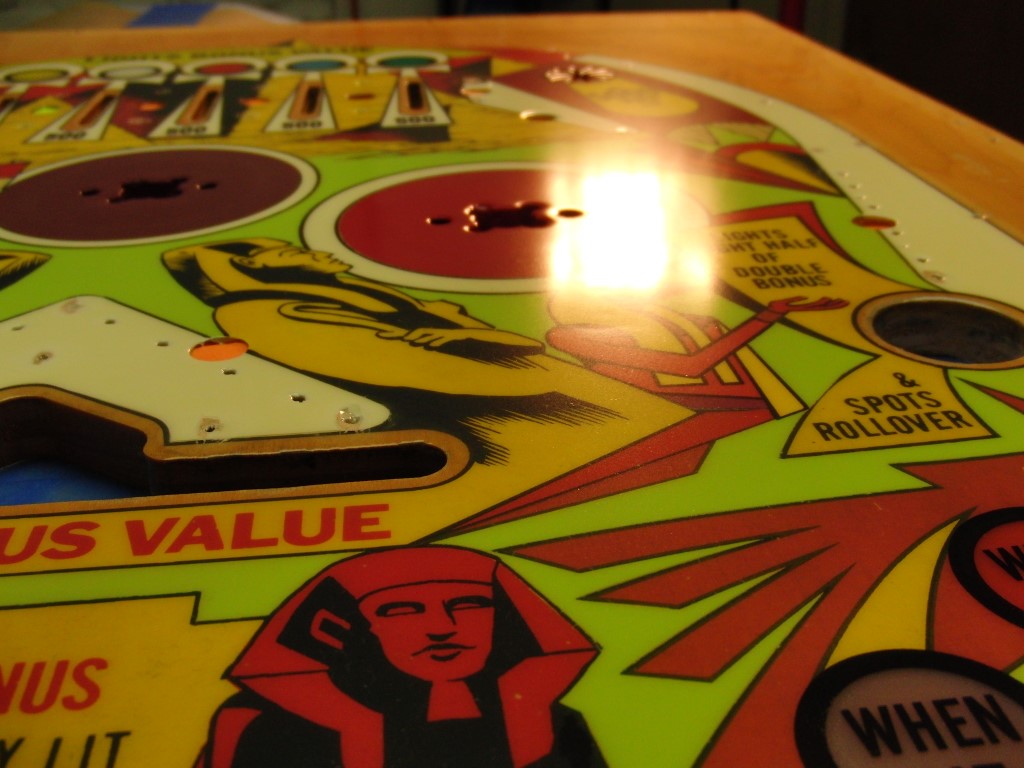
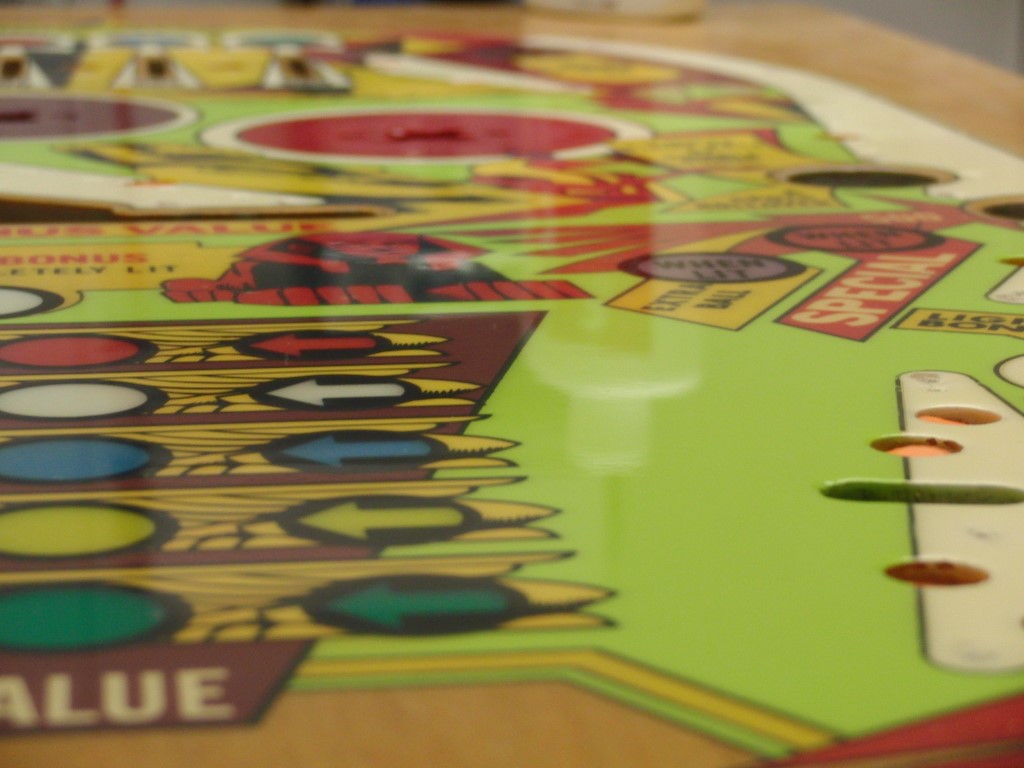
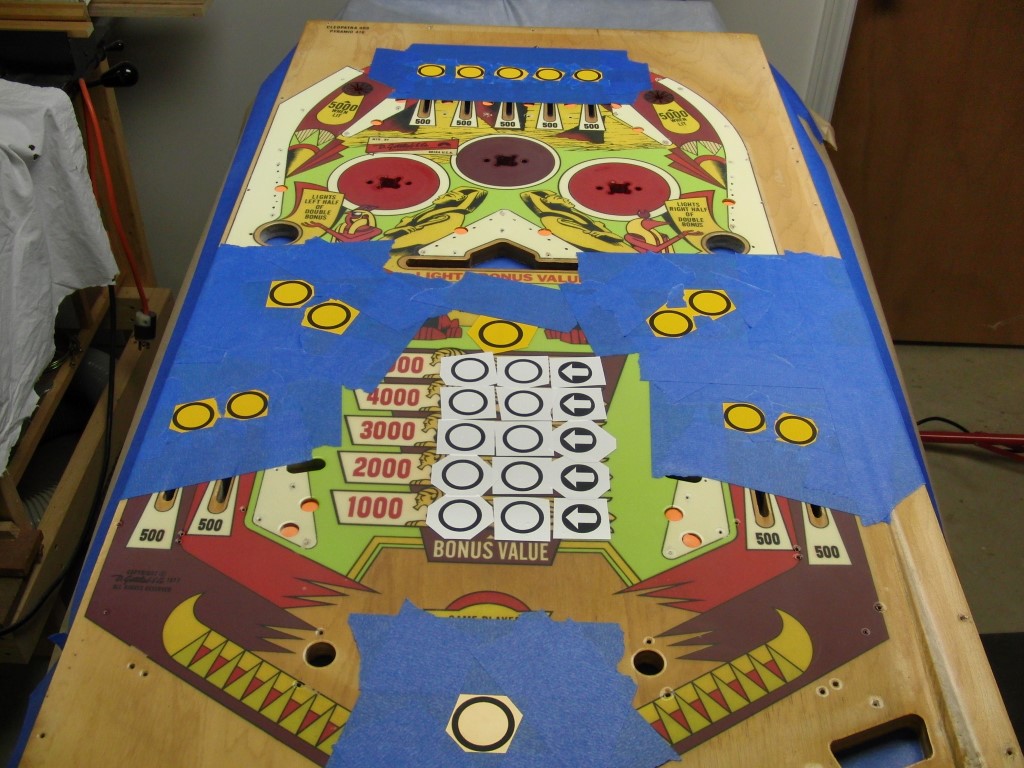
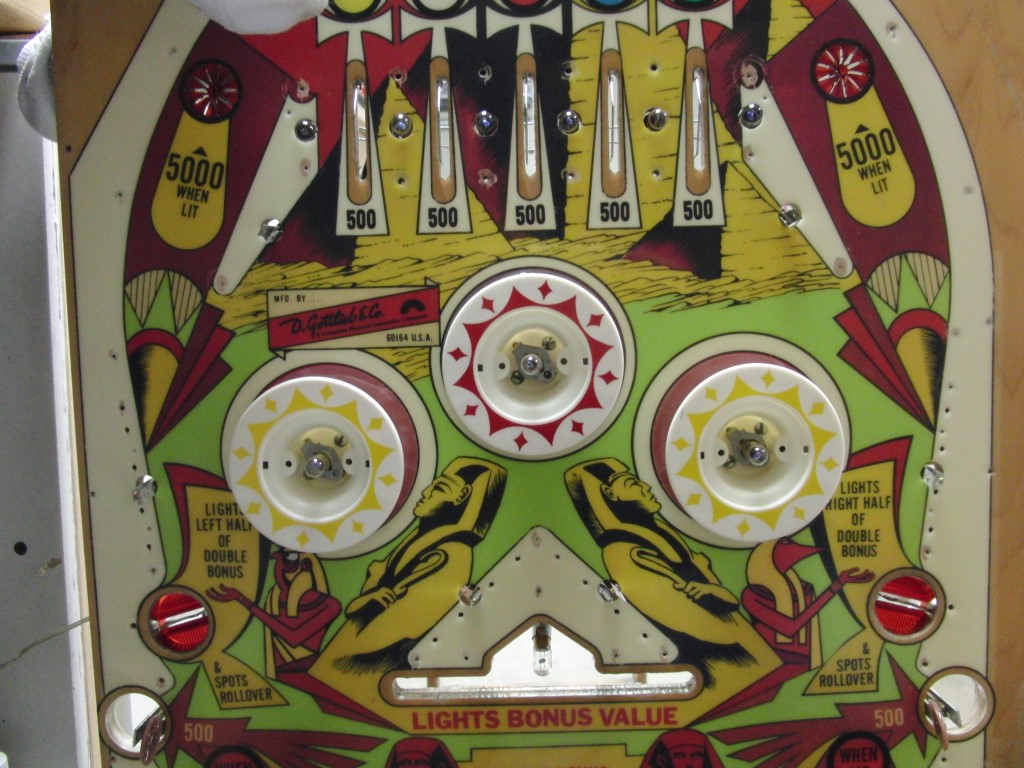
Like my previous experiences when I used the foam brush the clear dried uneven and had many small pinholes so it needed to be block sanded, again, what a pain in the A#$!!! (see picture of lower play field)
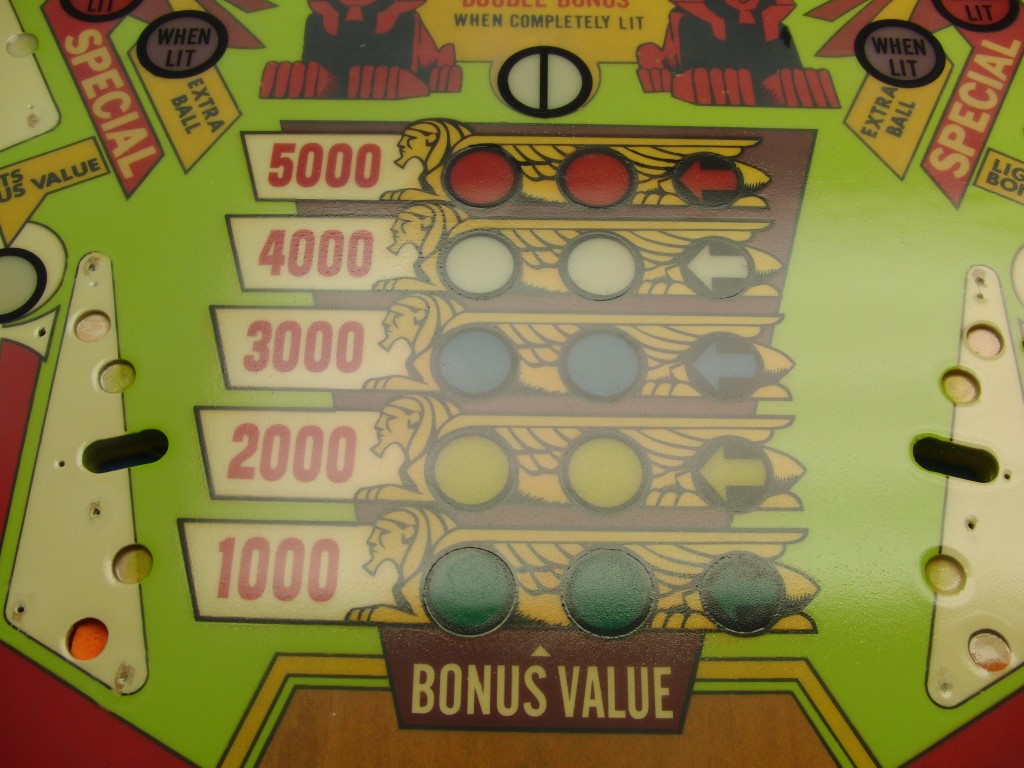
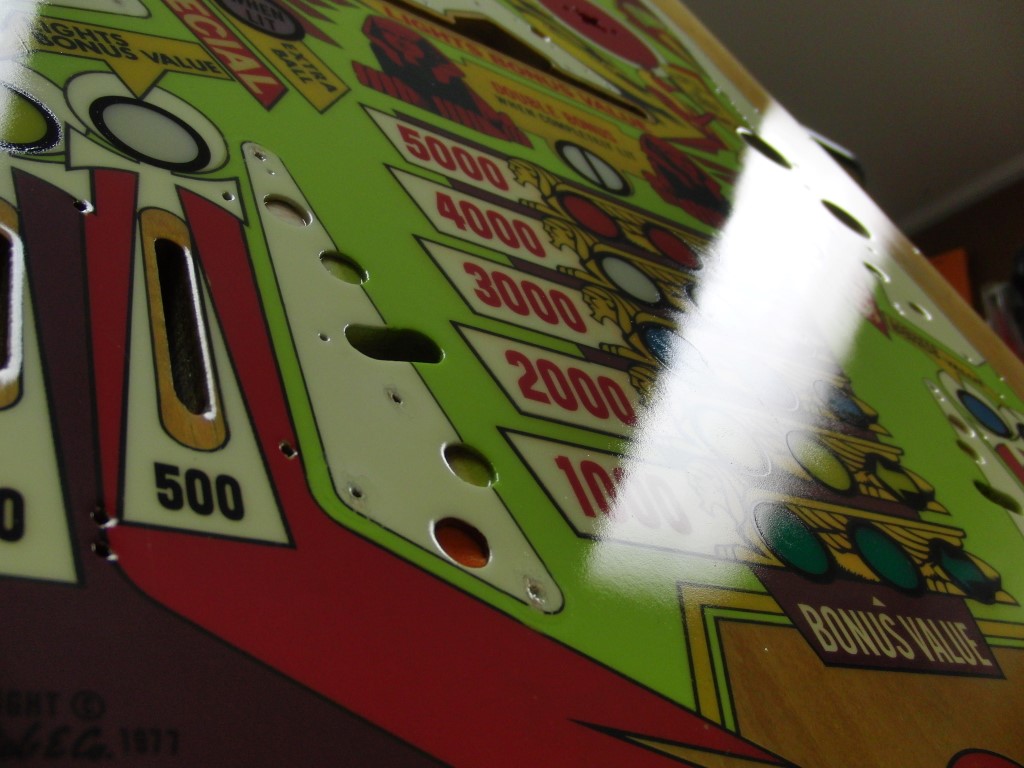
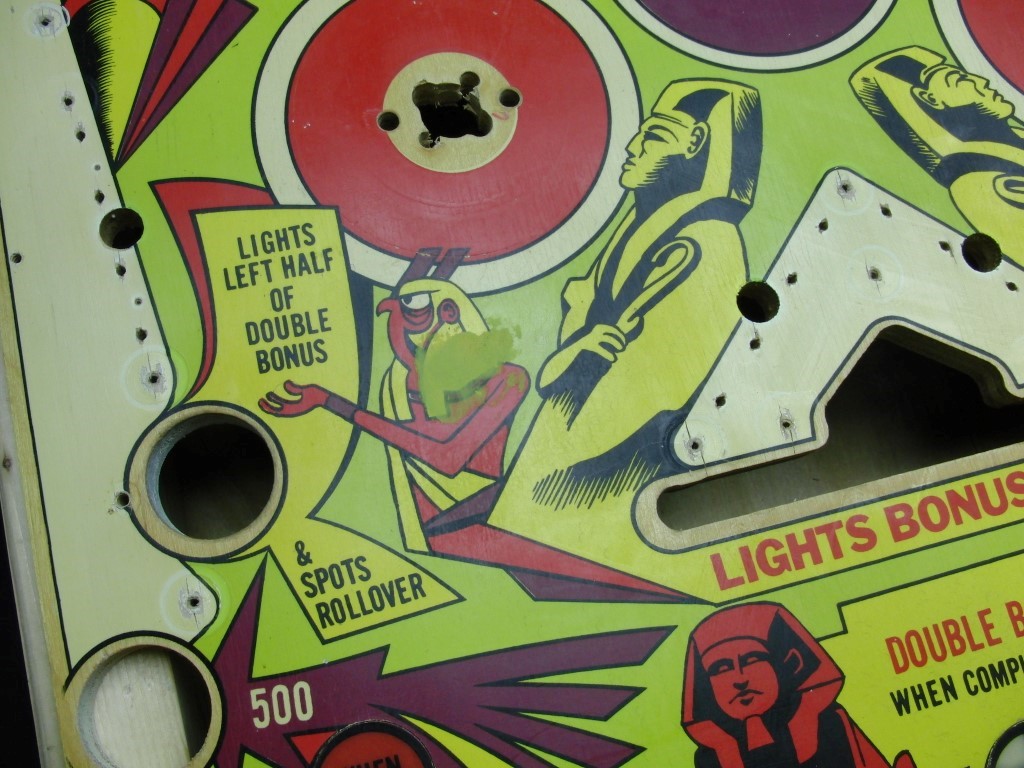
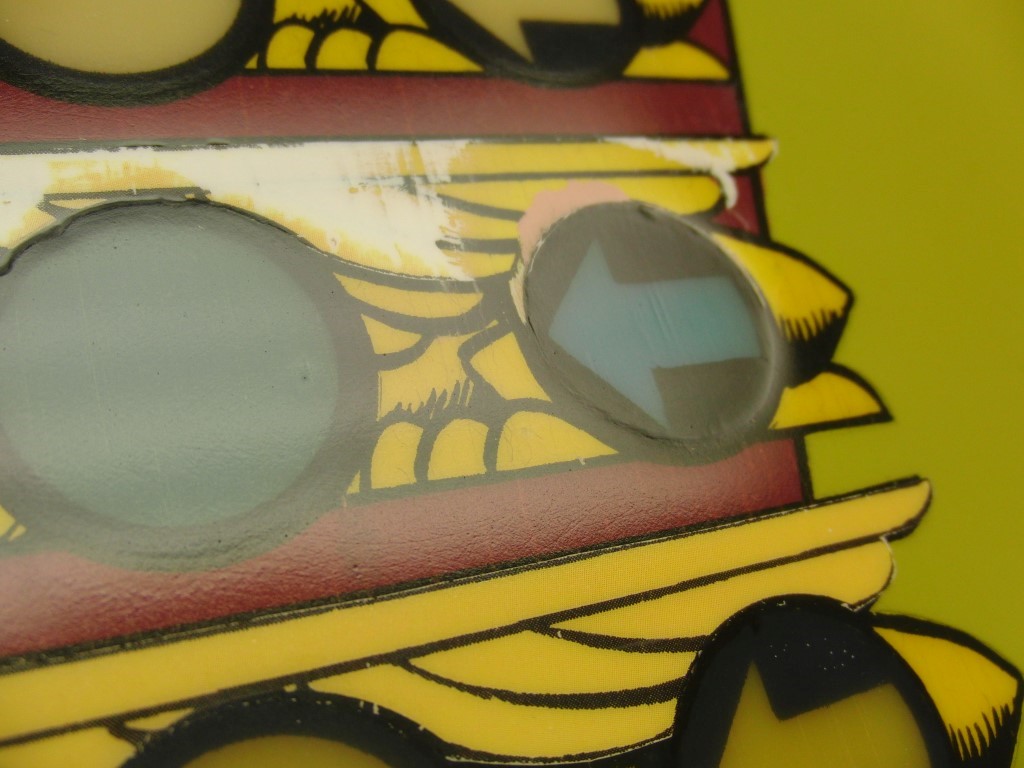
During my sanding I had changed from using 320 to 220 and unfortunately cut through the clear on the Yellow arrow, arrgh!!! I thought by now I would have enough clear on it to be able to block sand the center of the Play field. As you can see from the pic I also took some paint off of the arrow so I just touched it up with some black paint and cleaned up the cut through.
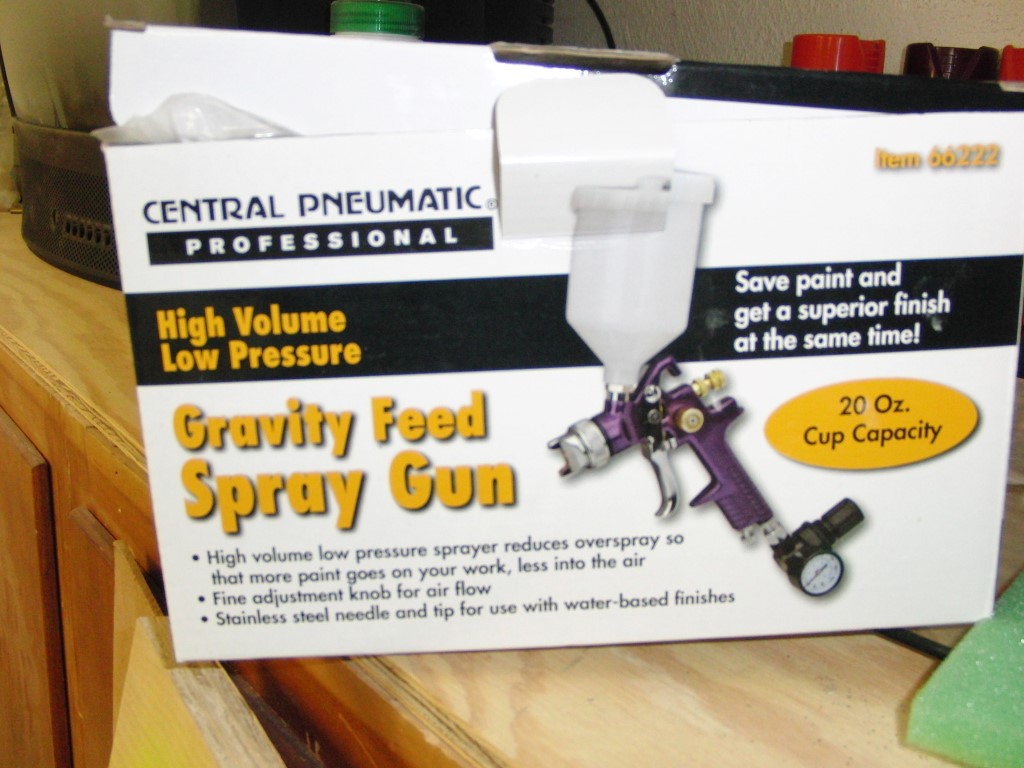
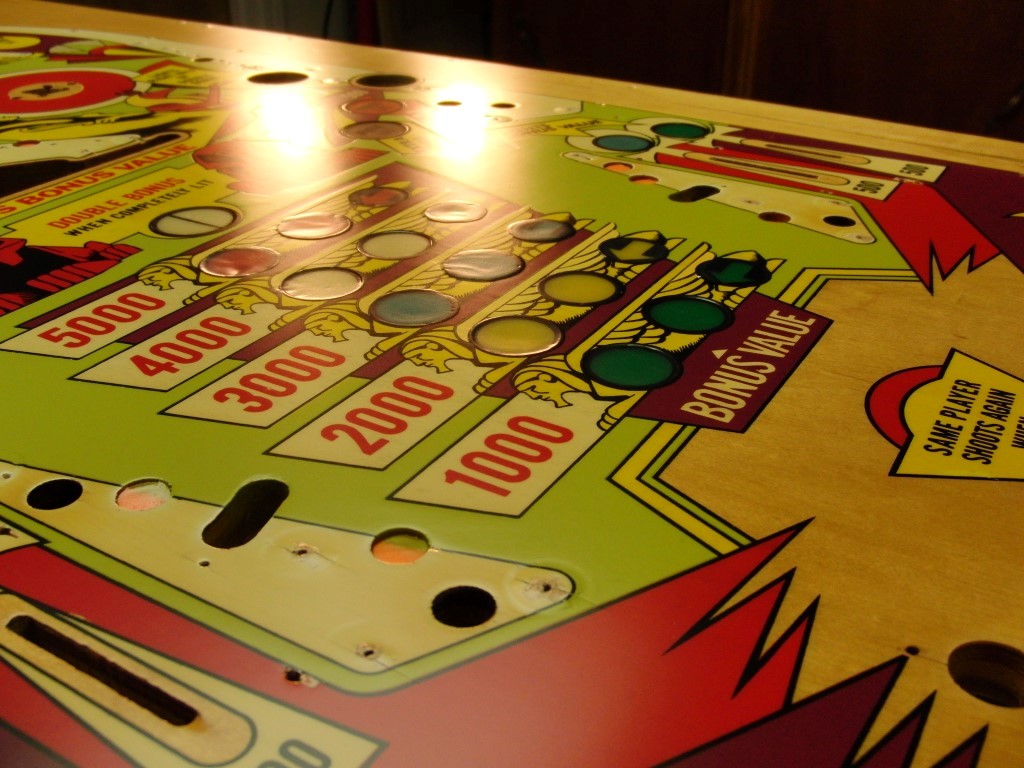
So, after I block sanding again I needed a change of pace. I broke out my HVLP spray gun from Harbor Freight, aka, cheap air gun, poured in the clear Polycrylic which looked good enough to shoot straight from the can and laid on a top coat. My thoughts here were that I needed a thicker coat laid down so It would help level all the inserts and finally allow me to block sand this and polish it. I was worried about the amount of over spray since I was shooting this in the basement but I have a fan in my basement window for drawing fumes and ventilation and it did a fine job. (note: I wouldn’t spray automotive clear in the house) and use a respirator.
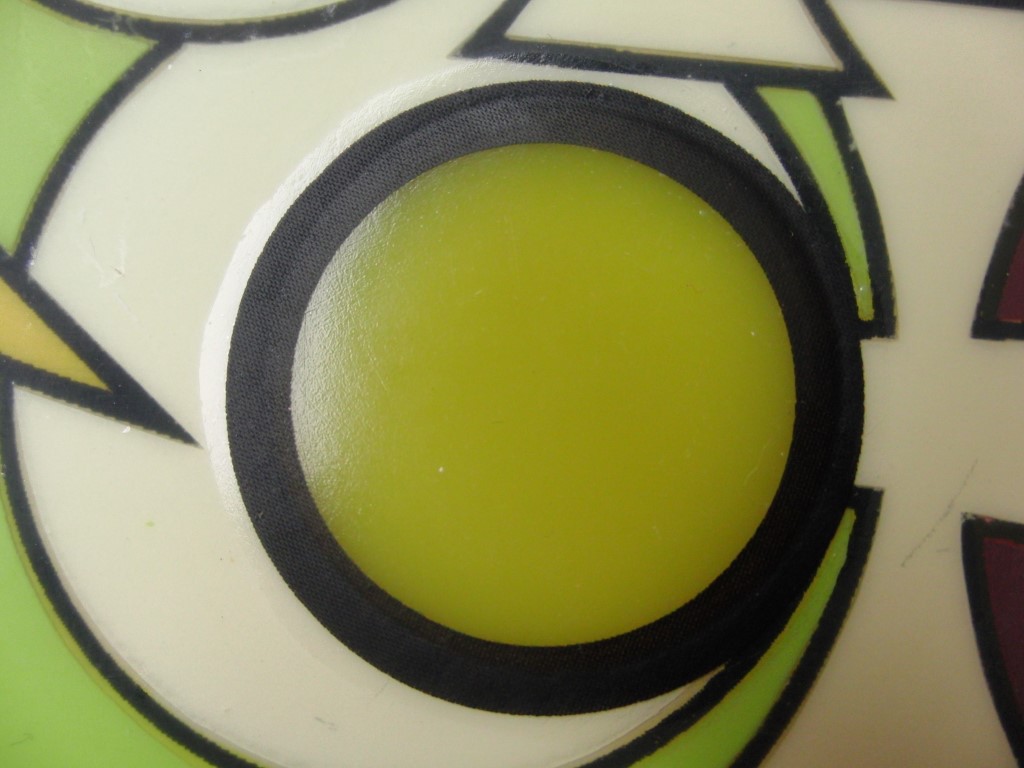
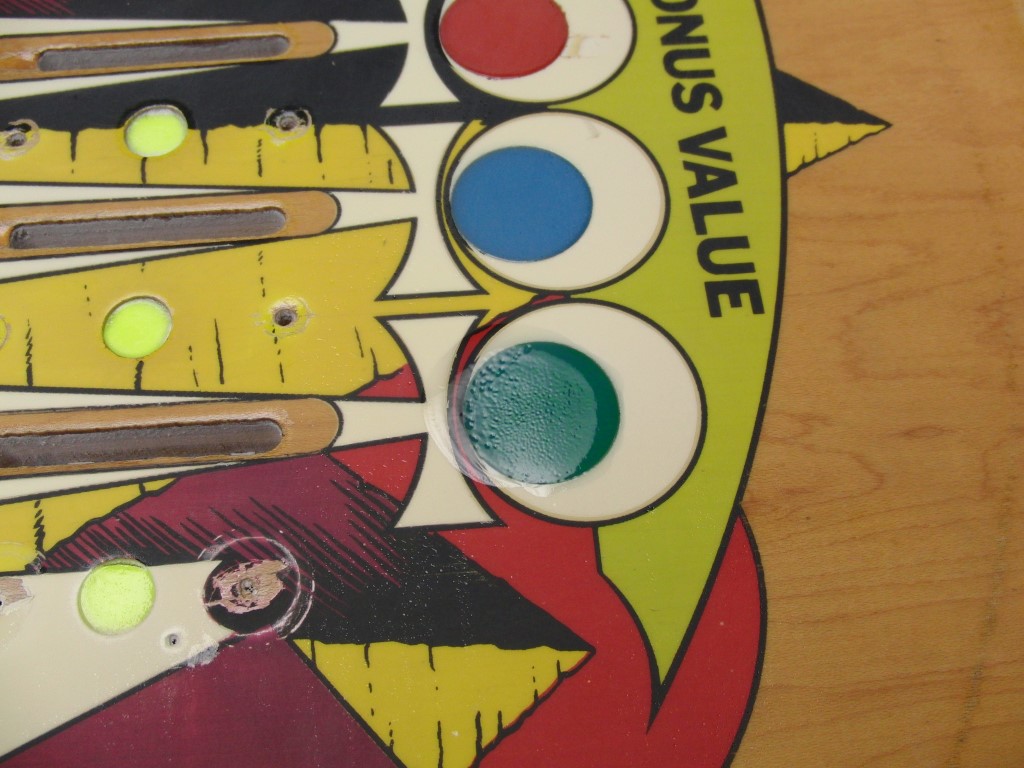
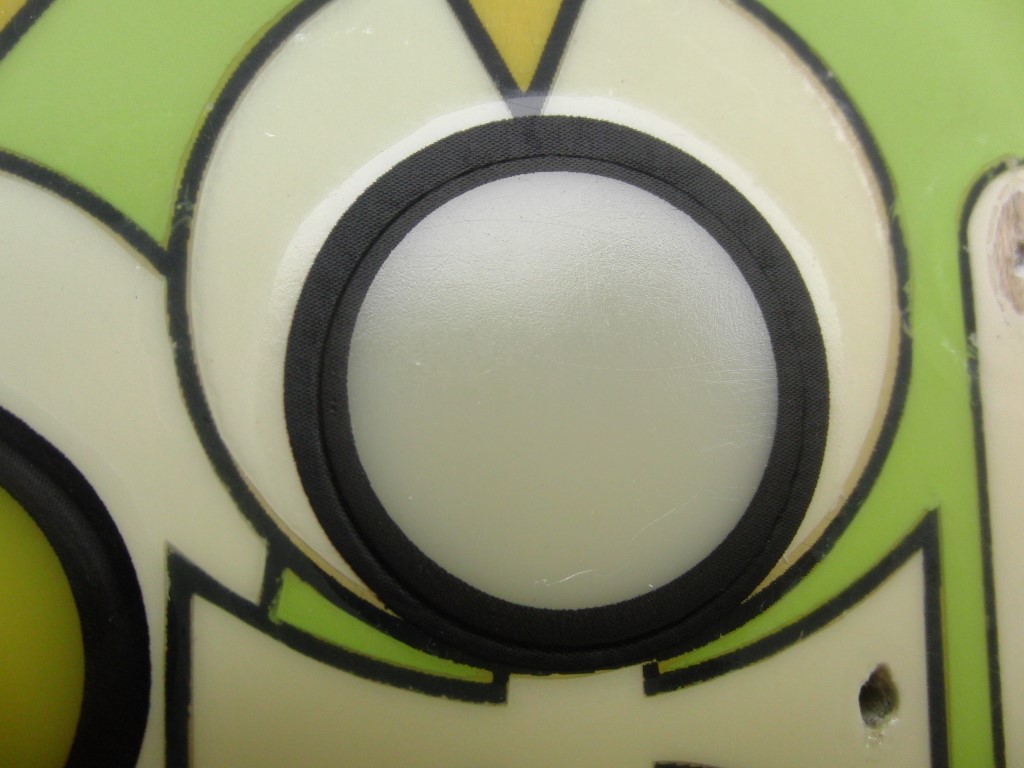
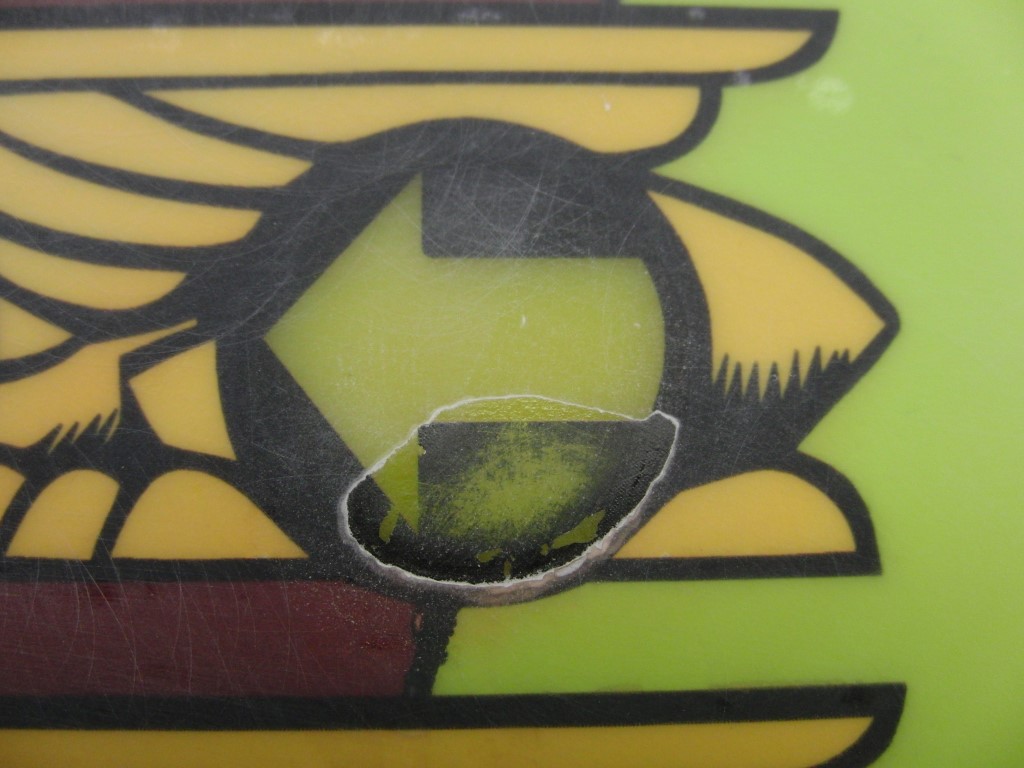
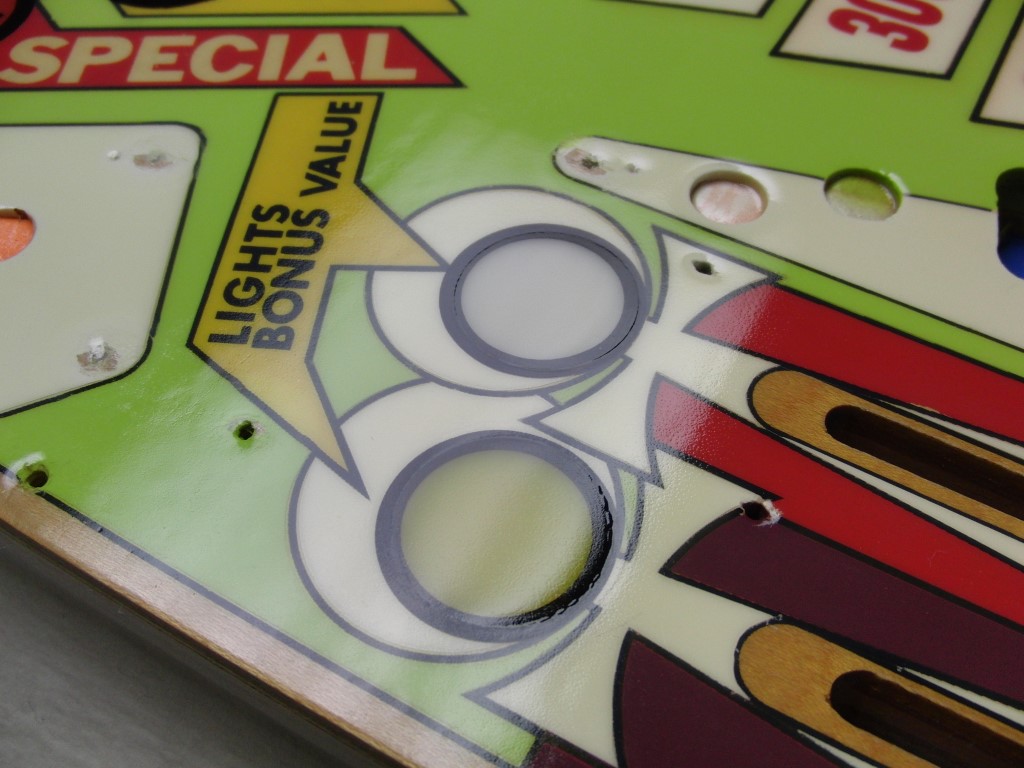
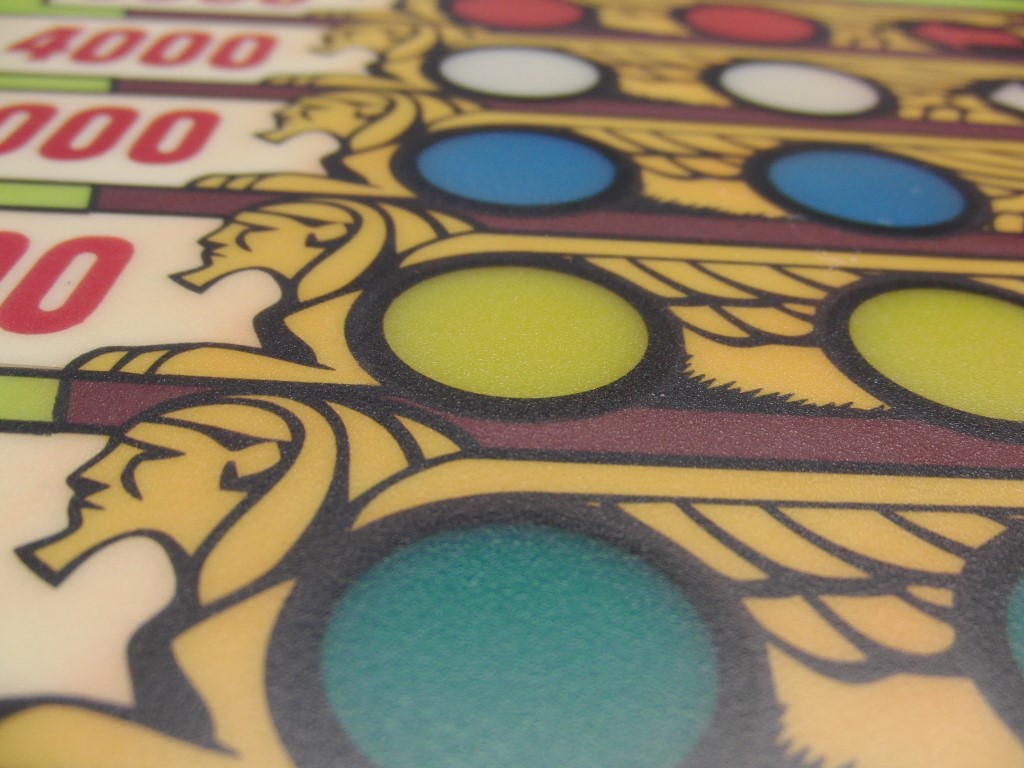
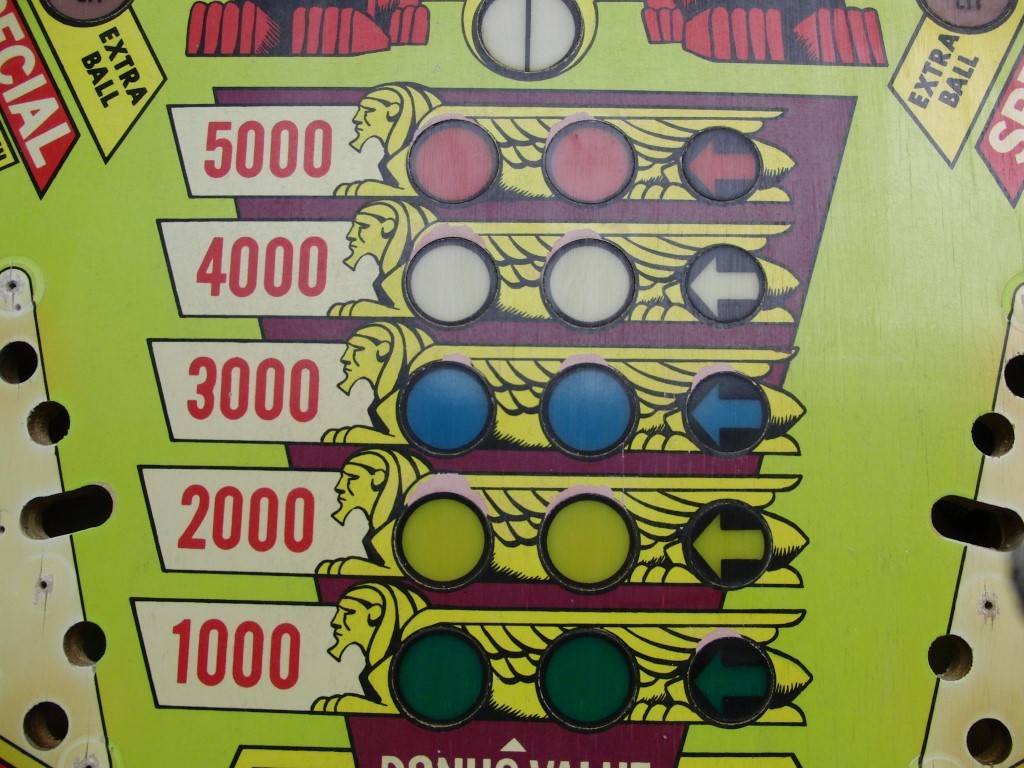
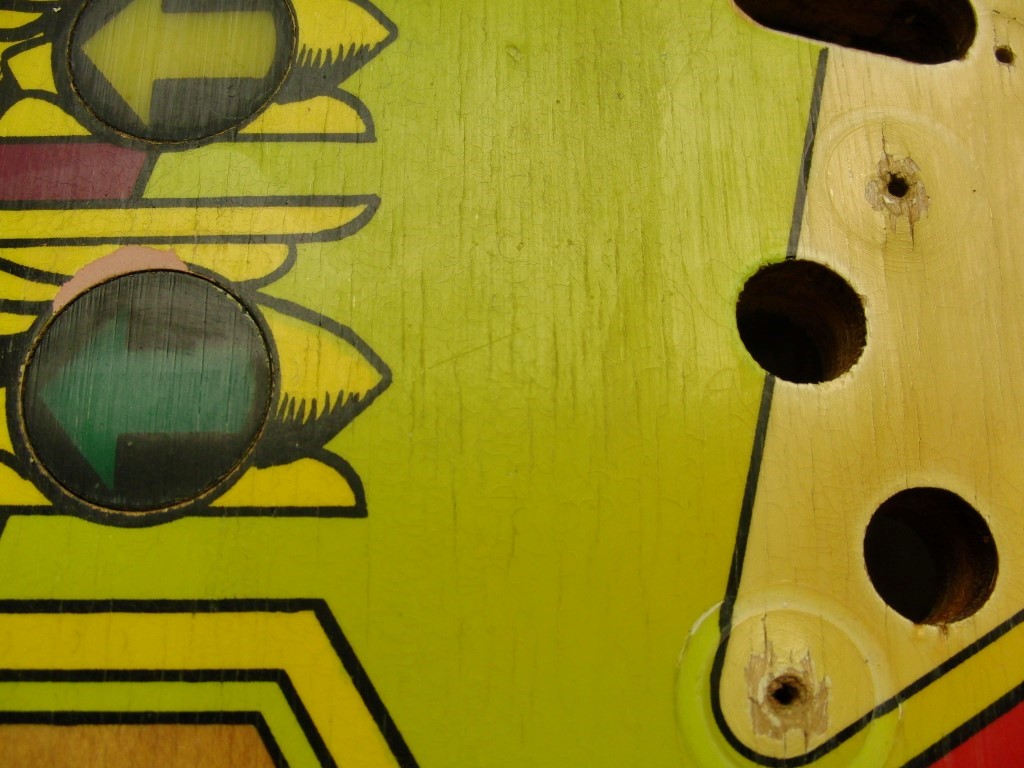
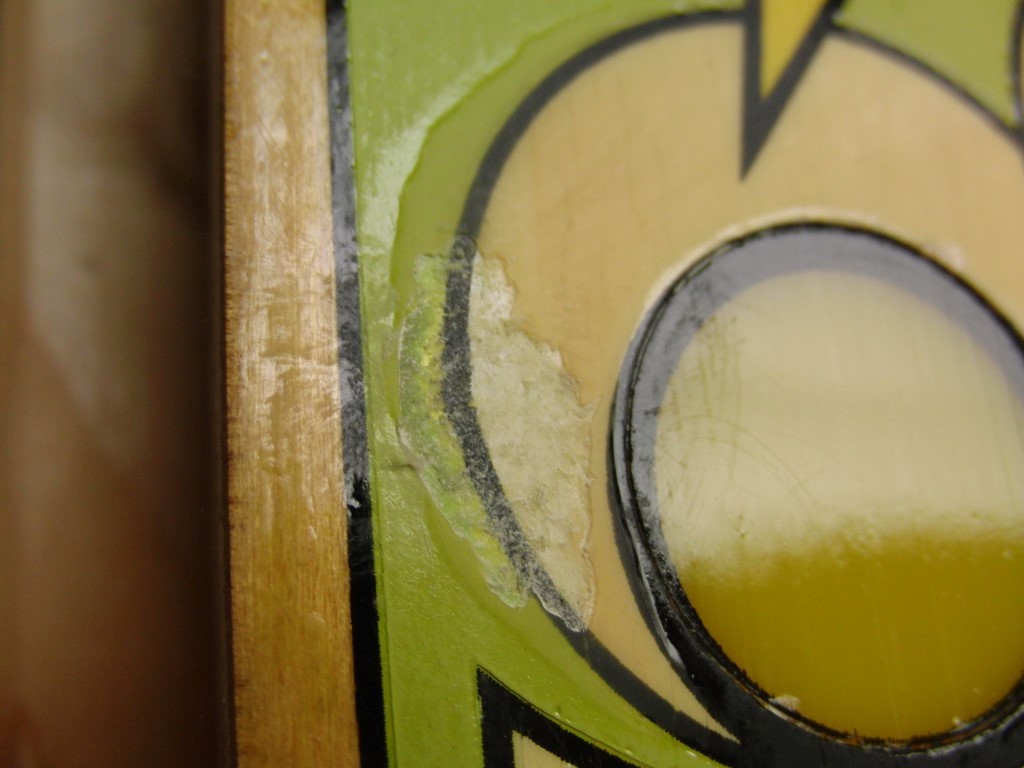
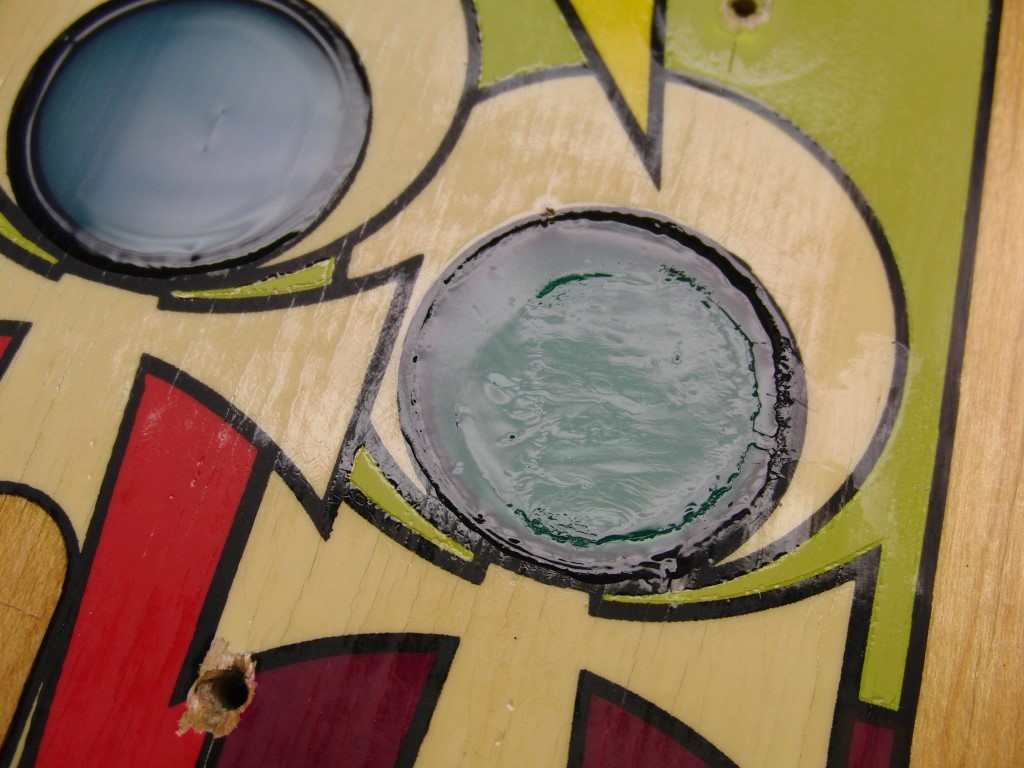
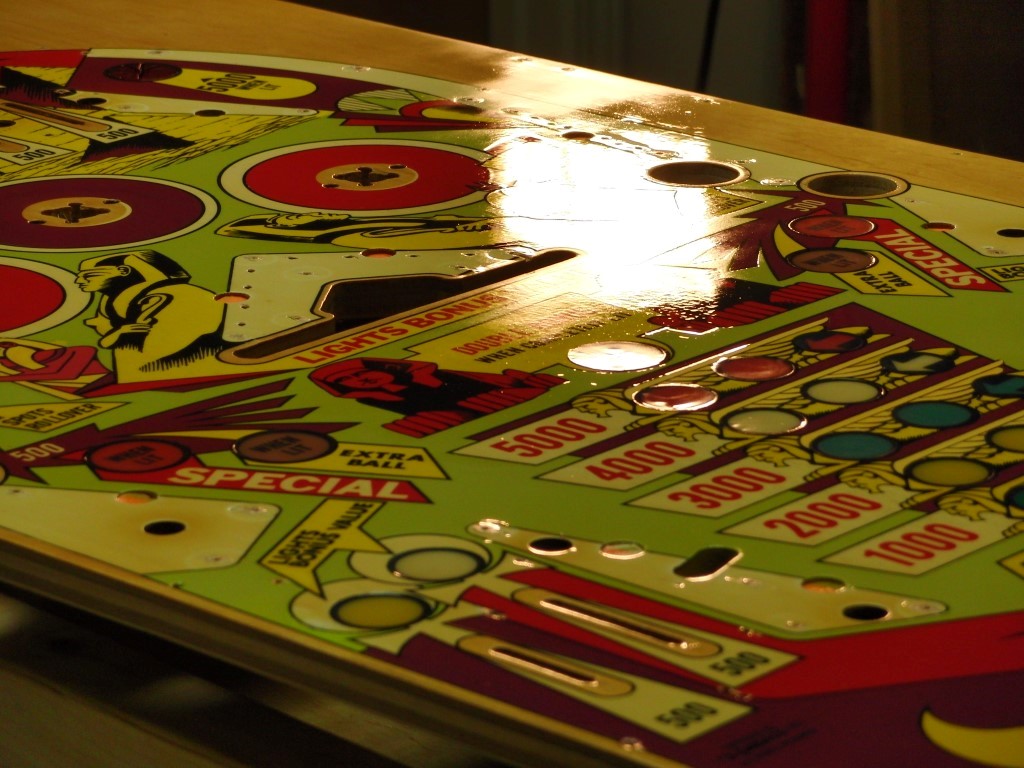
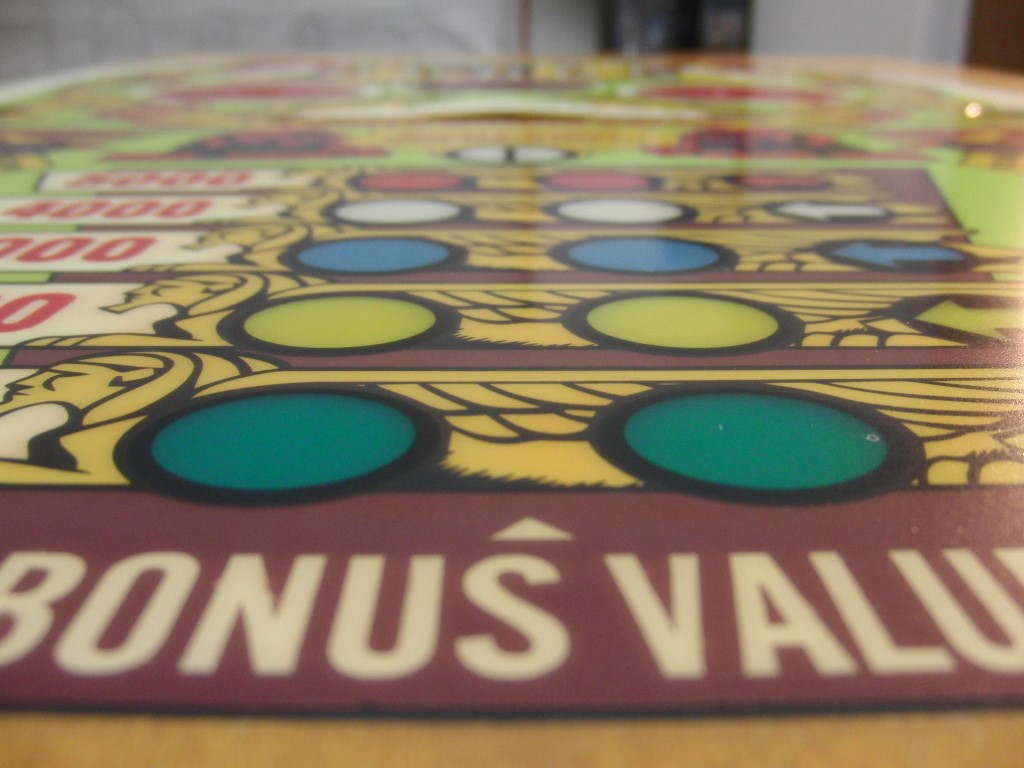
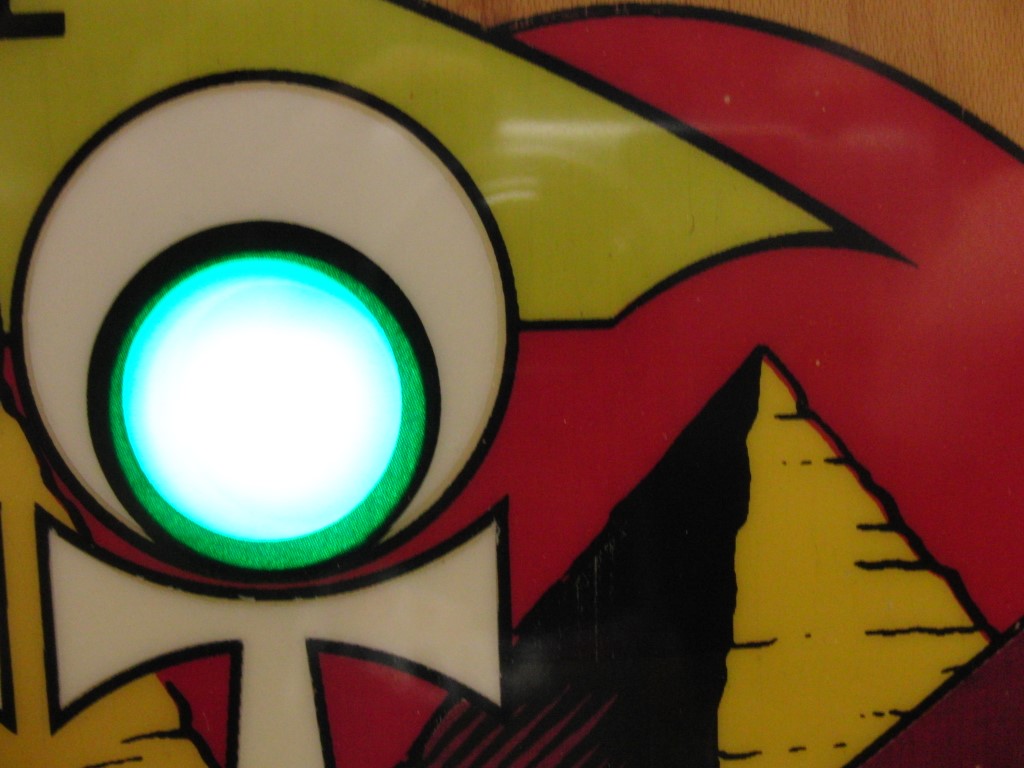
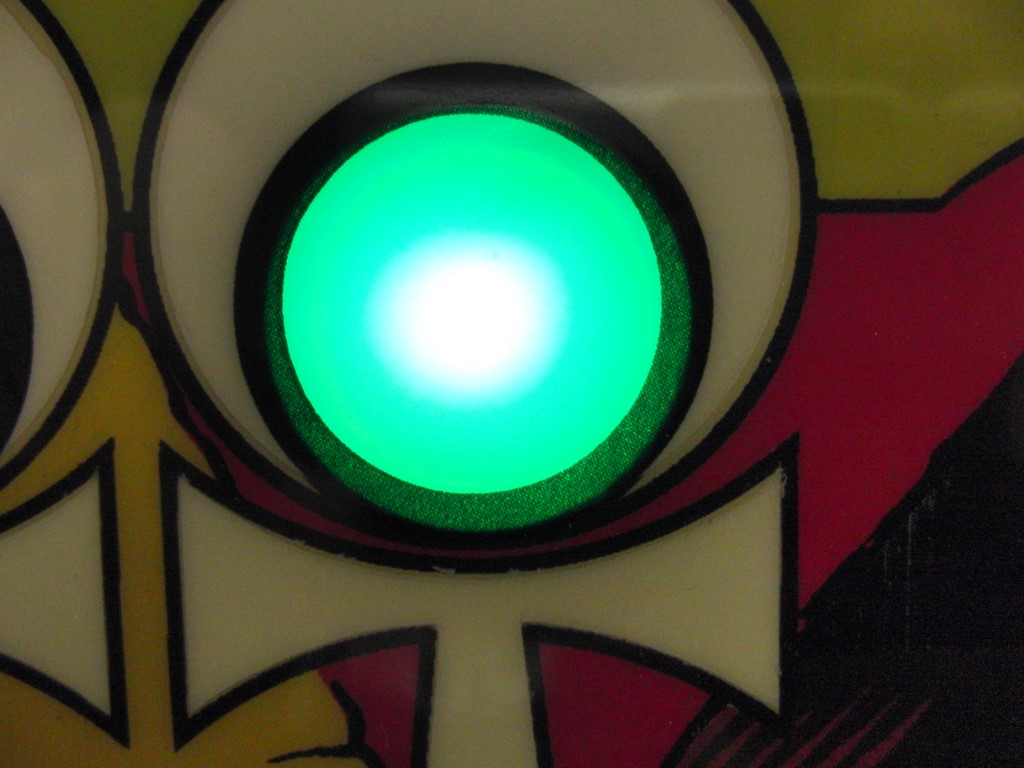
The clear sprayed perfectly from the gun, however it dried rough to the touch, not sure what I did wrong… You can see what I’m talking about in the “Green insert” picture, so another sanding is in store.


OK, I’m getting close to a finished product here…
I went ahead and block sanded the play field again and got rid of the “rough” surface. Once that was complete I went back to using the diamond plate Varathane,with much better results. I notice that Lowe’s sells the diamond plate Varathane but in a gallon bucket for $60… ouch! I would have shot some through the HVLP if I could have found it in a quart…
I think for the future if I use water based product I will use the HVLP for base coats and use the Varathane for top coats. The next one I do will be automotive clear to see how it comes out, it will also be spring by then, making things much easier to accomplish.
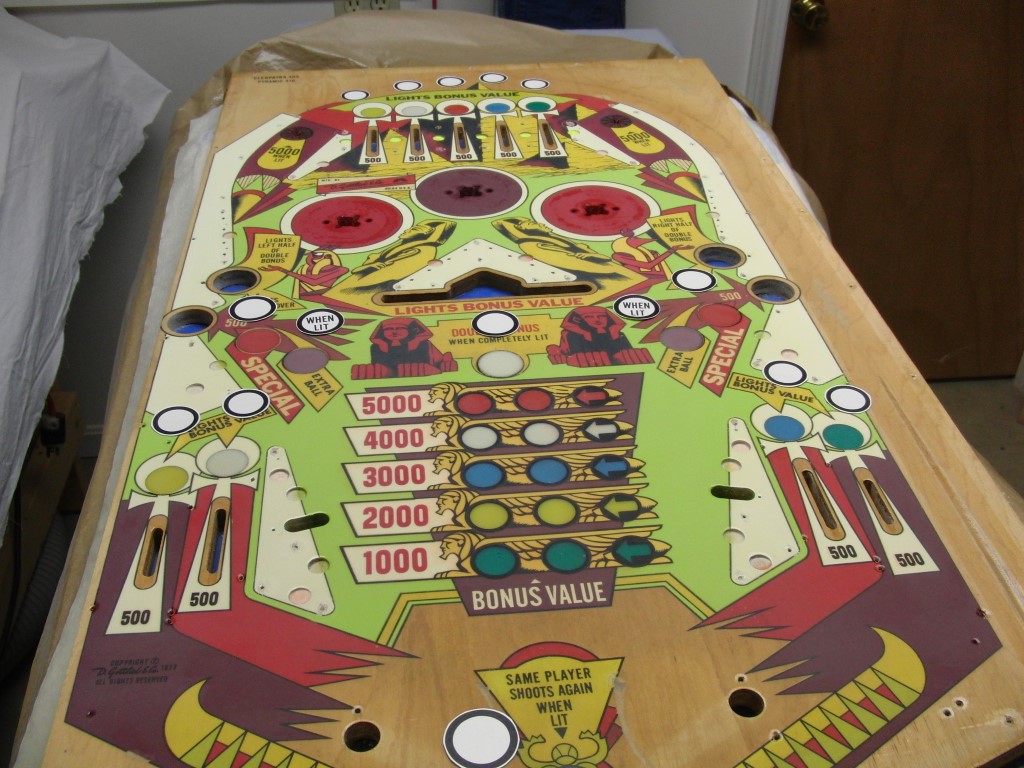
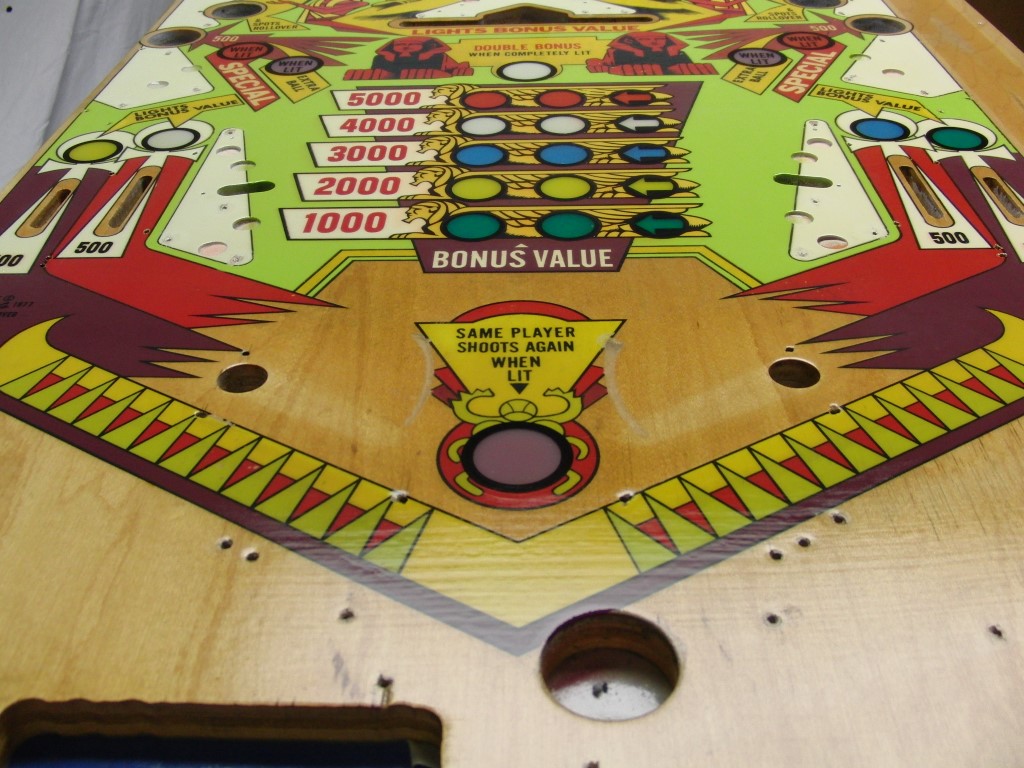
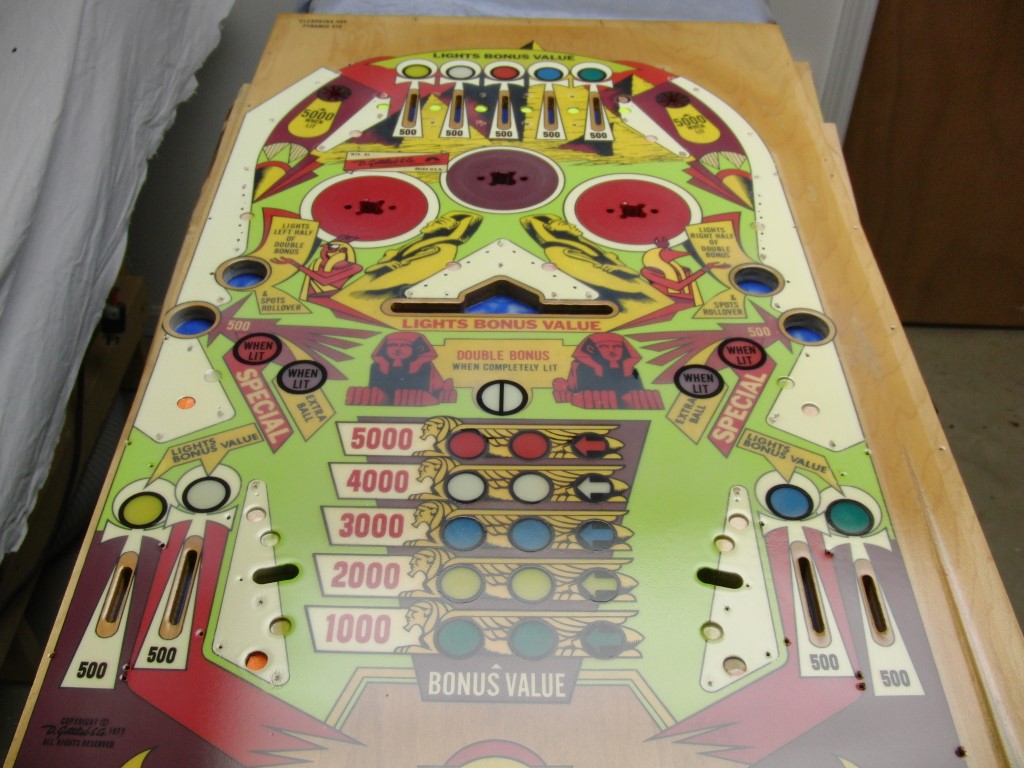
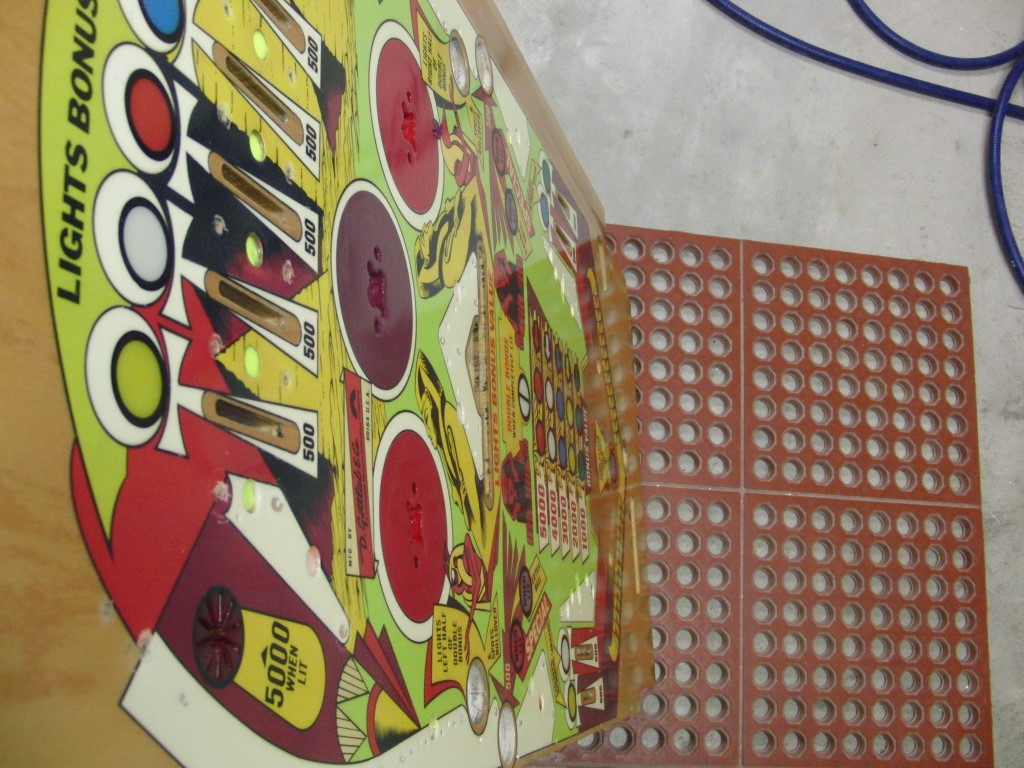
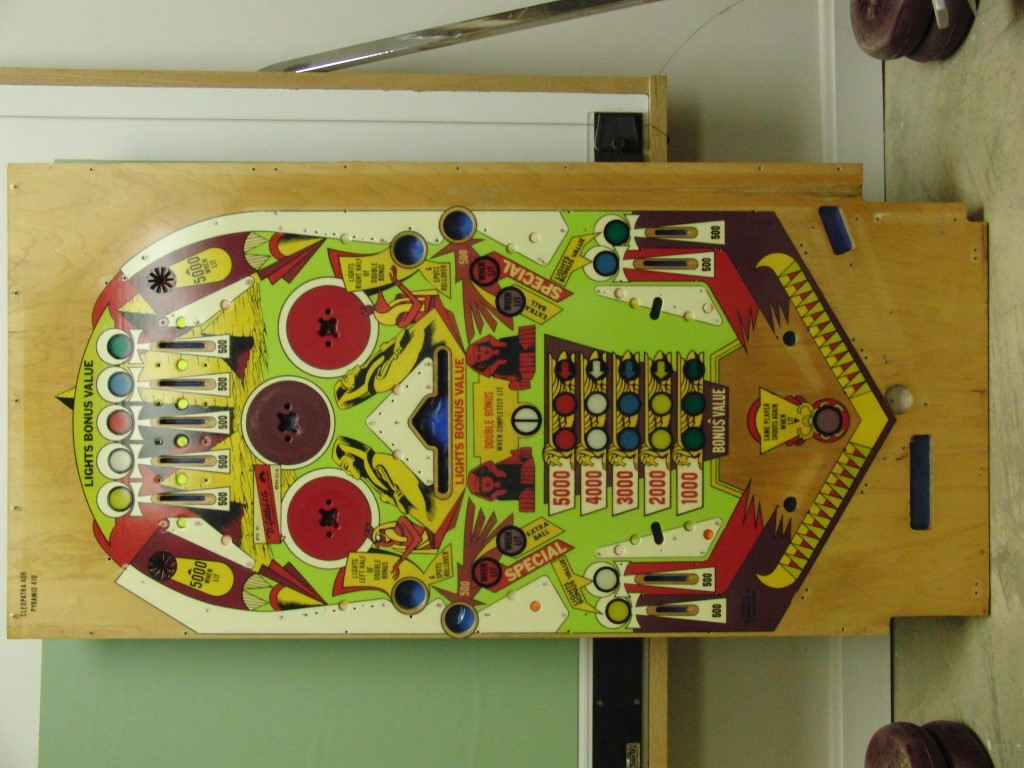
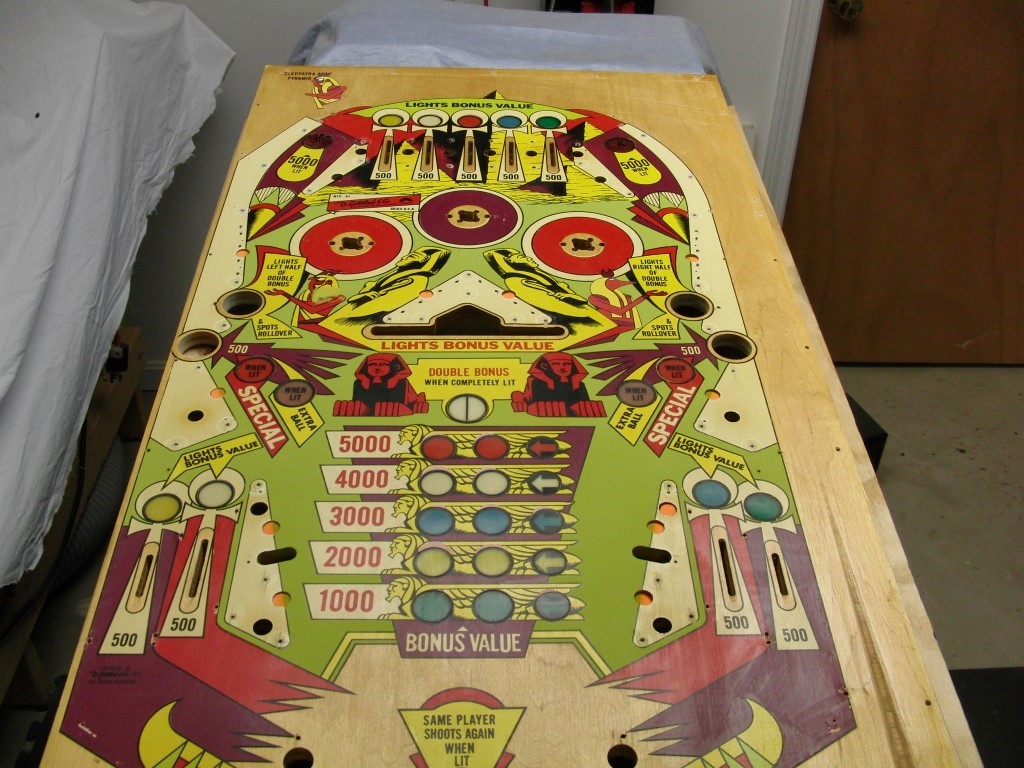
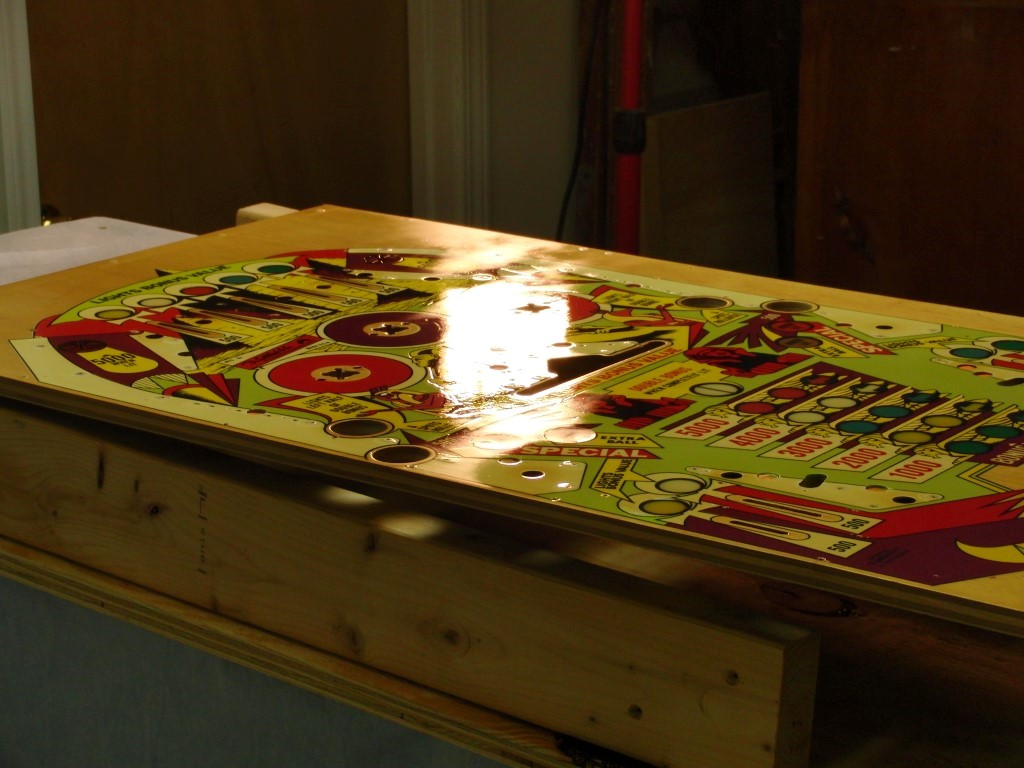
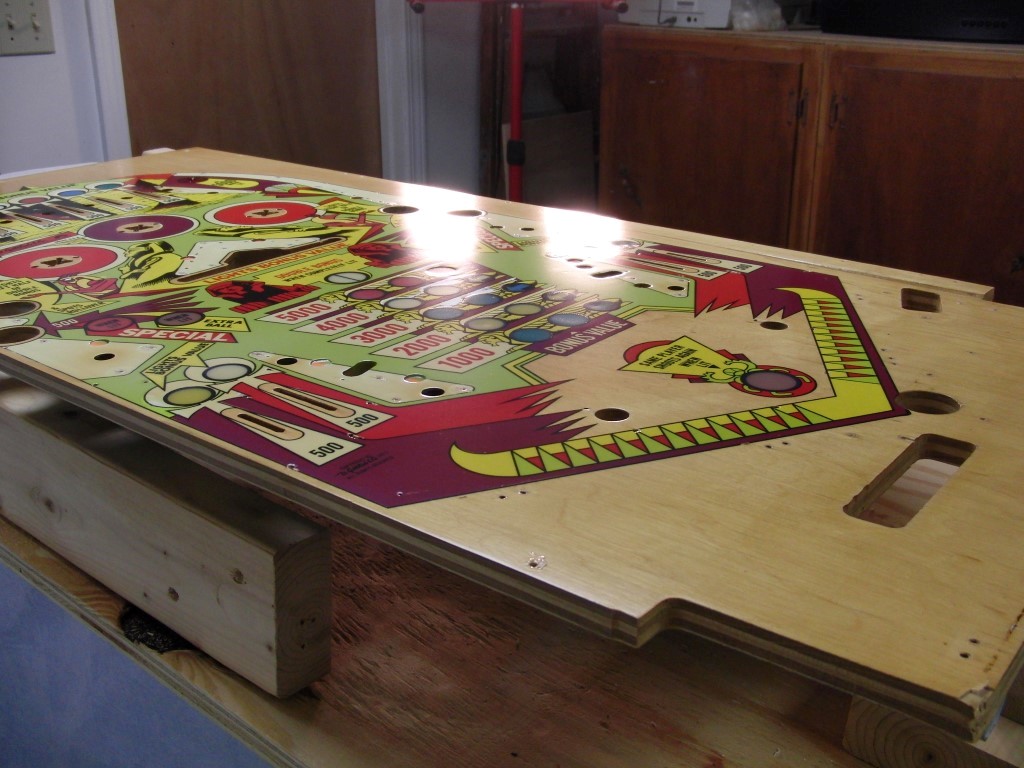
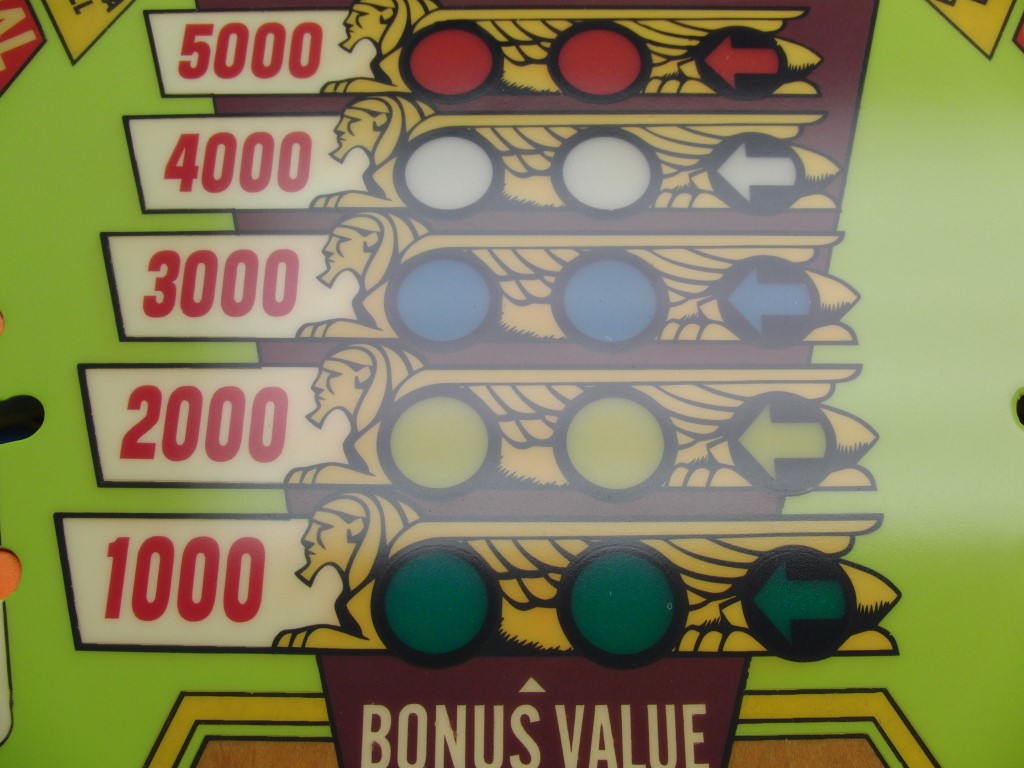
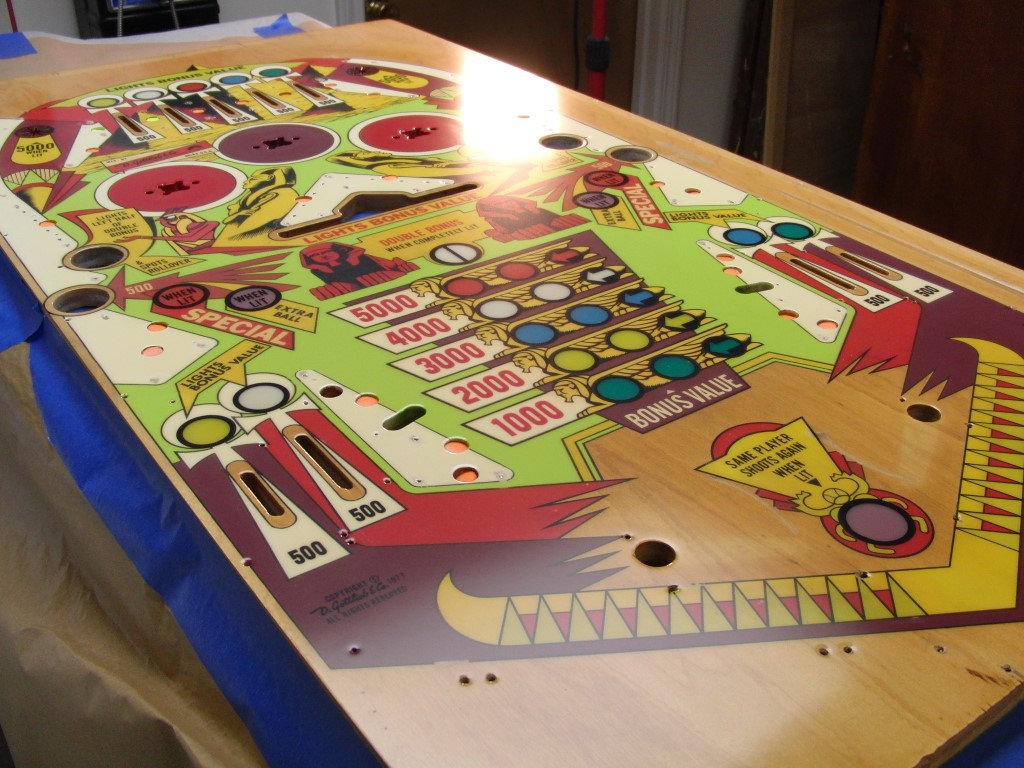
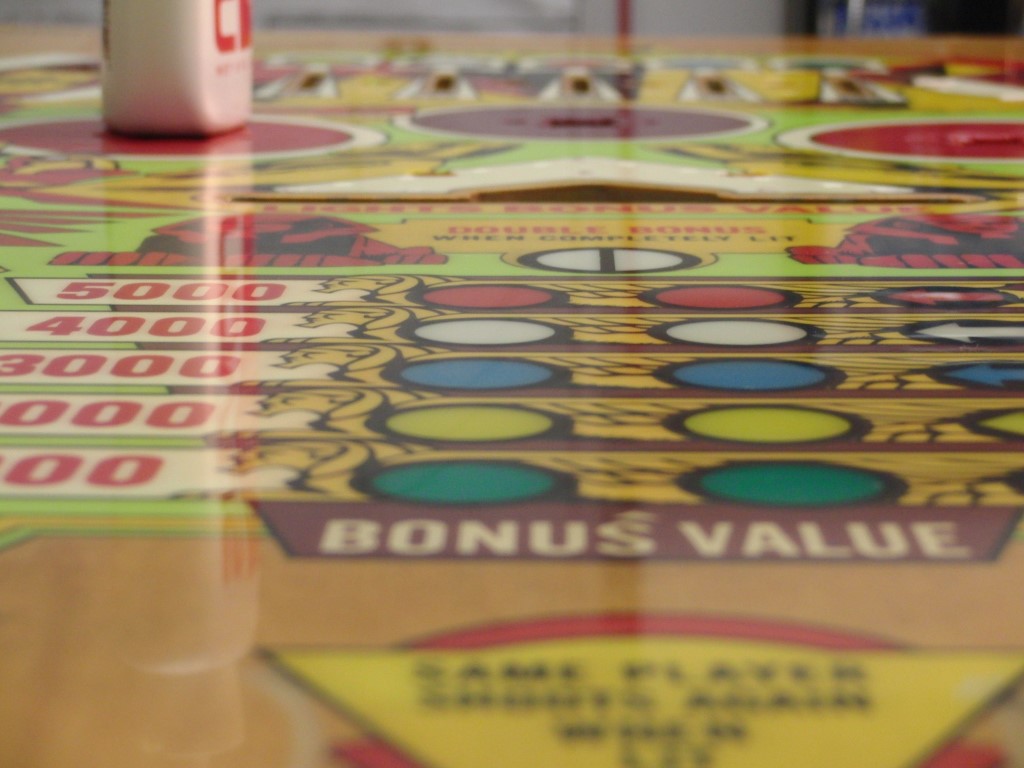
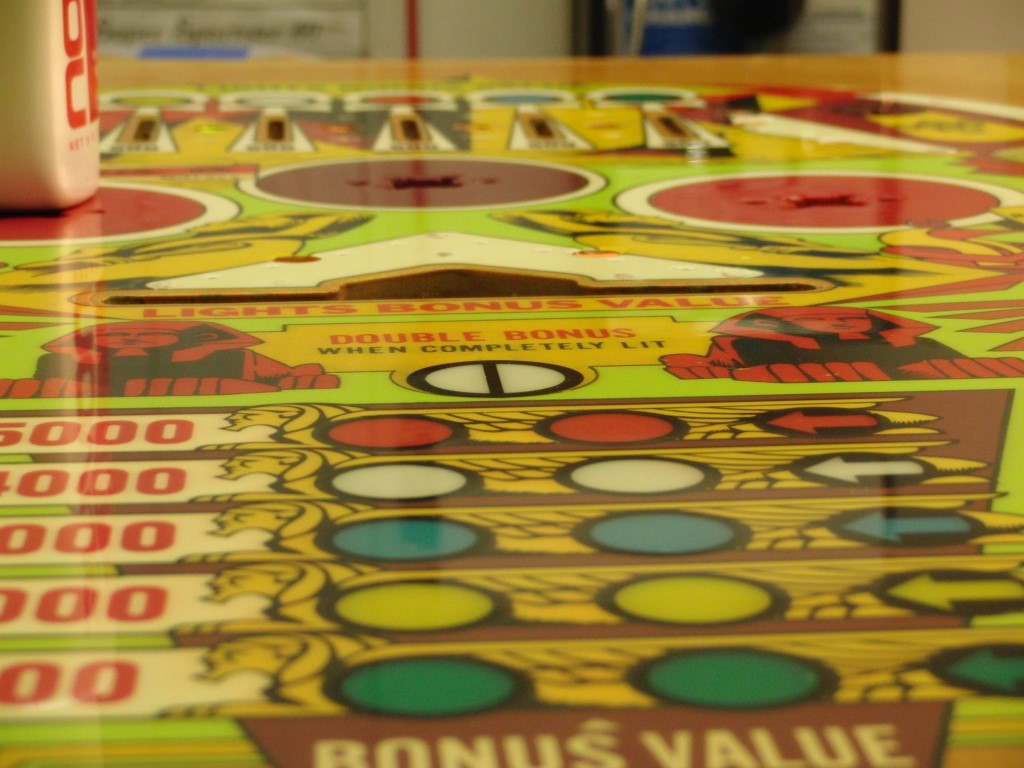
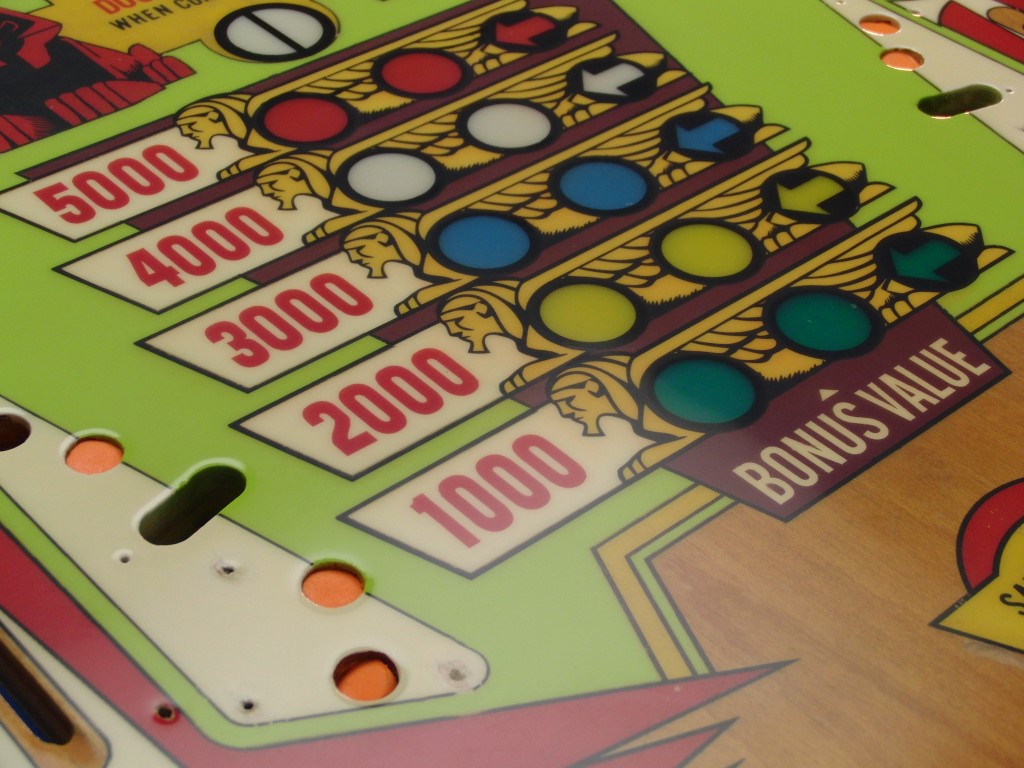
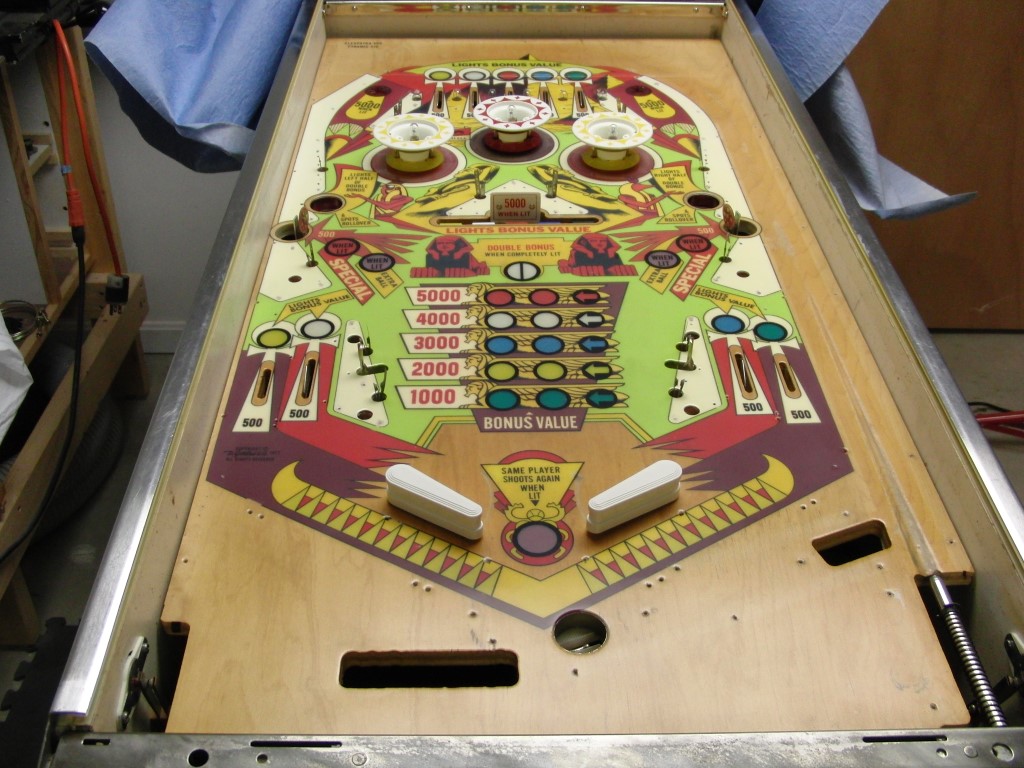
Anyway here are some pics of an un-sanded and un-polished play field.. I will wait about a week before I sand it and attempt to polish it…
I think it came out rather nice.. much better than I expected.

I started working on the keeper playfield (maybe..) last night… I’m going to try a few things differently and try to sand less, my arm is tired!
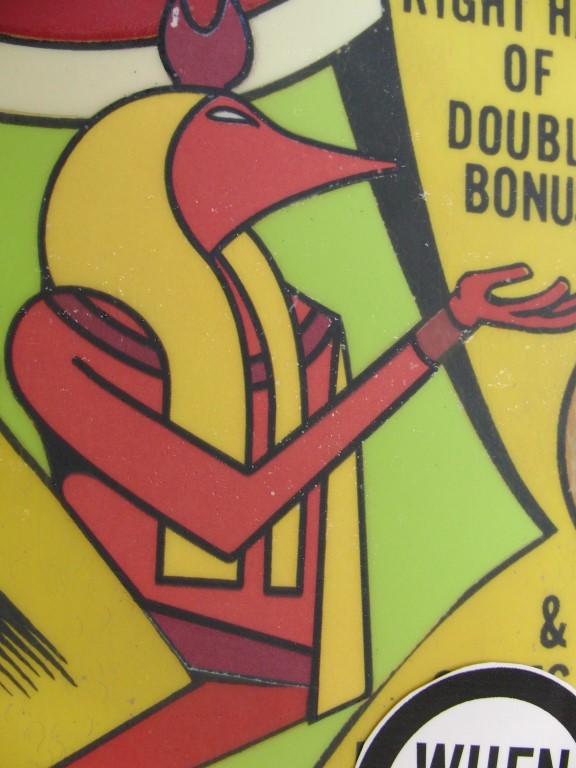
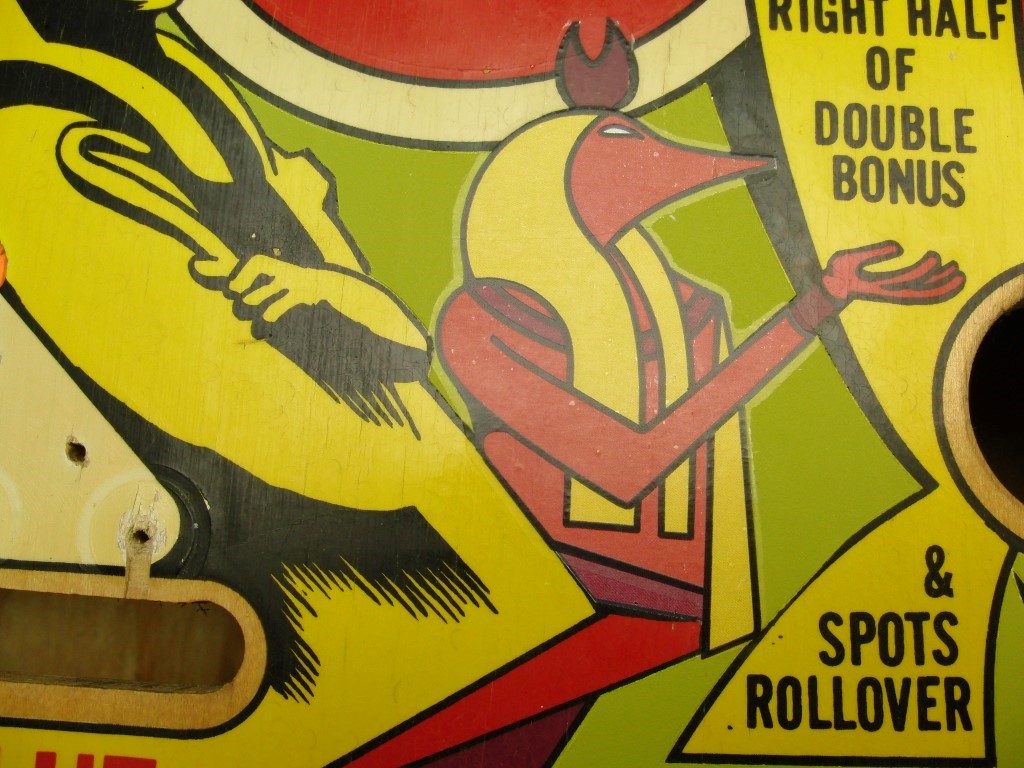
I laid down the decal for the right outhole last night, directly on the play field without any problems and after filling the wear spots of course with filler. I also started working on the center image by trimming some decals for it as well.
The main problem I think is color matching, even though the finished PF looks great, much better than I anticipated, the casual onlooker won’t be able to tell the difference but I know it needs to be closer. I’m thinking of dragging the PF down to one of the paint stores that has a mobile paint scanner to see if they can match the paint.
I’m making some progress on the second play field. The wear wasn’t as severe but still needed some filling on the out holes and center graphic it also has a little planking going on, not sure what causes that, mostly I would guess environment.
I called the paint store and they said they had a hand scanner they could use to match the lime green paint, but the smallest quantity they sell is in a quart, appx. $10 -$15. Being the cheapskate that I am I went ahead and tried my hand at mixing again by using only Primary colors, in this case Yellow and Blue. I used just a small screwdriver tip of Blue and got pretty close, I’m happy.
I went ahead and shot the lime green today, next is laying down the remaining decals and other touch ups needed.
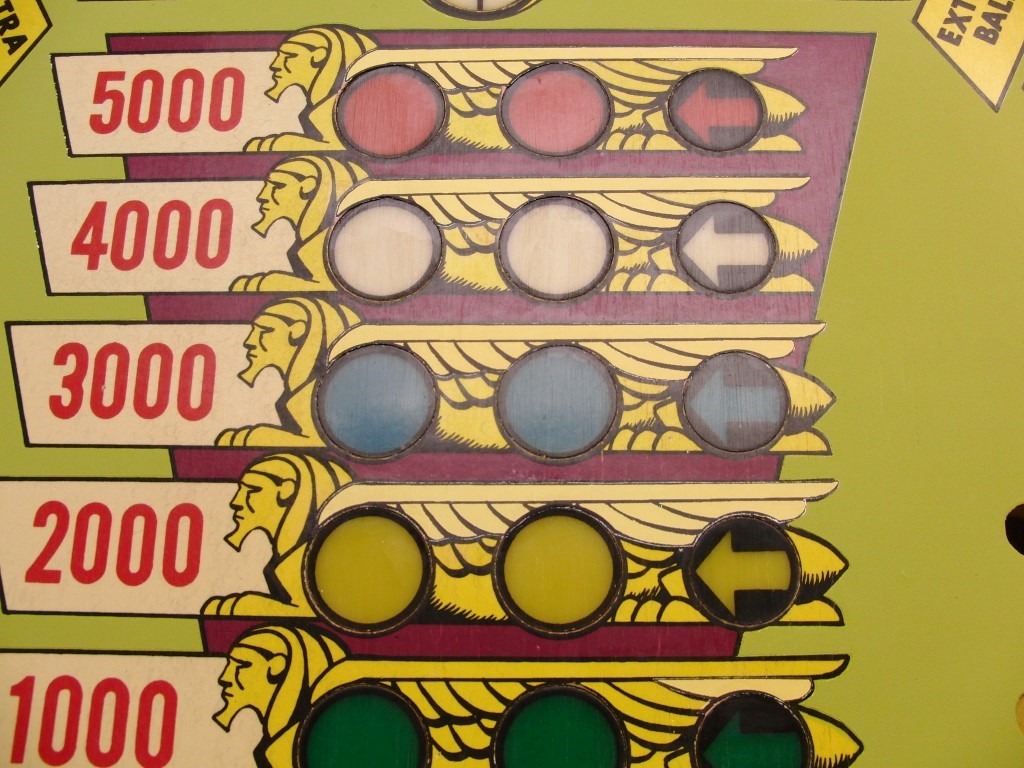
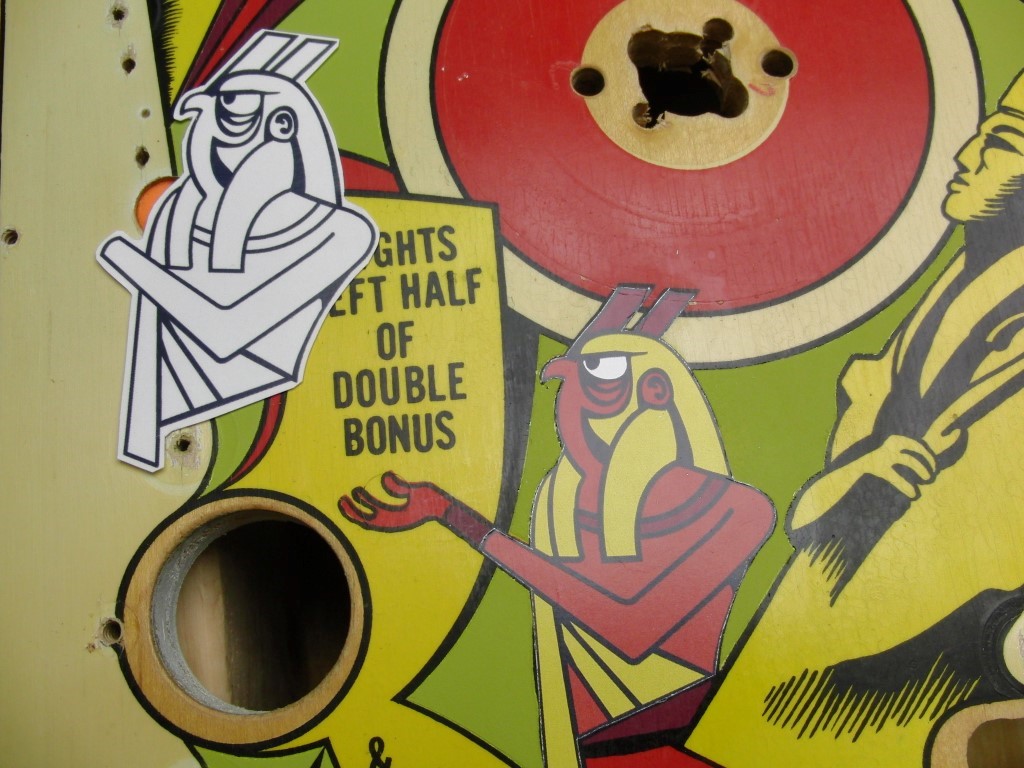
Making some quicker progress on the second play field. I fixed the center graphic/lions by only using partial decals to repair the wear, it was a pain trimming them but in the end I think it will work nicely. I trimmed the decals to fall within a key line since I will be using a decal on the lions key lines, they should be hidden well.
I went ahead and added the key lines to the out holes but held off on the center graphic because the inserts are so sunken that they will need to be filled and sanded. Filling so many inserts and sanding them will be a pain, not sure how that’s going to come out.
I also did a little touch up using a very fine paintbrush to all the key lines and other obvious areas that needed a little here and there by using the dab and wipe method.
My plan is to replace all the key lines on the lions, if I add the key lines before I fill/flatten the inserts they will tear right over the inserts since they are not flat. So I’ll shoot some clear to give a nice base coat then flatten the inserts and then add the key lines and shoot clear after that and then flatten the entire surface.
I also finished both out holes… time to shoot a little clear.


The rattle cans I had to order from the West Coast since I couldn’t find them locally except Lowe’s carry’s it in a gallon for spreading on your floors and the stuff I used to spray from my HVLP and fix the inserts was also purchased from Lowe’s and comes in pints, quarts and gallons, the finish is a little duller but I think that is because I bought semi-gloss…
Well the clear has dried and as expected there will be a lot of sanding.. I also made a mistake of not making sure the play field was leveled before spraying, I got some areas that started to sag. One of the drain holes got the worst of it and then I tore through the clear when sanding it…
This play field isn’t the straightest to begin with – looks like the owner pulled it and had it leaning up against a wall and it developed a little twist, not to play field owners – DON’T DO THAT, I think it will be negligible when installed.
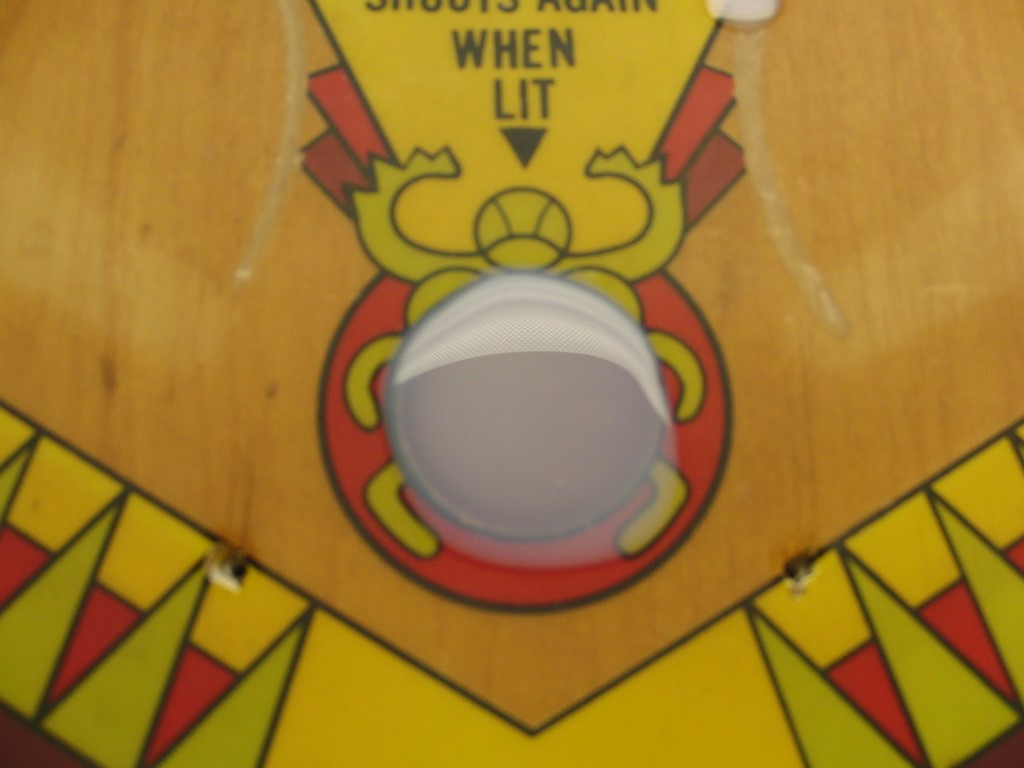
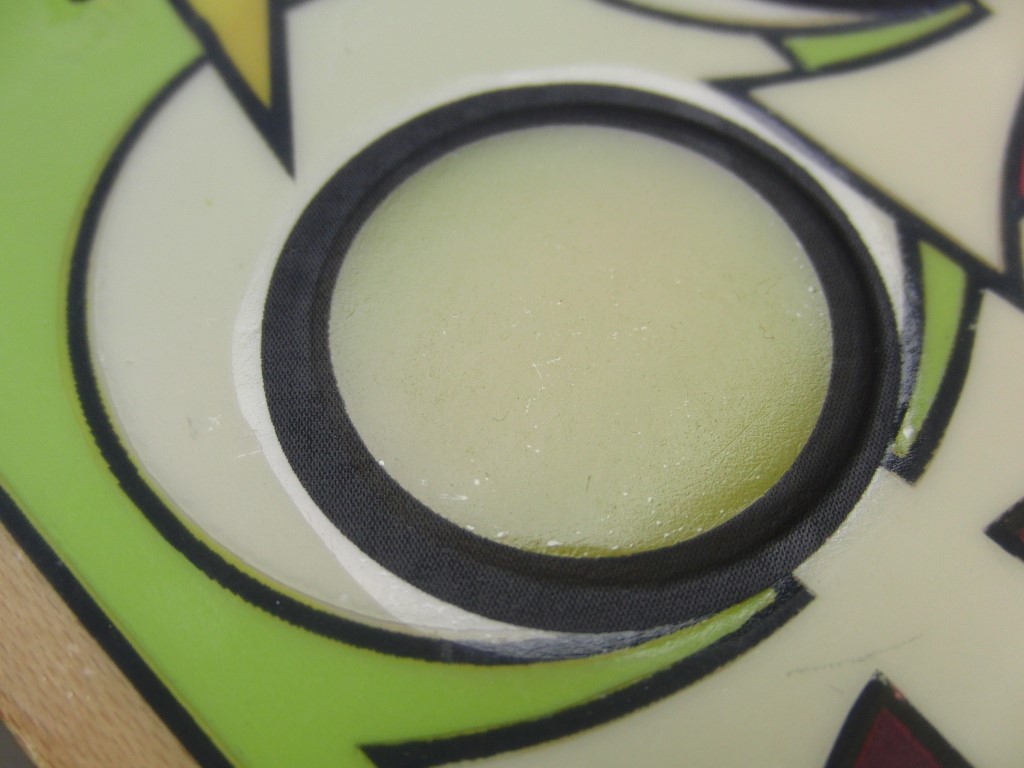
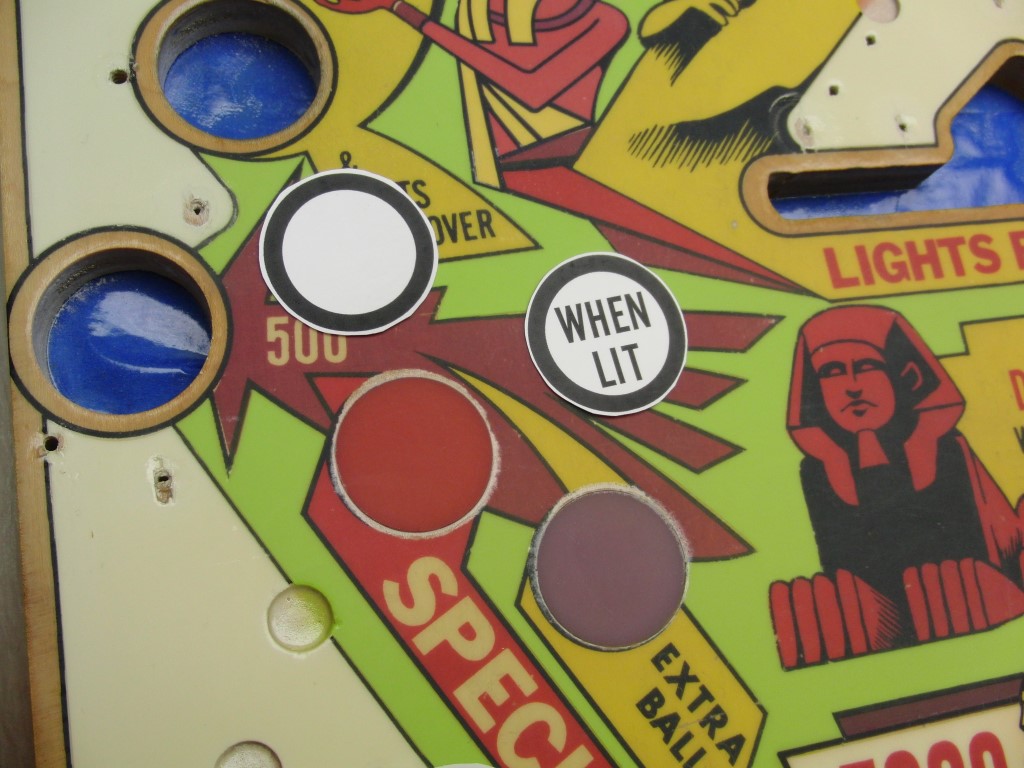
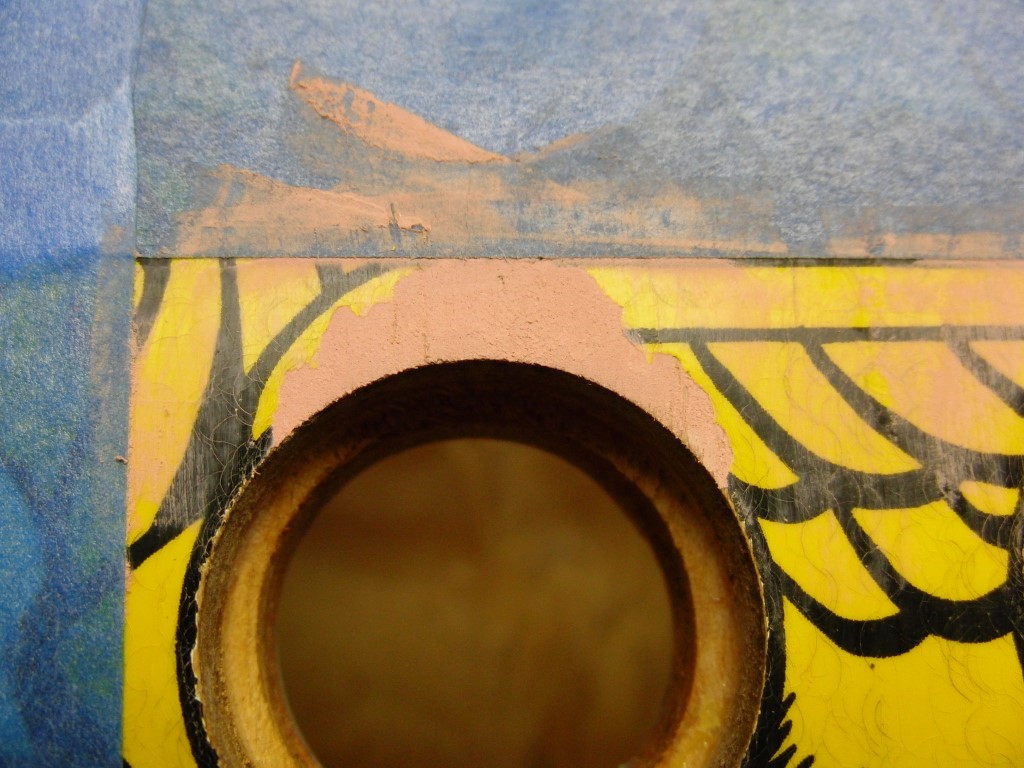
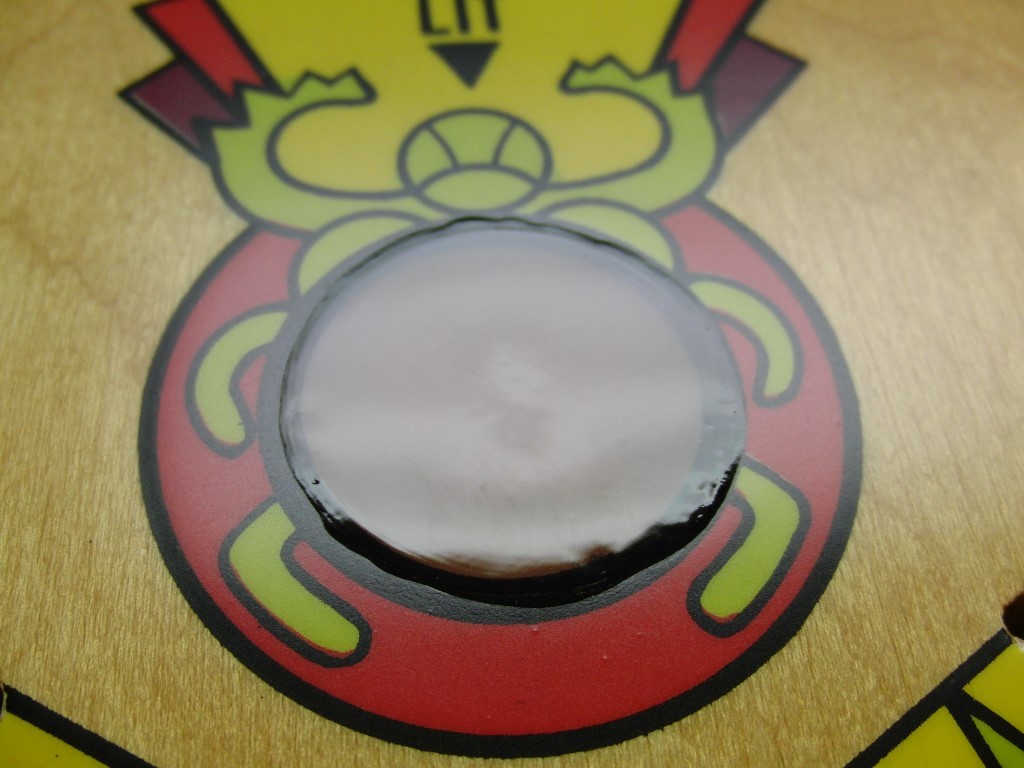
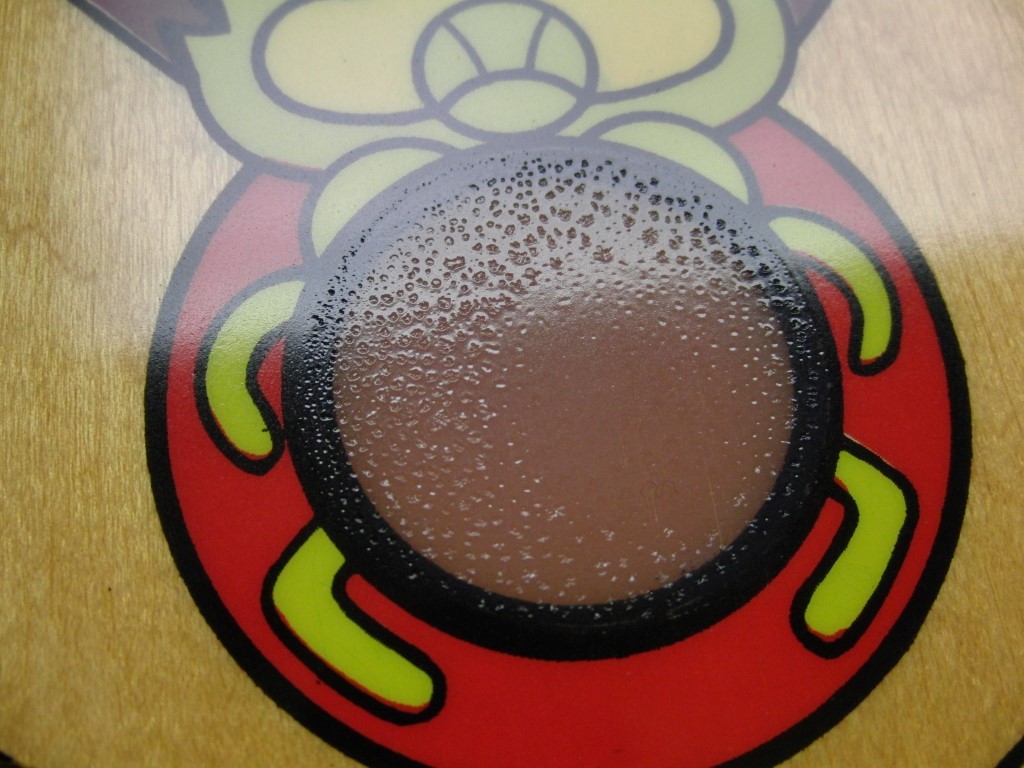
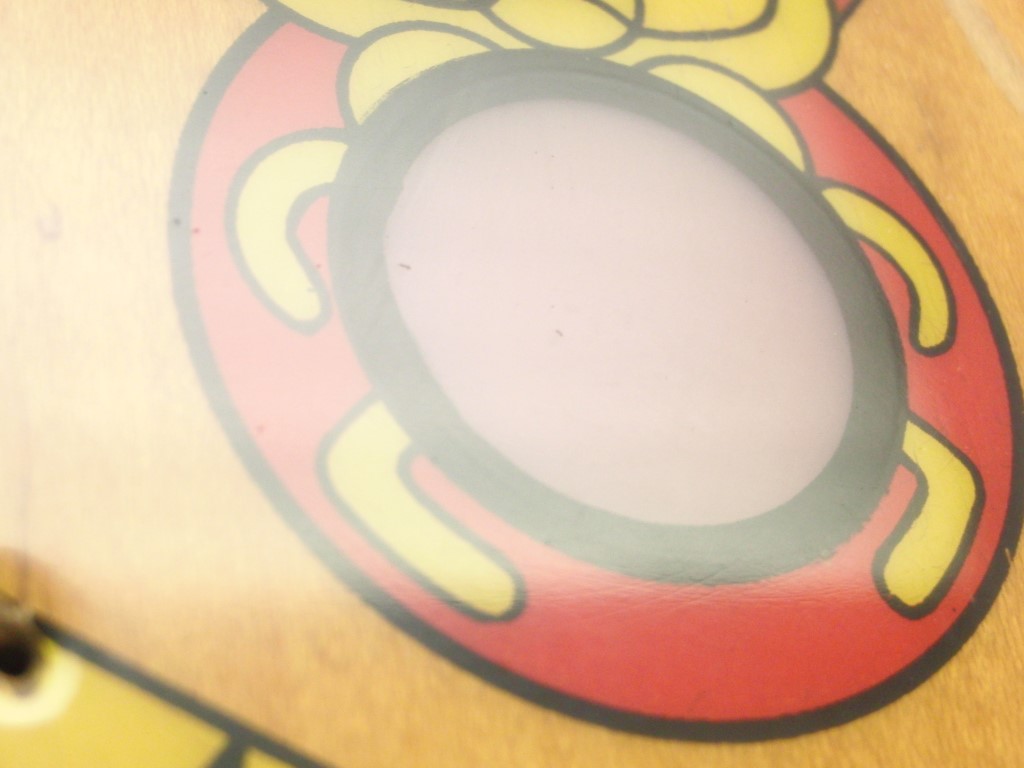
Since the inserts are so sunken on this play field they need to be filled and sanded a couple of times. I’ve made a couple of passes at them and managed to drag my shirt sleeve through one of them, doh!!! The other thing I’m noticing is that the clear isn’t as dry as I would like it to be so I’m going to start spreading out my sanding times to give them more time to dry. You can really see how much the clear shrinks by looking at the before and after of the out hole image.
I also went ahead and shot another layer of Polycrylic satin with my HVLP gun from Harbor Freight. I actually like this process, it shoots easy and cleanup is a breeze I’m thinking about going to Lowe’s and buying a gallon of Varathane clear gloss.. $50 ouch. Anyone have a coupon for Lowe’s??? I might try and split the Varathane into quarts, if anyone is interested in a quart give me shout.. it might not be worth it…
Anyway, as expected the center graphic is going to be a pain. I have enough clear on the play field graphic that I’m not worried about getting through to the base paint but I’ll probably have to lay on the decals again. As you can see I had to sand some of the decals off. I probably laid them prematurely since the center graphic has so many inserts.
The out hole graphics worked out well except for a small area that the paint is yellow and not the lime green color, I don’t understand that??? They are quite flush to the play field and I’m very happy with them.
I made a slight change to my sanding habit and have started with 320 and finish with 600. It’s important to be aware of how much pressure you use and to make sure that you don’t cut through the clear, it will tear and creates a huge mess. The good thing is that it’s not the end of the world and generally can be fixed by removing all the lose material and sanding will finer grit sandpaper to give a nice smooth edge, additional layers of clear seem to adhere well.
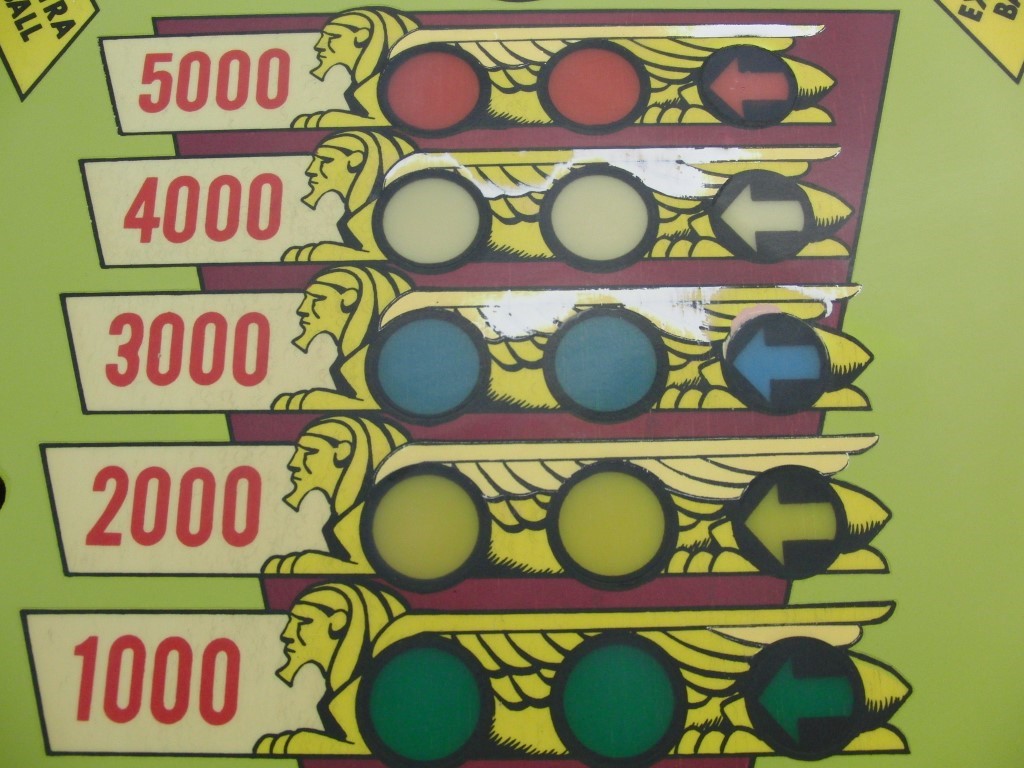
I tore through the clear on both the red arrow and blue arrow on the center graphic. I found that if I used some rubbing alcohol on a rag that I was able to smear the clear with it and create a smooth transition that I later sanded with some fine sandpaper.
I shot another coat of clear from the rattle can I’ll post some pics later but it looks better..


Well I broke down today and bought a gallon of Varathane Semi-Gloss that I plan on shooting with my HVLP.
I bought 2 quart containers from Lowe’s and poured off some of the Varathane after getting it mixed and a good stirring. Anyone interested in a quart let me know, I figure it at about $15 a quart plus shipping. That’s not necessarily the deal of the lifetime but I don’t think you can get it in a quart…
Anyway, I finished some prep sanding again with 320 and then 600, wiped it down with Naptha and poured it into the HVLP.. check out the results…
The inserts are getting close to being leveled, the inserts that I dragged my shirt sleeve through and the ones I broke through the clear are also looking good, I’m feeling better about this play field now.
Another 48 hours before sanding and I’ll finish leveling the inserts then apply the decals again..
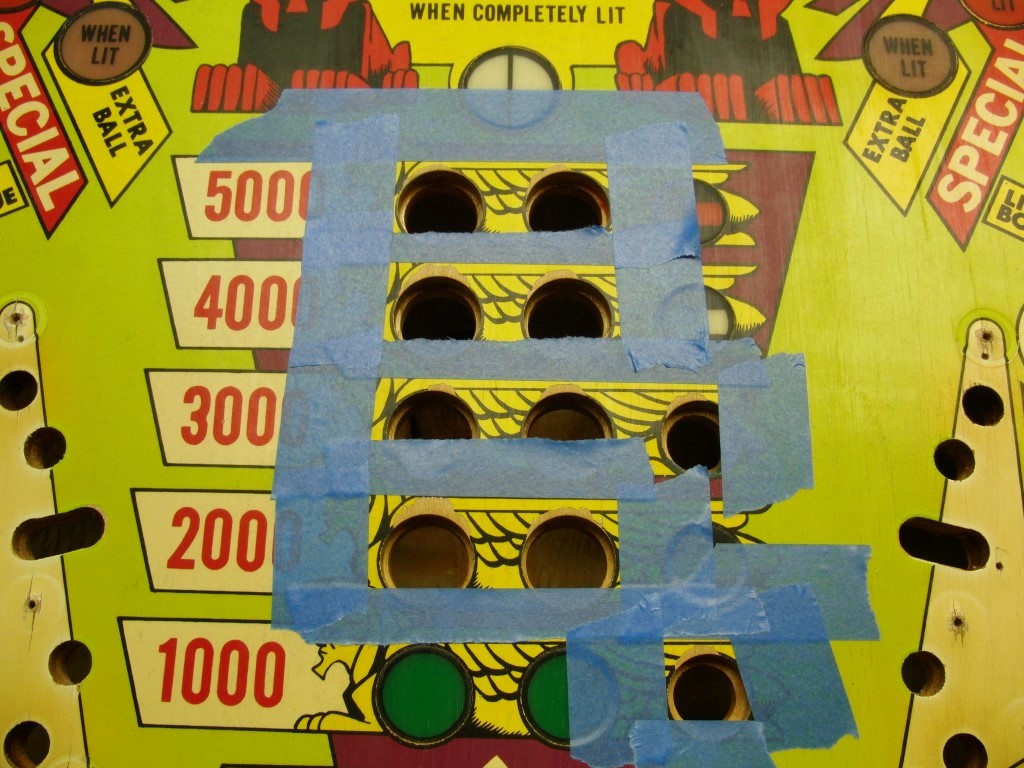
I went ahead and leveled the inserts again after realizing the play field wasn’t totally leveled in both directions, duh!!!
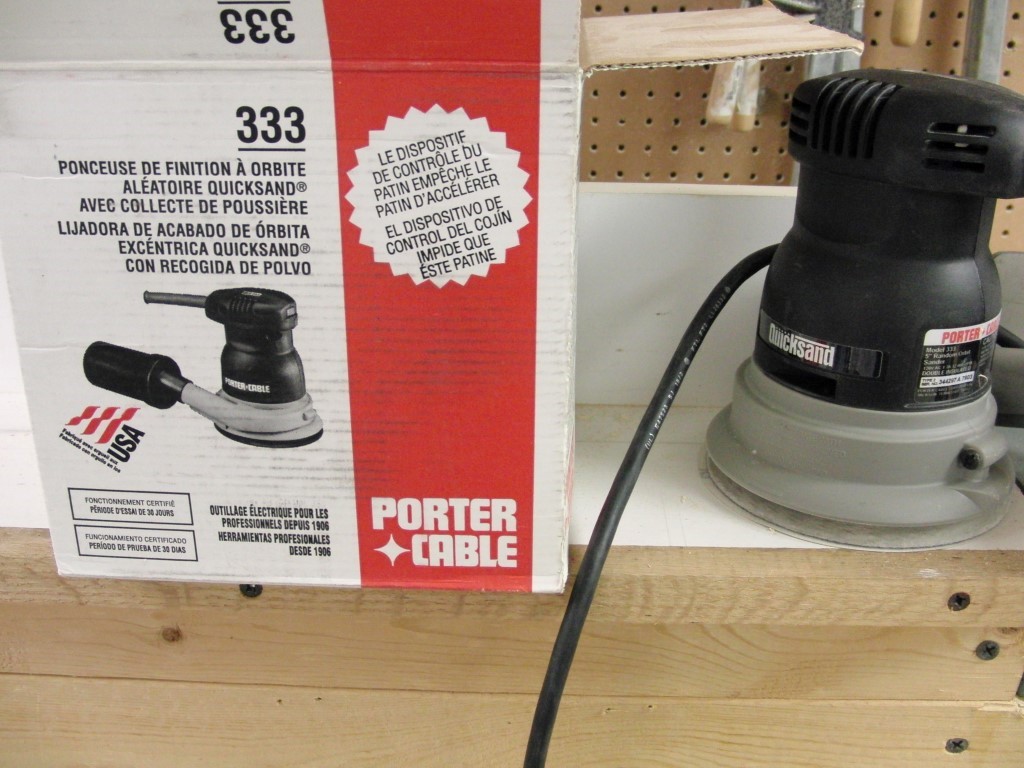
I was getting tired of block sanding by hand… so I broke out the orbital sander, and sanded carefully! It certainly helped cut down the inserts quicker after trying to level them so I’m back to just trying to get the surface level.
The out hole insert is close enough for me and I won’t be leveling it anymore as well as the insert I put my sleeve in.
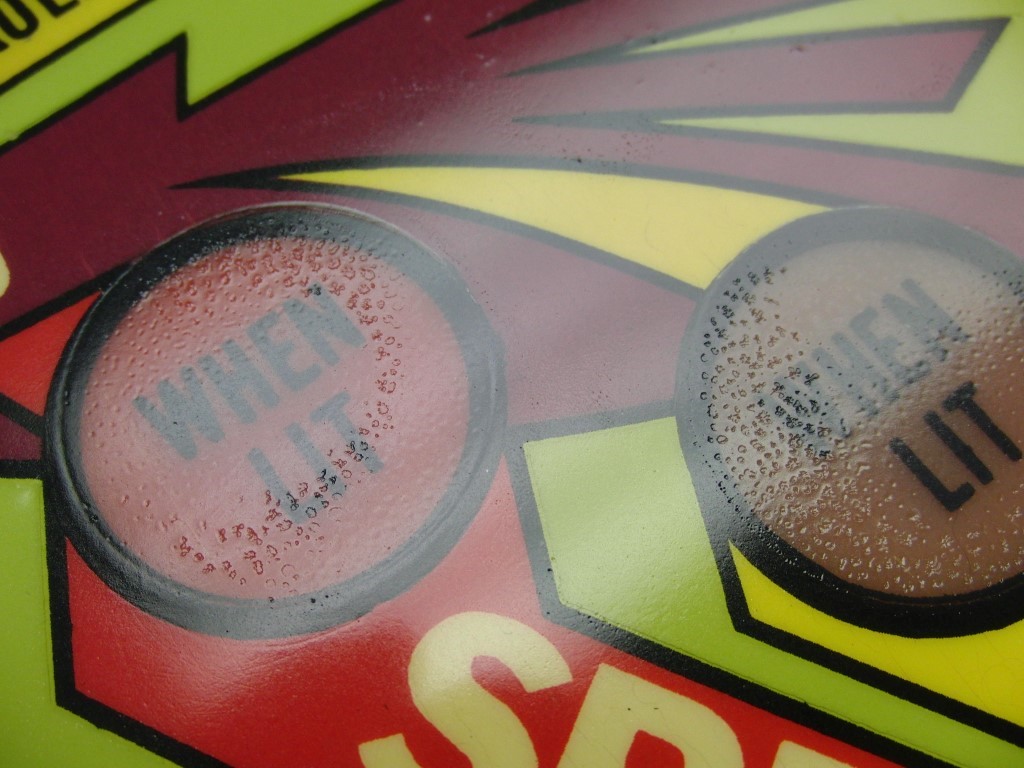
The last shot of clear developed a strange result on all the inserts that I leveled they all developed air bubbles, I have no idea why but more sanding is in store (damn!), I’m getting close. The bubbles may have developed from the Naptha and spraying too soon, I just don’t know????

Jumping back to the play field that came with the pin and I will finish the the other when this is completed, maybe…
So, I thought I was good to go on the original but realized that it needed to be sanded a little more as there was some raised areas. This time instead of my orbital sander I broke out my old square pad sander that takes 4″x4″ sheets of sandpaper. It has a flatter base than the orbital…
I snapped in a sheet of 320 and went to it.. I didn’t realize how much sanding it really needed I was also very careful to not go too far. I’ve already experienced cutting through the clear and didn’t want to revisit that trap.
Once I finished sanding I went ahead and shot another layer of clear, quite heavy this time and this time it is complete, it looks great and feels nice and level, The only sanding left will be right before I polish it. I’m going to give it a couple of weeks to dry before sanding.


Some good news bad news, for me that is…
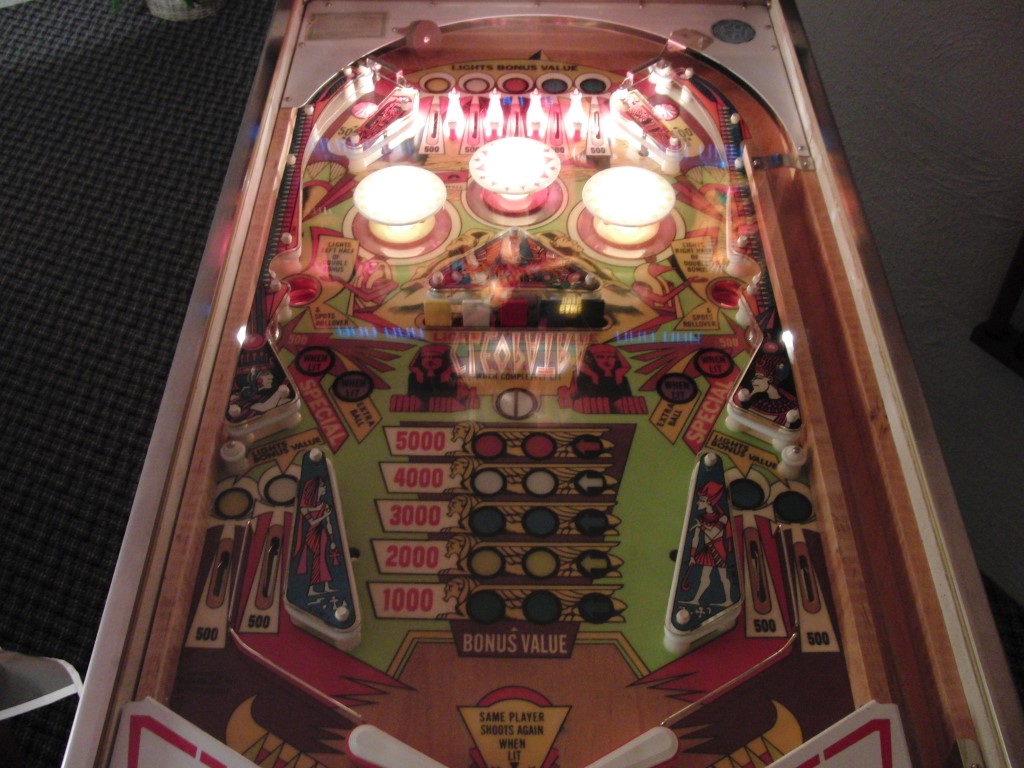
First the good news, WOW! does this thing shine after a final sanding and a buffing.
I started a final sand using 1200 and then finished it with 1500. I bought a cheap 3″ buffer for my drill at Harbor Freight (http://www.harborfreight.com/3-inch-…kit-95394.html) I would have preferred a 4″ but no matter. The drill attachment sucks just because it holds your hand in an awkward position, but it works. I just used some Novus as the polishing compound…
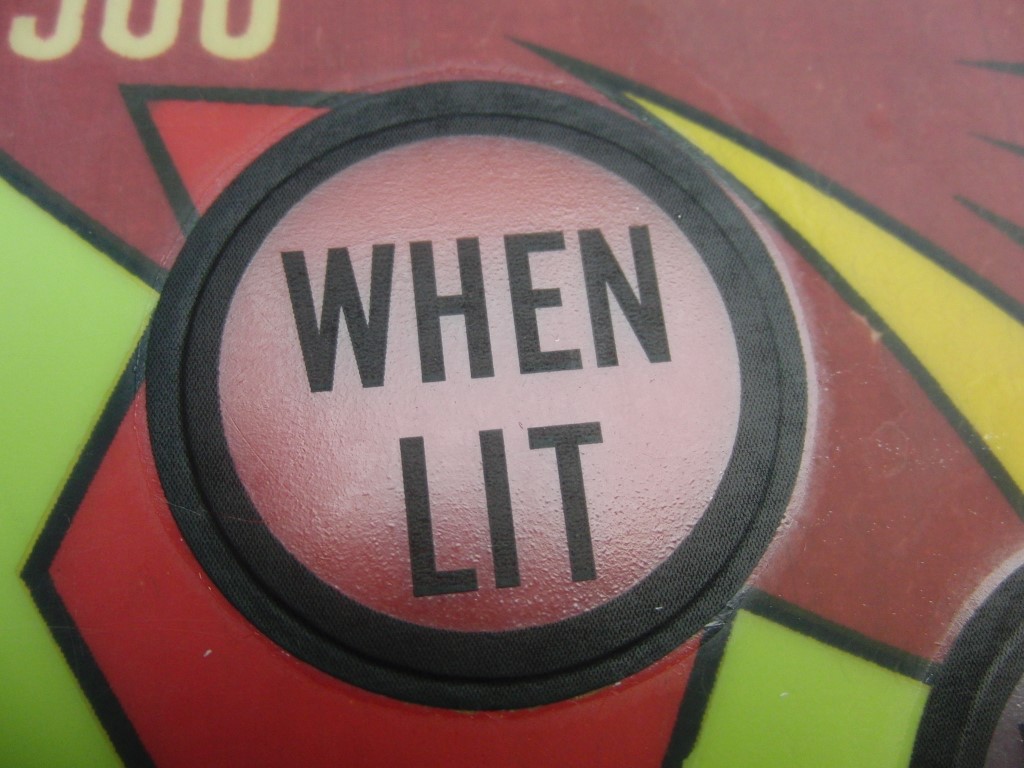
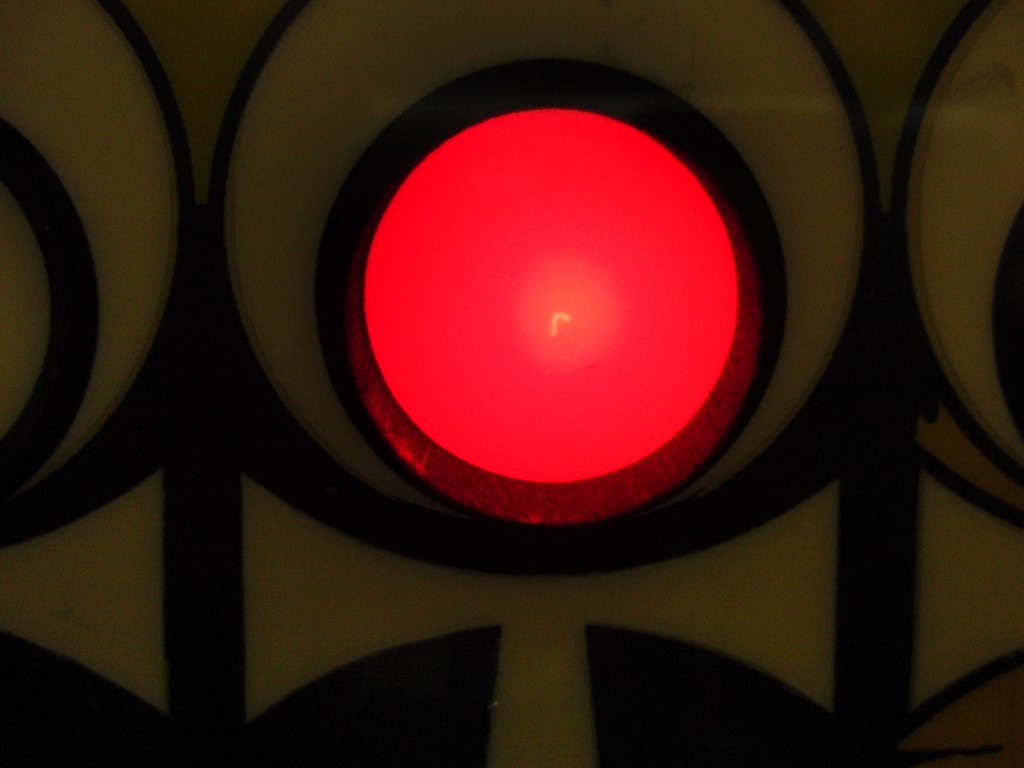
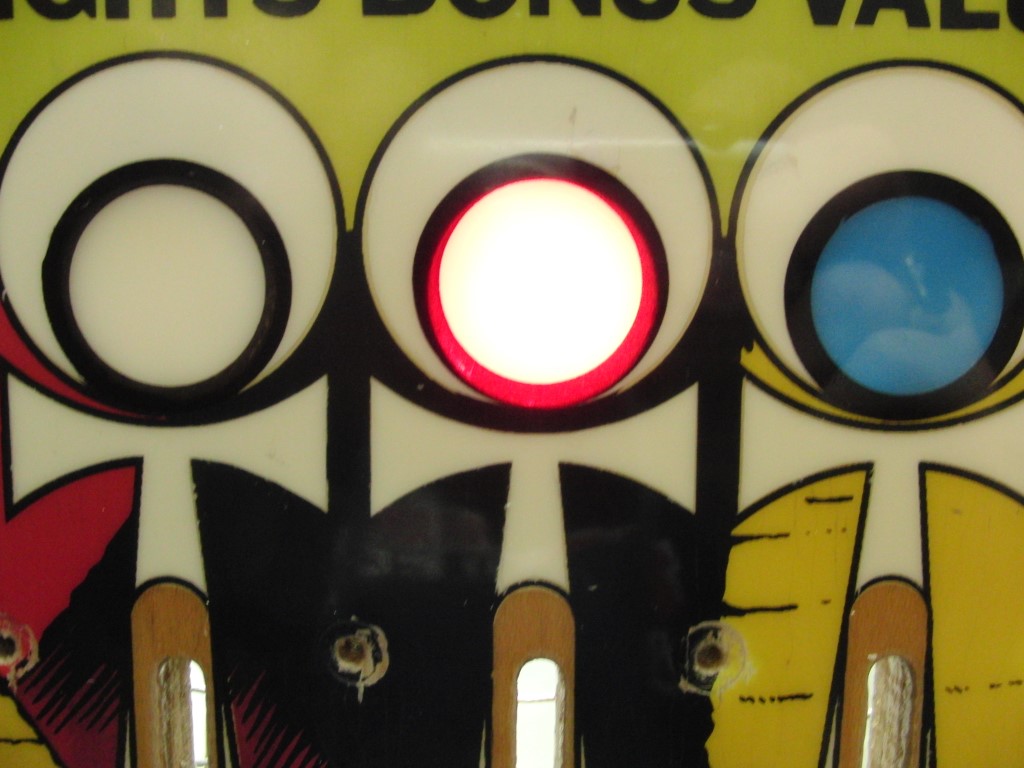
The bad news is that the key line decals around the colored lenses is not completely opaque or solid black. I just didn’t think about it until I started reinstalling the lights and checking the sockets today, huge bummer!!! I’m actually thinking about repainting them and clearing it again or not. If I’m going to do that now is the time…


the bad…

Well I decided to go ahead and repaint the key lines… ugh!
I couldn’t bring myself to have done all that work and call it quits… so I went ahead and broke out the vinyl cutter and cut some stencils.. it really does a good job.
I tore down the play field again since I already had the pop bumpers installed, broke out the palm sander and some 600 grit and roughed up the surface for paint, a tear ran down my face as I did that. :'(
I used some frisket as a transfer paper for the decals and it worked very well. I think I have them positioned very close, well see.


I had to do a little damage control and fix the drain hole insert as I think I may have gotten a little overzealous when removing the vinyl decal, I think I ever so slightly cut through the clear. Anyway when I peeled the decal so went the clear…. arrgh!!! I was able to fix the area by using some rubbing alcohol on a cloth and softening the edges of the peeled clear to give it a less rough edge, that works like a charm before applying additional clear.
I’ve also lightly sanded the play field to remove the edge from the paint after peeling the vinyl decals, I used 1500 grit.
I shot some clear on it tonight and will re-apply the key lines to the drain hole when its dry, then hopefully apply a final coat of clear.
So much for a “quick” key line painting…


I sprayed the majority of the key lines just because it doesn’t leave brush marks. However when I peeled the clear on the out hole and had to re-paint the key lines on it I brushed it.
In the end it didn’t really matter because when I sanded the play field before painting the brush strokes got sanded out, after I cleared it I can’t tell the difference.
I’m anticipating getting back to reinstalling parts after polishing the play field again this weekend, I hope… (fingers crossed)
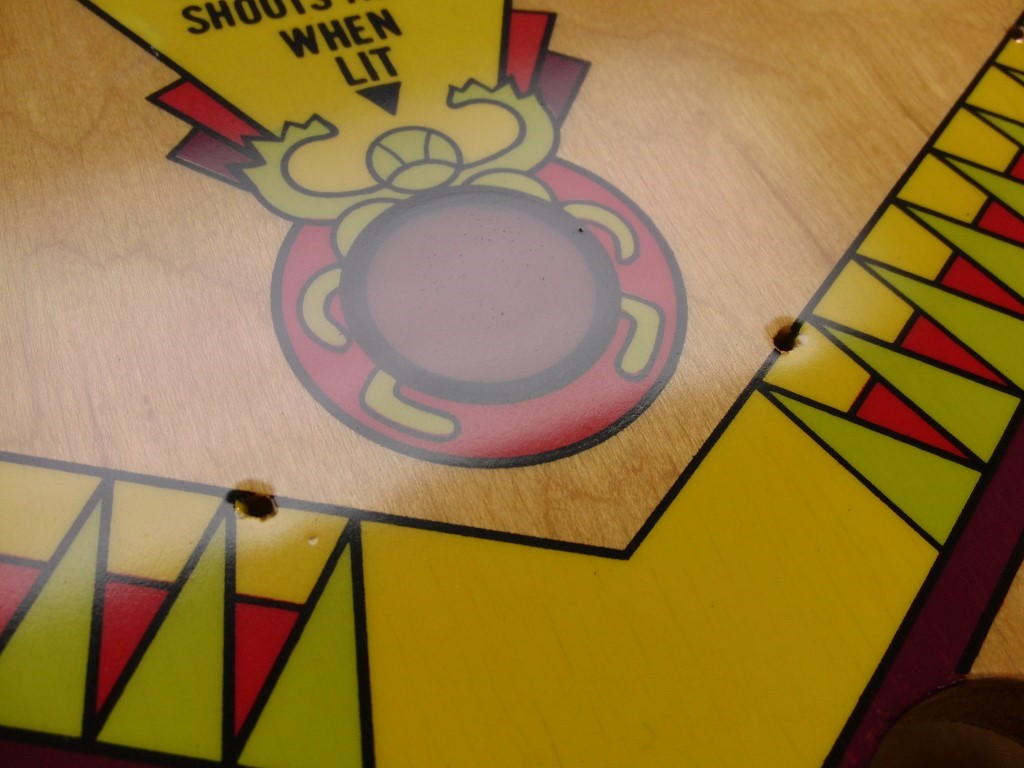
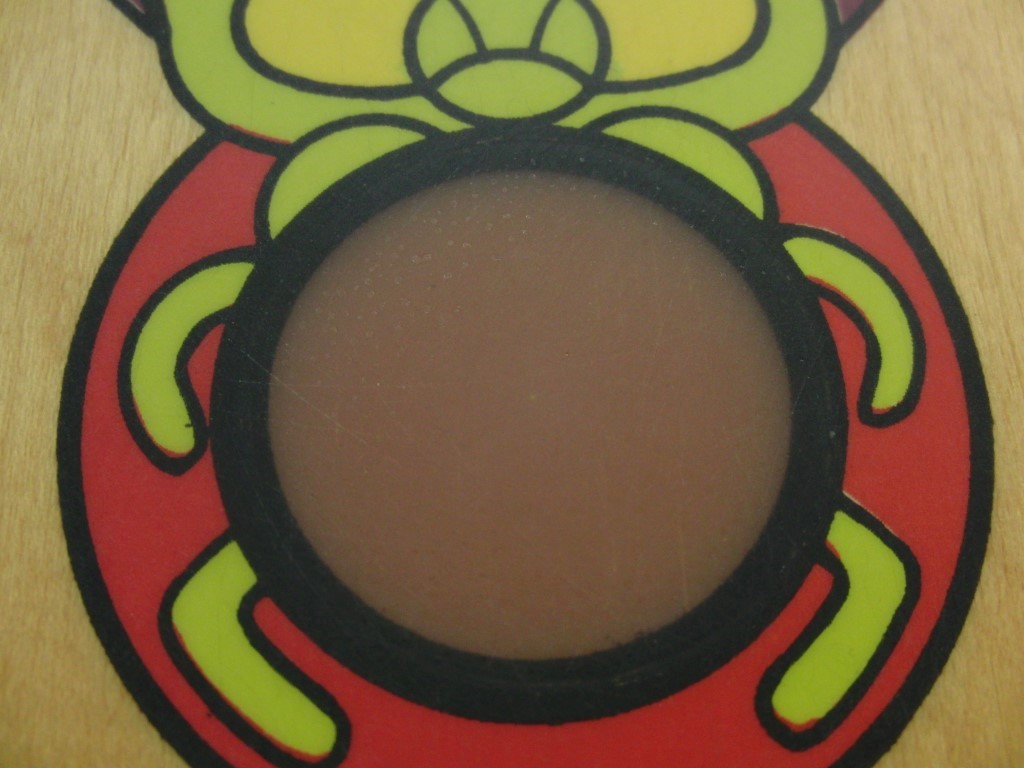
Here’s a picture after the repair to the drain hole image and after repainting the key lines.
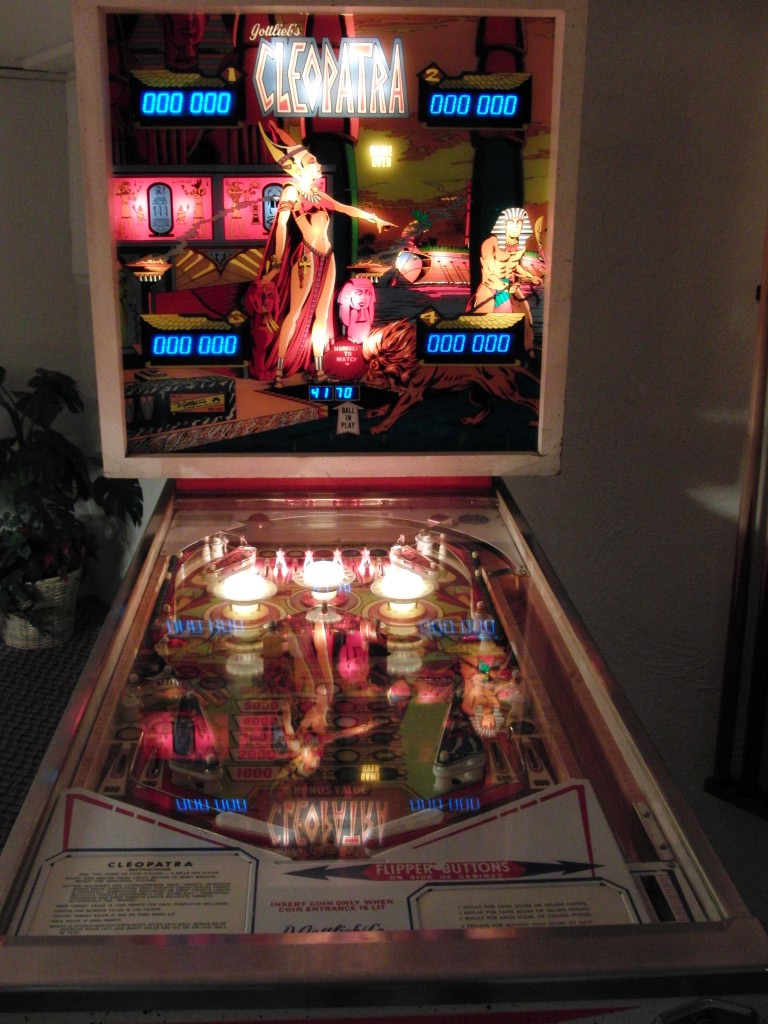
It’s starting to look like a pinball machine once again… just need to install the top hardware and plug er’ back up then fire it up, fingers crossed…

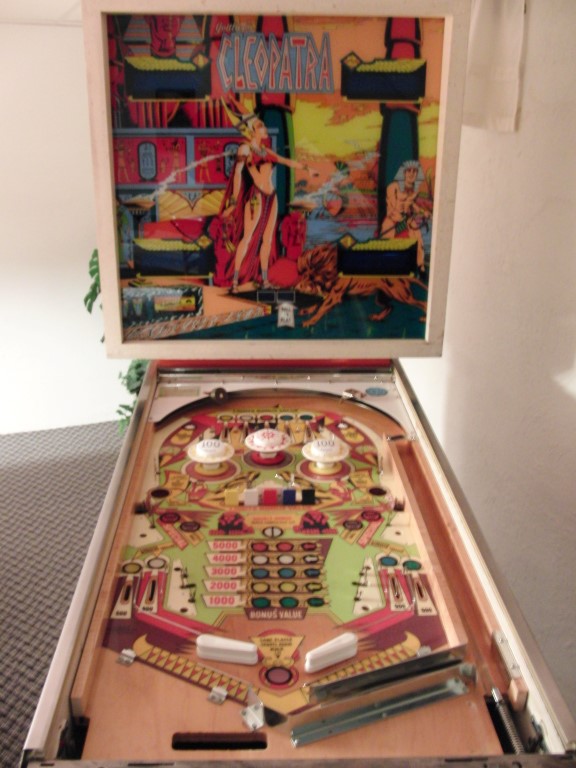
Well Cleopatra is finally back together, has a few bugs, but should be easy enough to figure out hopefully with some help from the forum and their experience.
It’s been a long process but a fun one. I would do it again now that I know what to expect but I would do some things differently and avoid some pitfalls in the process.
The touch-up process was certainly a learning experience for me and wouldn’t hold water on some of the more sophisticated playing fields with the artwork that is involved in them but for older machines I think it works very well. I personally think that print screening would be the way to go if the average Joe could make that process work at home, easily.
Cleopatra has such a busy center playing field and that made it very difficult to flatten but the kick out holes came out perfect!! An Alps printer would have helped for some of the graphics and would also have eliminated some of the air brushing but hey you work with what you have,
The Varathane clear coat came out perfect and I would highly recommend it, after it has been buffed the shine is sweet and hopefully will last for years, only time will tell.
Thanks for listening to my ramblings and good luck with your game restoration, I think its worth it, they won’t last forever and you’ll learn something in the process…
The pictures just don’t so it justice…
I ran into a problem with the outhole not kicking out the next ball when playing. It is now fixed. I’m not sure if it was a combination of problems or not but in the end the outhole was not firing and I believe mostly it was my own ignorance that added to the problem. (thanks to Mark on RGP)
When in test mode I was not getting the outhole to fire which I misrepresented and “assumed” was firing, very bad on my part!! In the end, the 7404 and 7405 “fuses” were replaced and the transistor for the outhole was bad. I’m not sure if both 7404 and 7405 were bad but I replaced both anyway.
I was able to test the outhole transistor by using a jumper with a 300 ohm resistor and applying +5v to the base of the transistor Q23, it was dead.
So for future reference and anyone else dealing with a similar problem I hope this helps. I want to remind anyone that is testing the System 1 to make sure the test mode does in fact fire the outhole and for that matter all of the other coils. This would have saved me a lot of headaches.
Thanks to everyone on the forum for putting up with the questions that go along with us newbs… also anyone who offered ideas and suggestions many thanks.
If I was able to help you figure out and fix your problem, buy me a beer! and Thanks..
![]()