

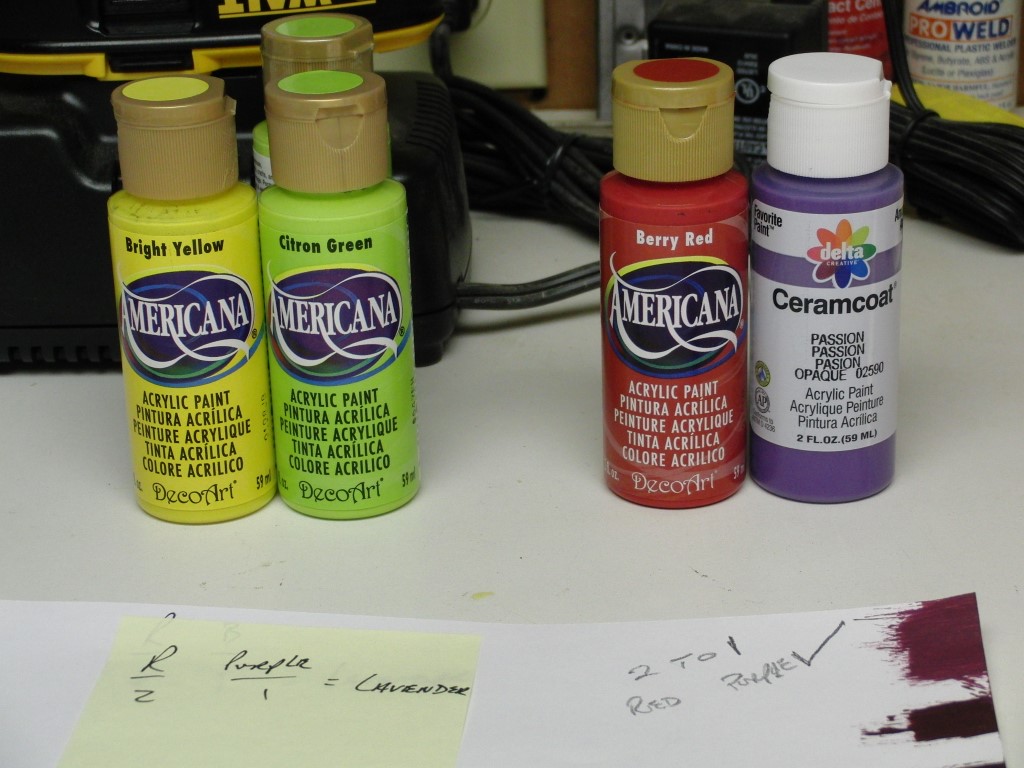
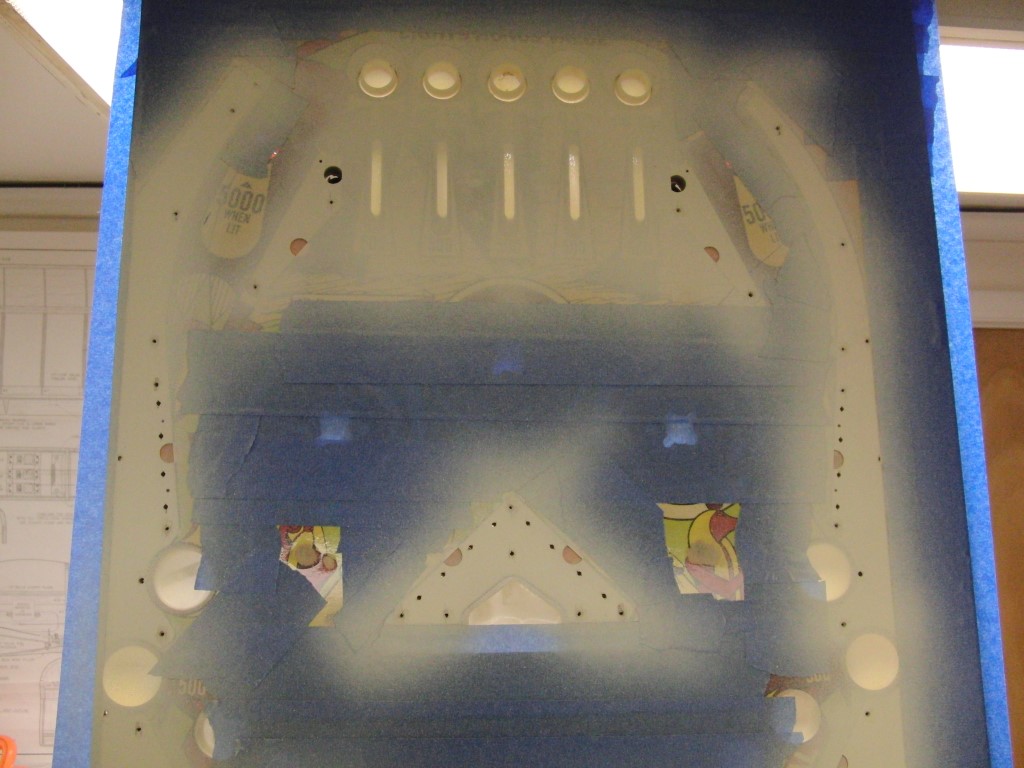
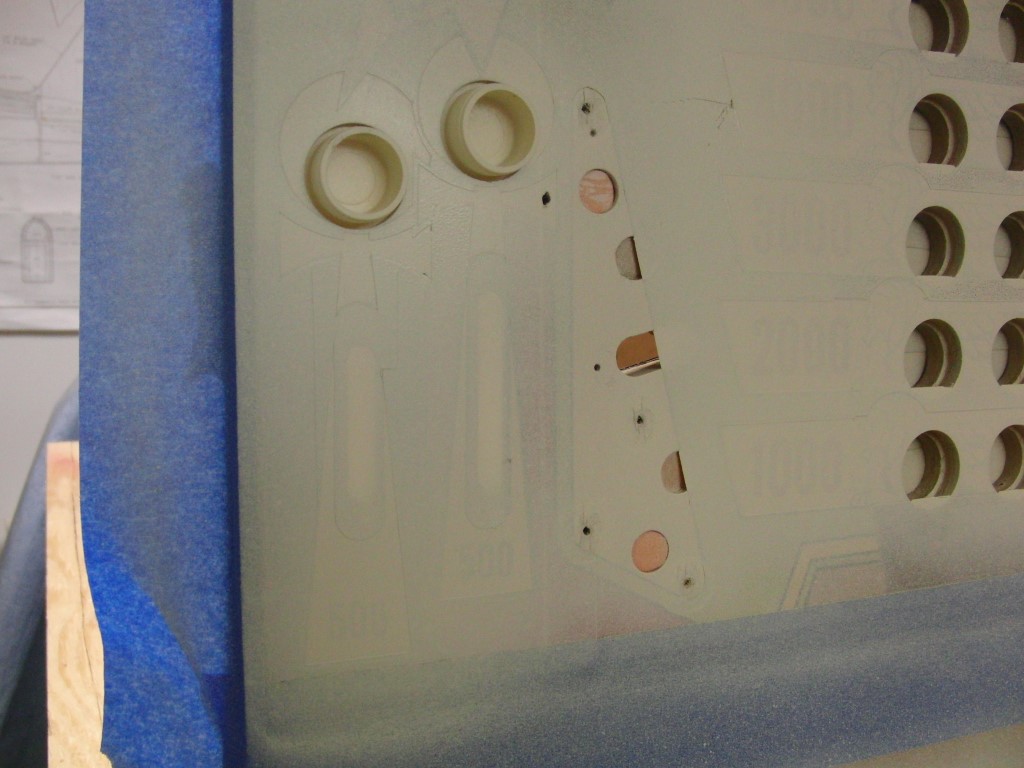
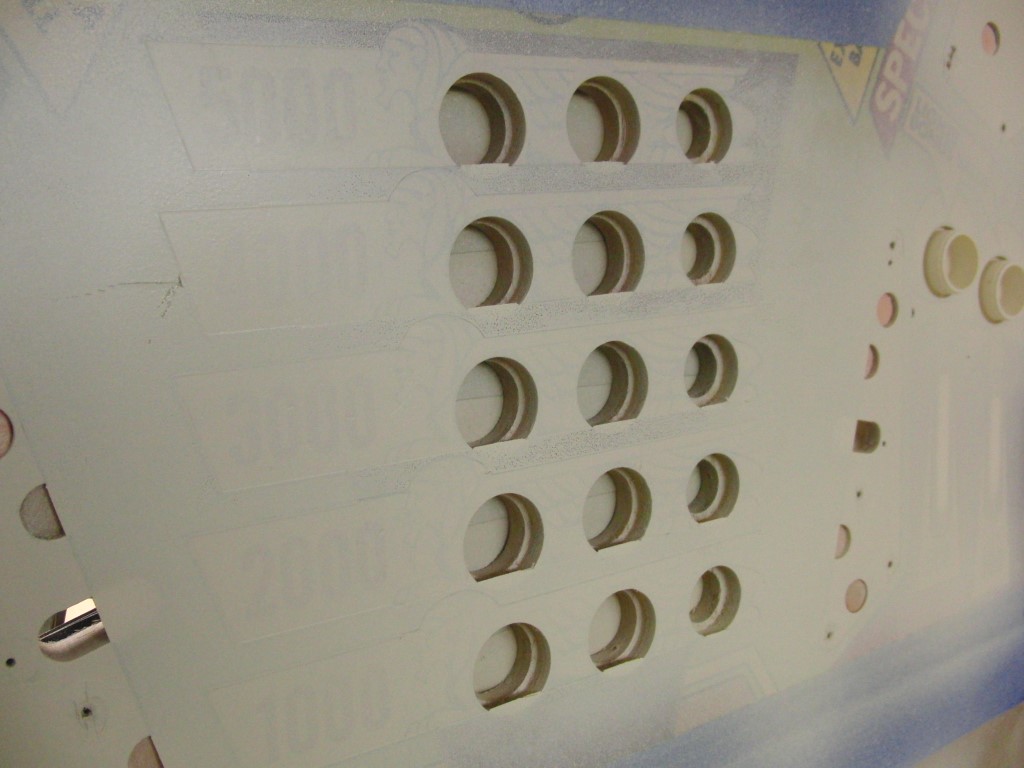
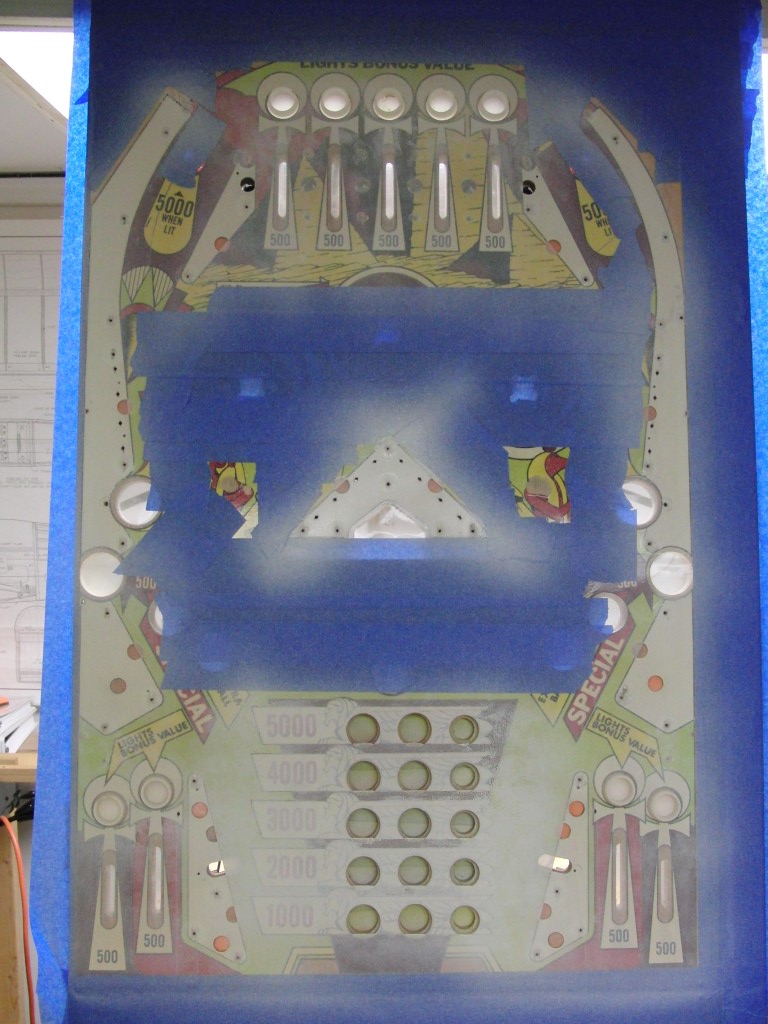
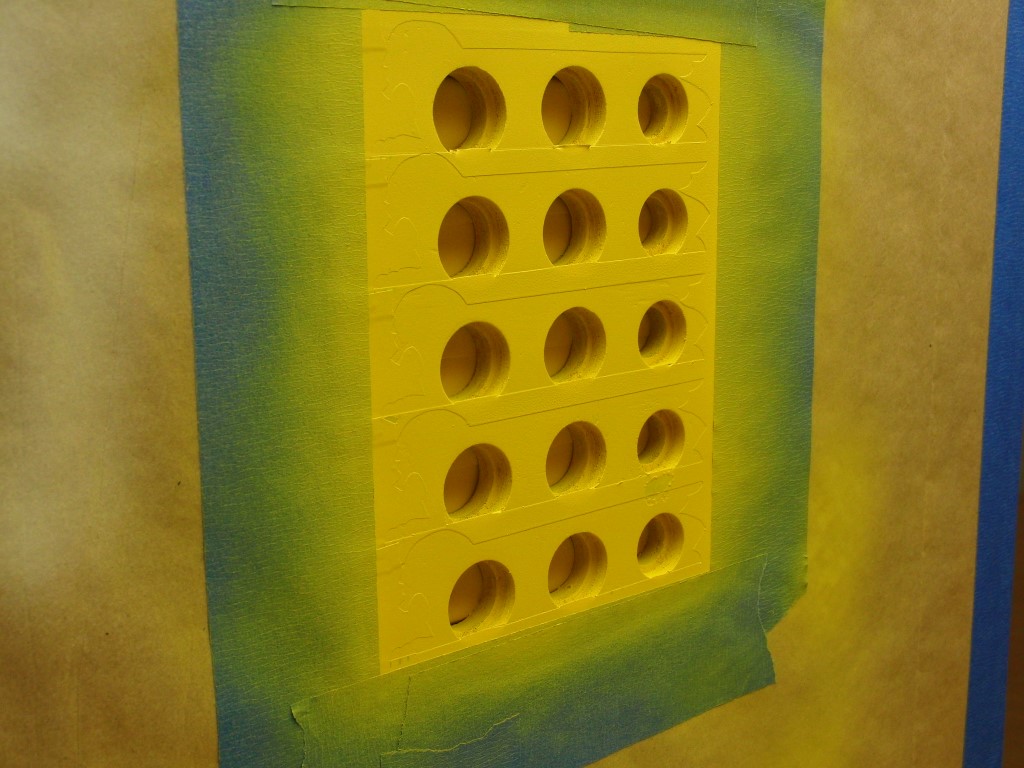
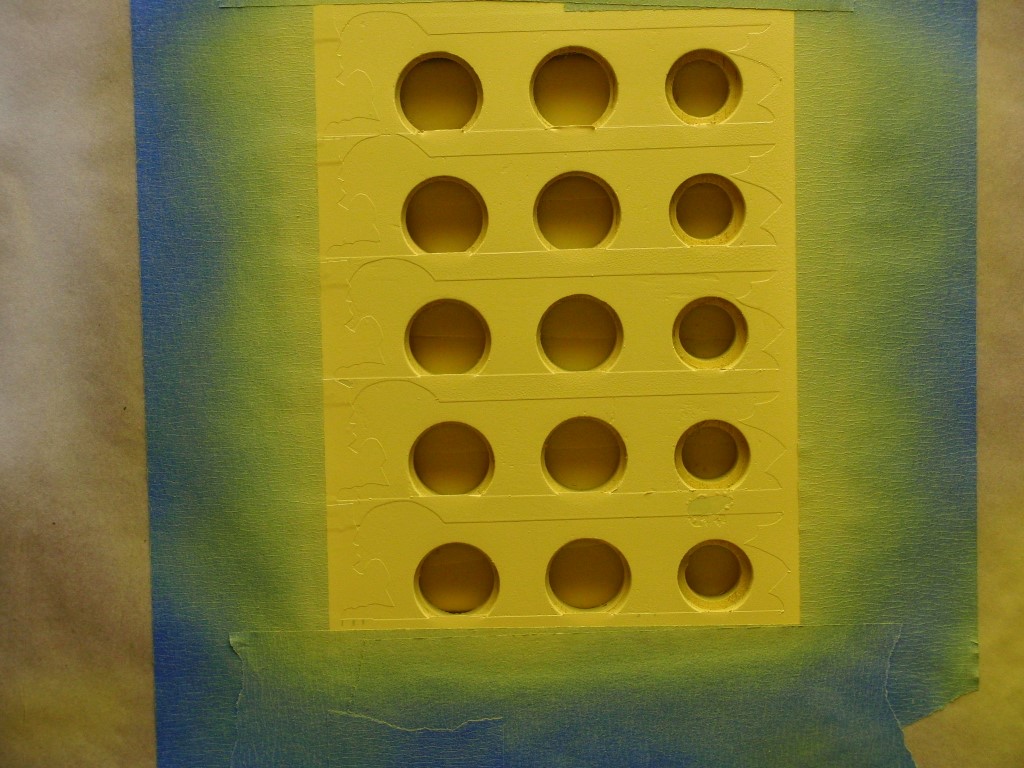
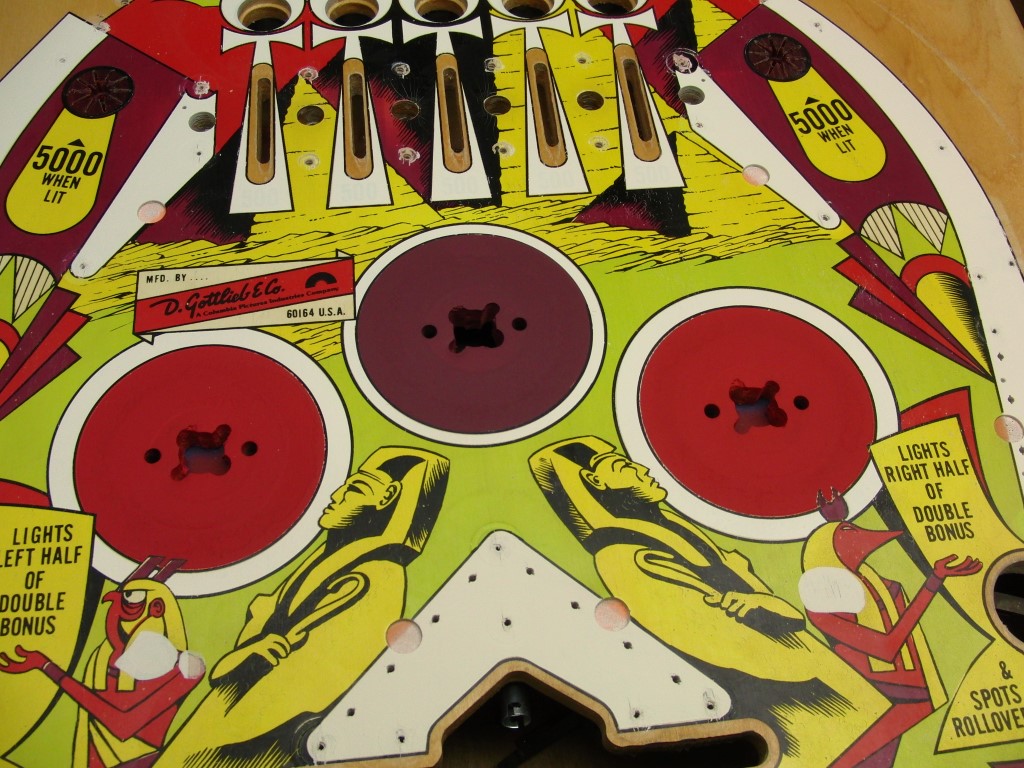
The playfield is ready for some touch up work and I’ve applied some frisket film to the affected areas to be painted. After the frisket is applied, I’ve carefully trimmed the areas that needed to be removed, these pictures reflect the ready to go surface. In this case I will be painting the Lion areas Yellow. I also have the paint colors that I think match as close as I can get them, I’ll need to mix the Purple to get the correct color match.
Once I’ve painted the affected areas I have some water slide decals that I created in Photoshop that will be applied, adding back the black trim lines, etc.I ran two sets on the laser printer just to see how they would turn out. I’ll be using ones without color replacing just the key lines. Since this is my first time trying this I hope it works! I’ll be using automotive clear after this is completed to seal the deal.
As I was going down the path of creating decals and airbrushing the playfield I got the smart idea that maybe I should check to see if anybody had a playfield for sale, as it turns out someone did and I bought it.
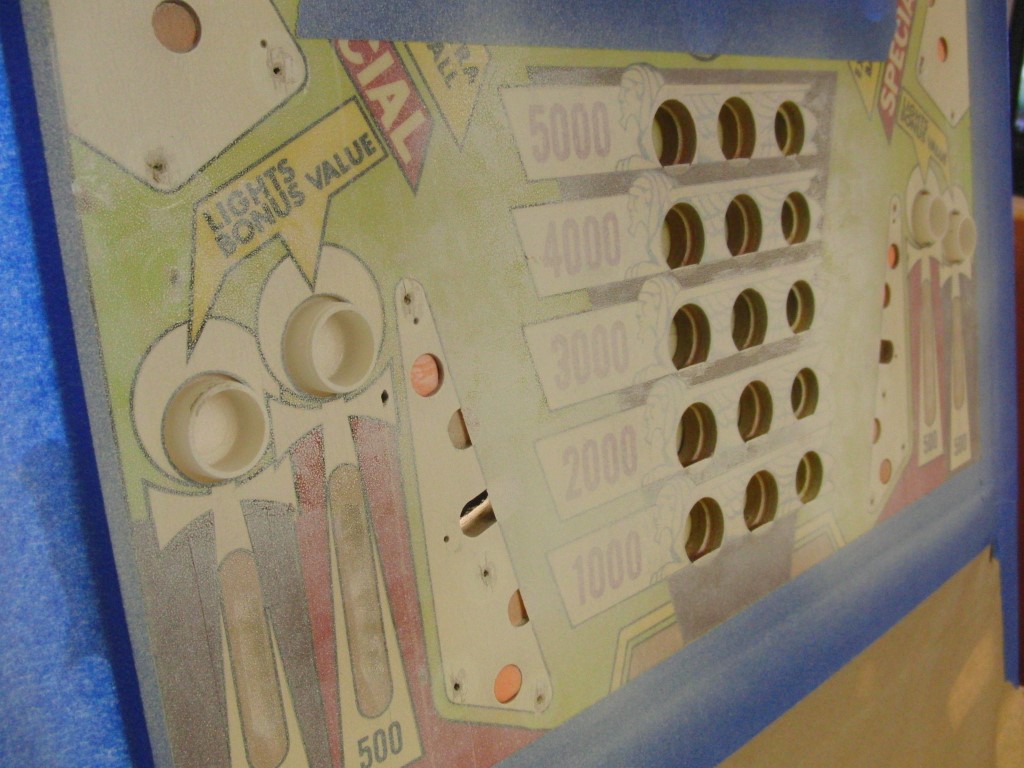
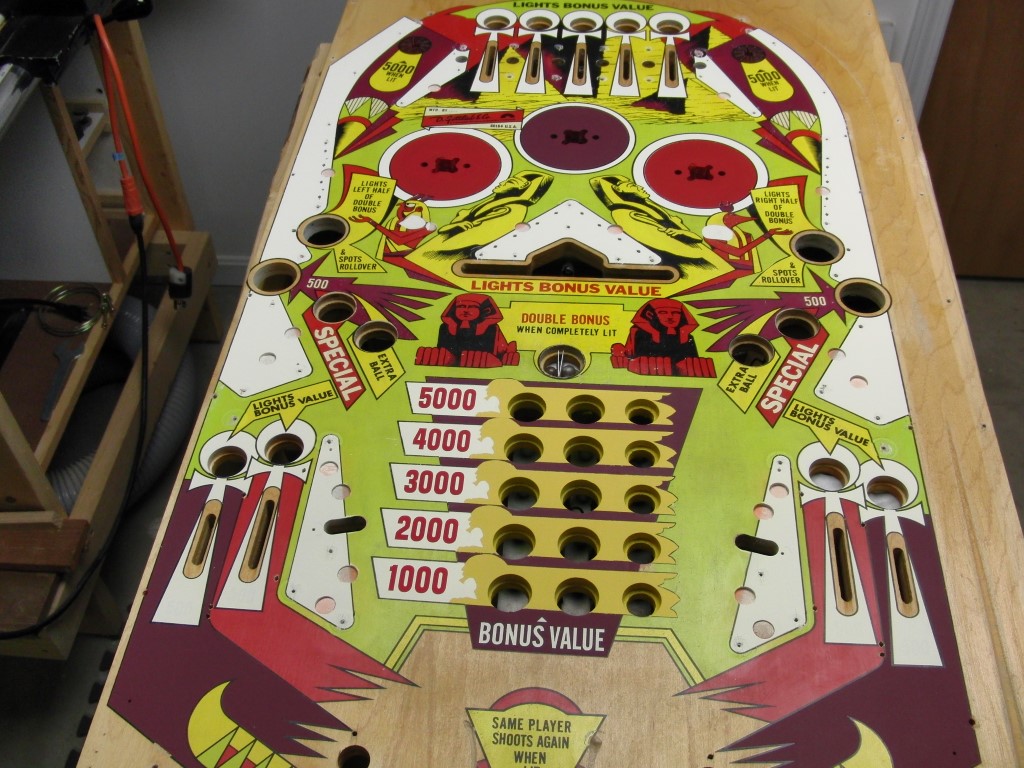
The new playfield has MUCH less damage than mine and is in considerably better shape, 10 fold. It will still need to be touched up and cleared but I think it will be more manageable and realistic undertaking for a first timer.
However I’m still going to practice on my original playfield as I want to see if what I was going to do was going to work, now I just have less pressure if it doesn’t come out the way I expect… My last piece of work on the old playfield was with some spot putty.

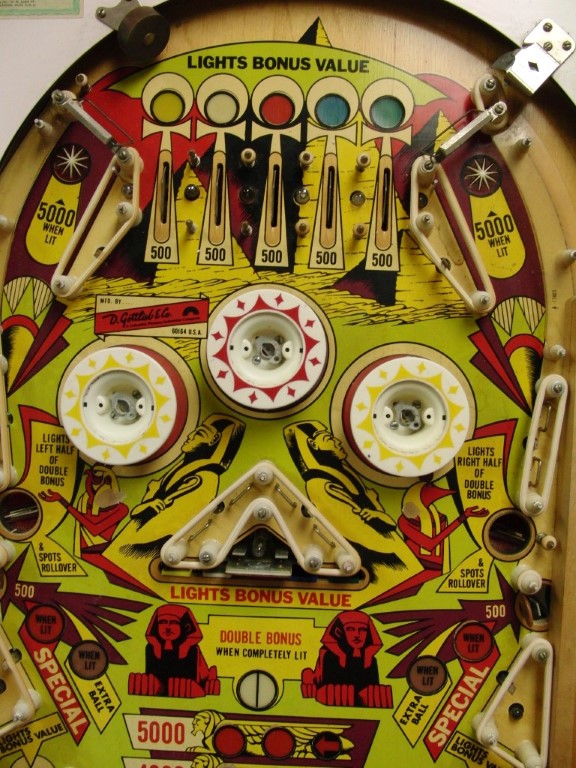
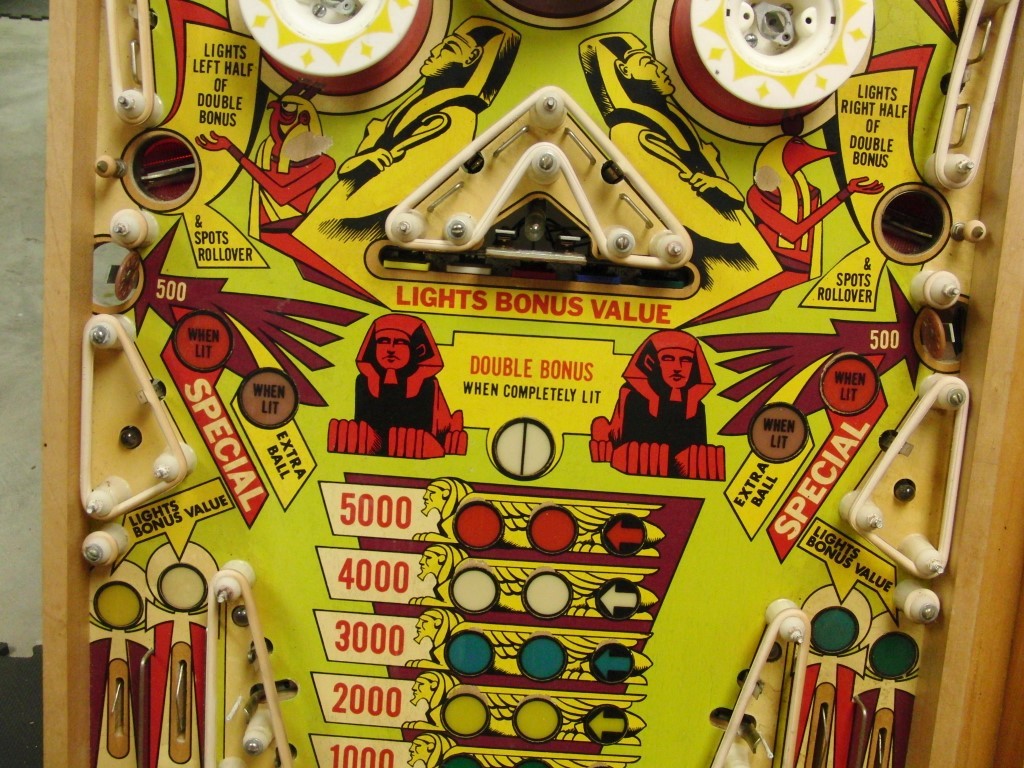
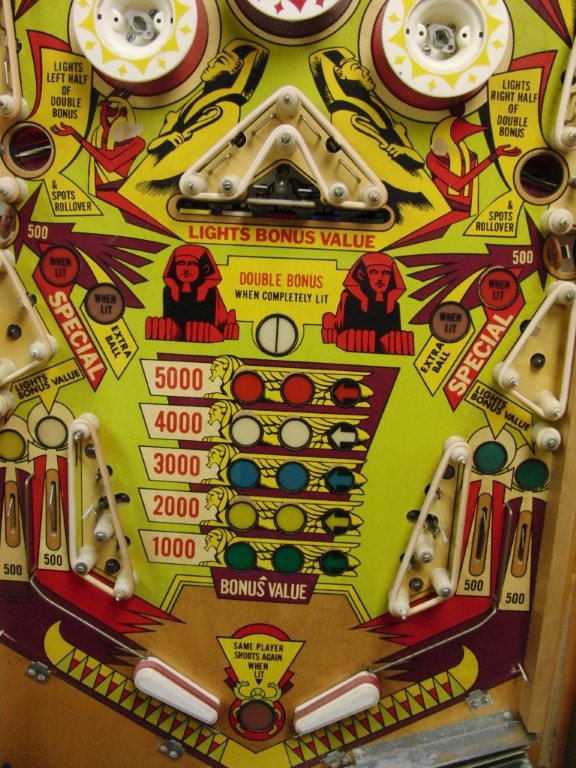
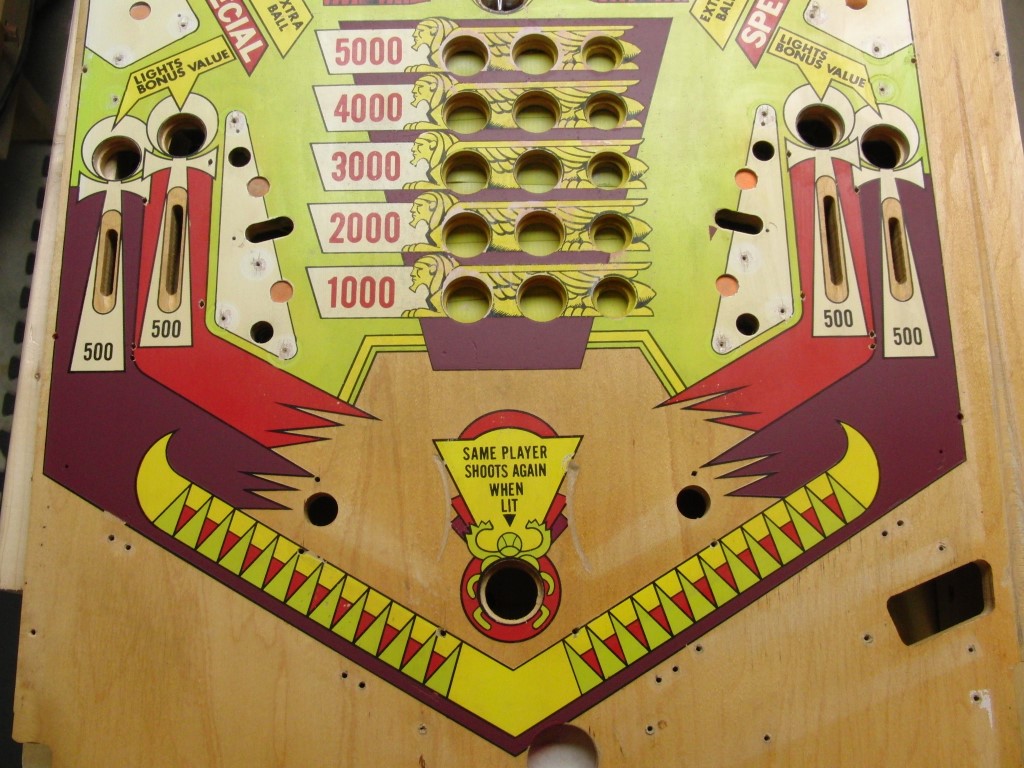
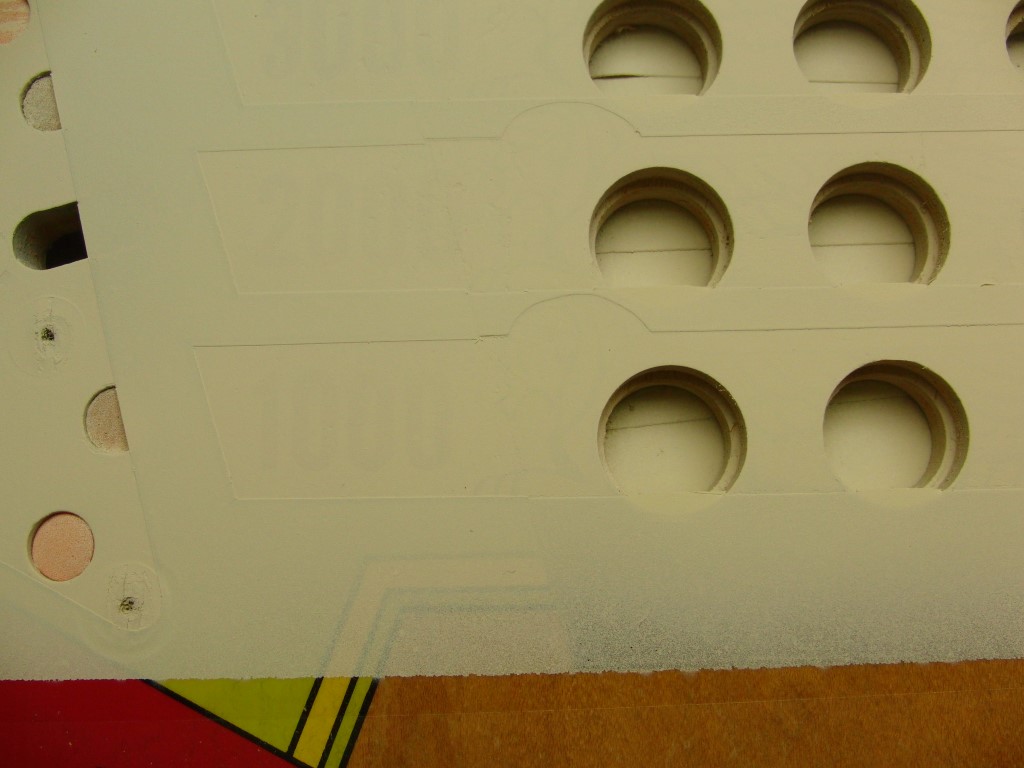
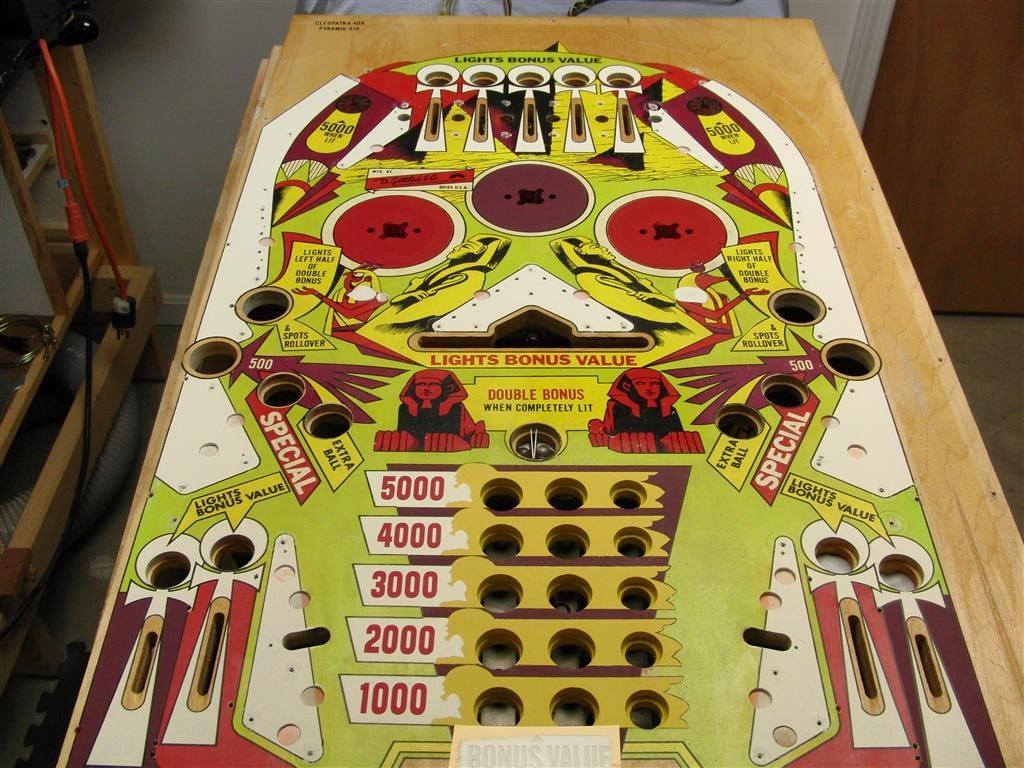
Here are a few pics of the new playfield… The green is still a little faded but overall the PF is in great shape. The older PF has a lot of pits in it, my guess is the the ball had a nick or something and just chewed it up… so if its going to survive its going to need a lot of airbrushing… we’ll see now that I have a test playfield to work on.
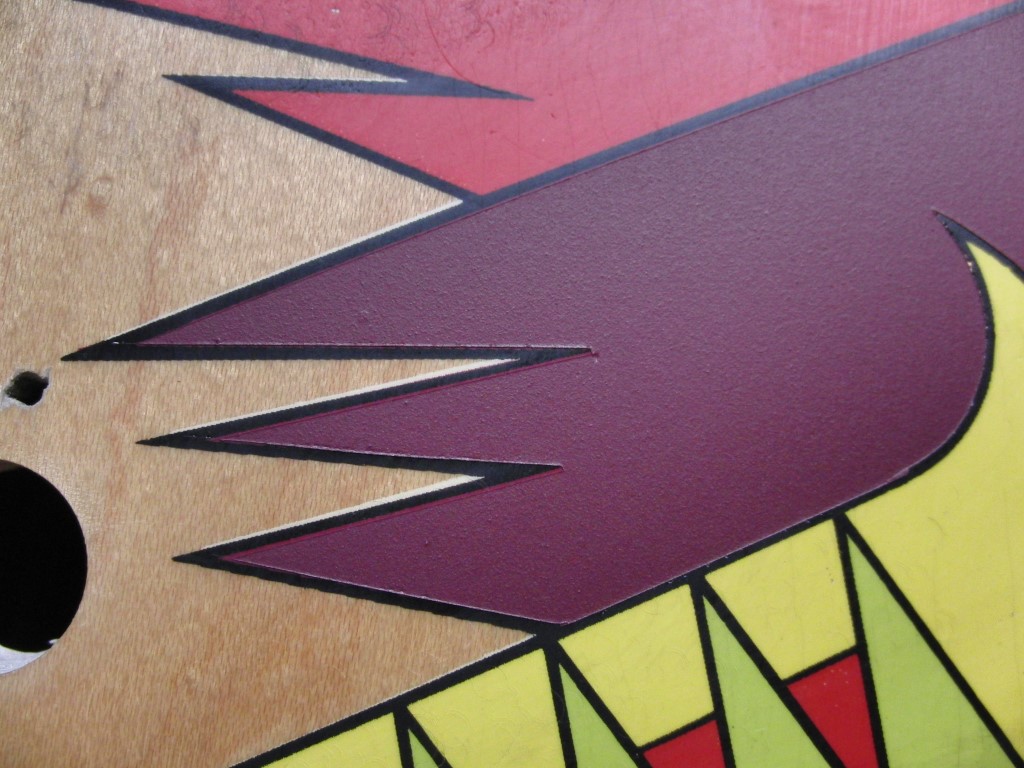
I did a little work to the old playfield today buy doing some air brushing on the burgundy/purple areas.
Since I have to repair my new playfield I thought I might as well go ahead and do a little testing.. I think it came out rather well, the only question that I have is that when I pulled the frisket and masking tape there is a slight edge, does this just need to be sanded and with what grit????
The other thing I figured out was that I should have gone ahead and filled “ALL” the playfield imperfections in the areas to be painted, live and learn.
For a first timer I’m finding out that the actual spraying isn’t the problem it’s mixing the paint correctly so that the airbrush can shoot it!
I did a little sanding on the freshly painted areas with some 1200 grit and mainly stuck to the the raised areas and it came out well, I think this is going to clear nicely.
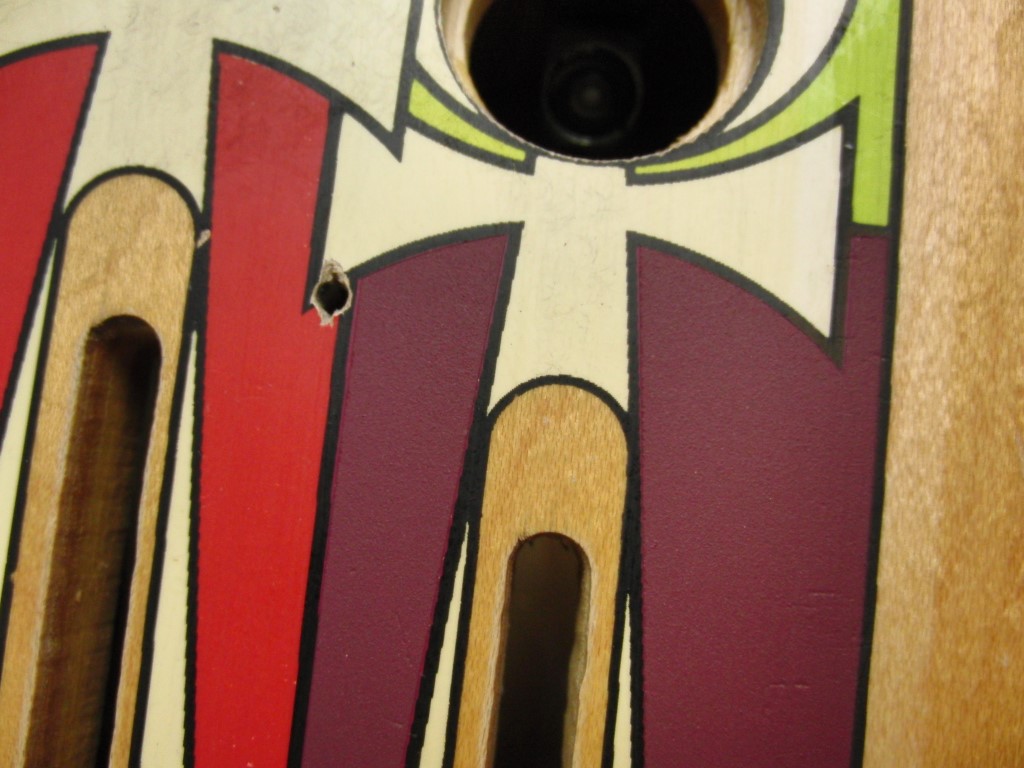
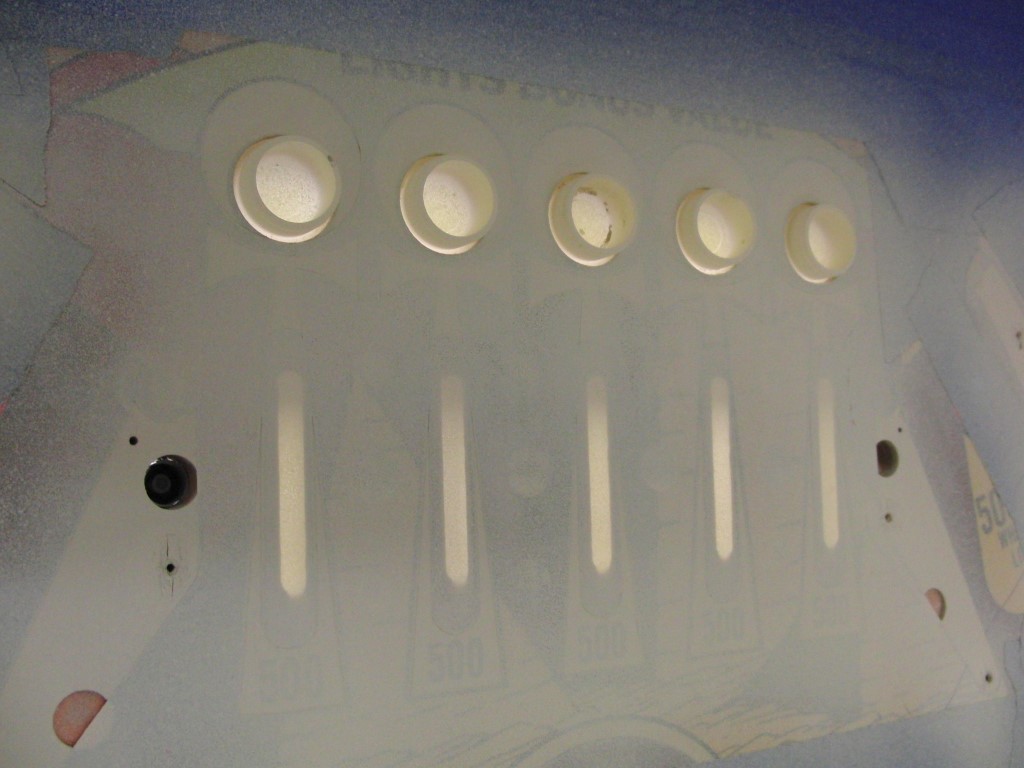
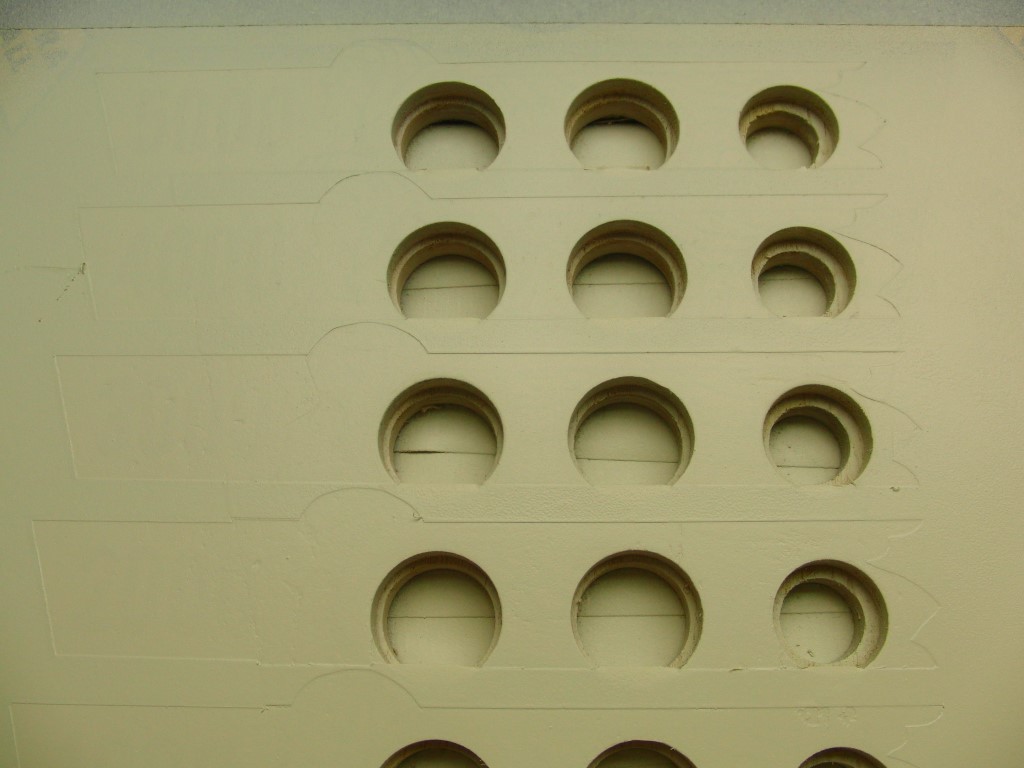
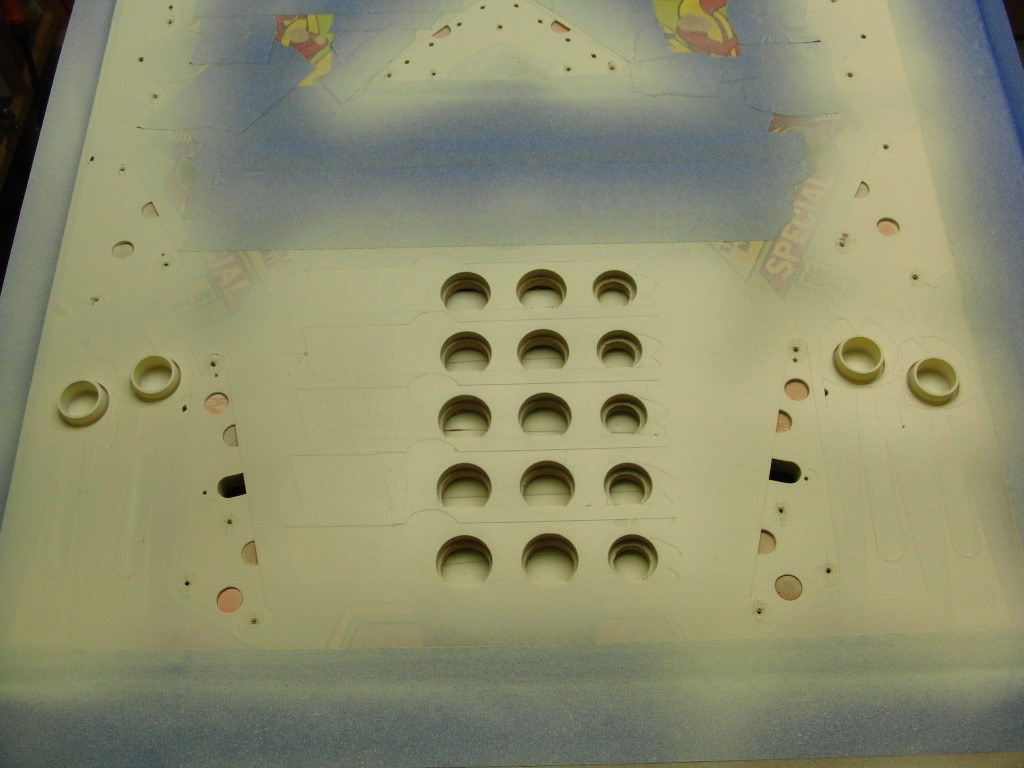
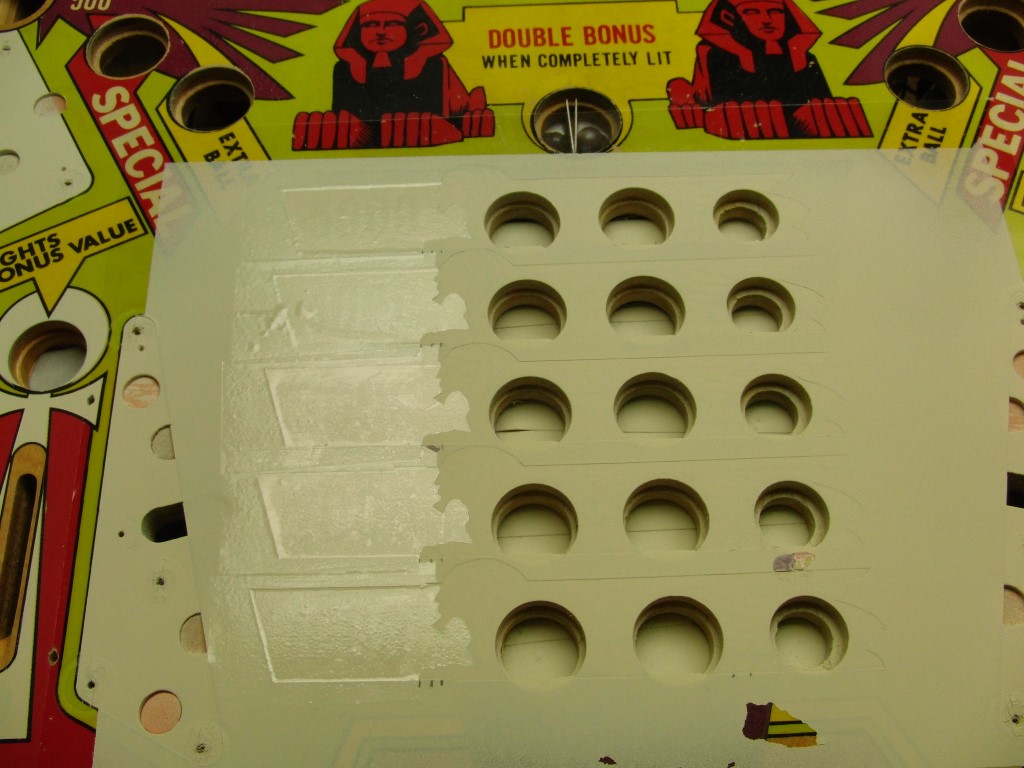
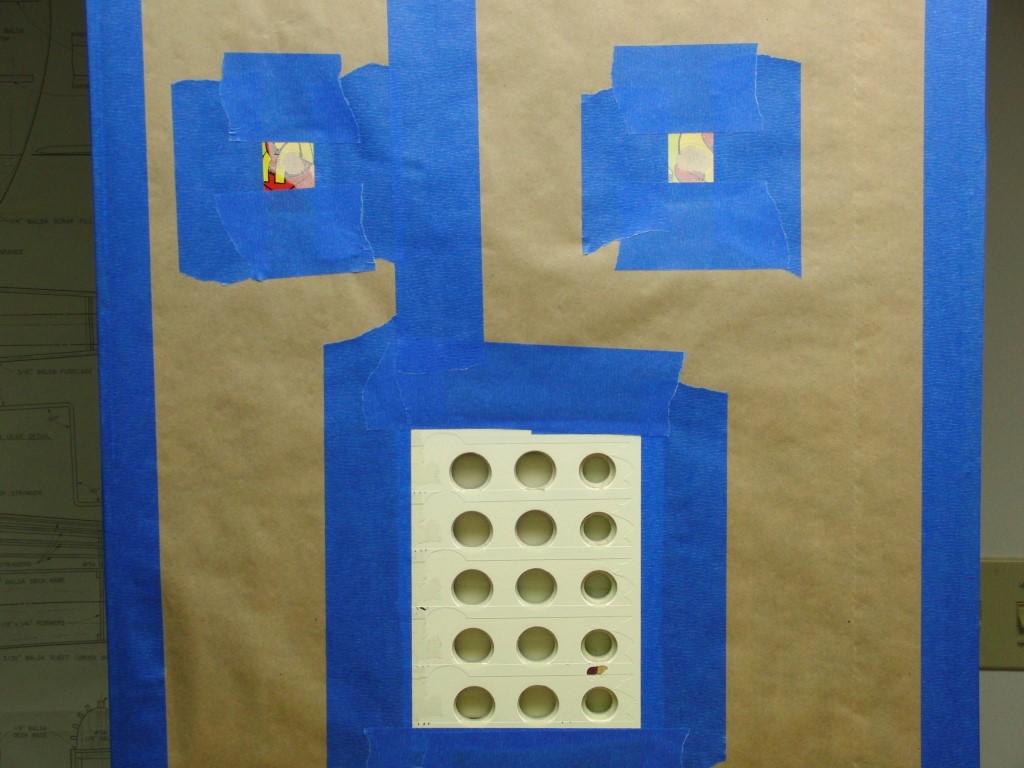
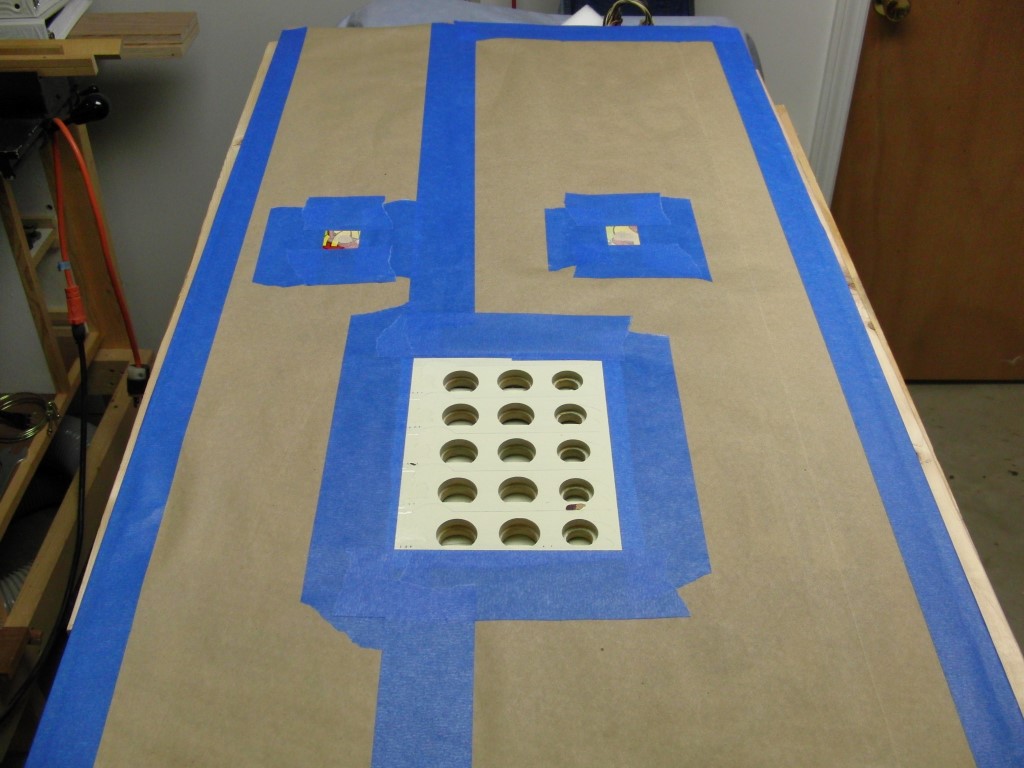
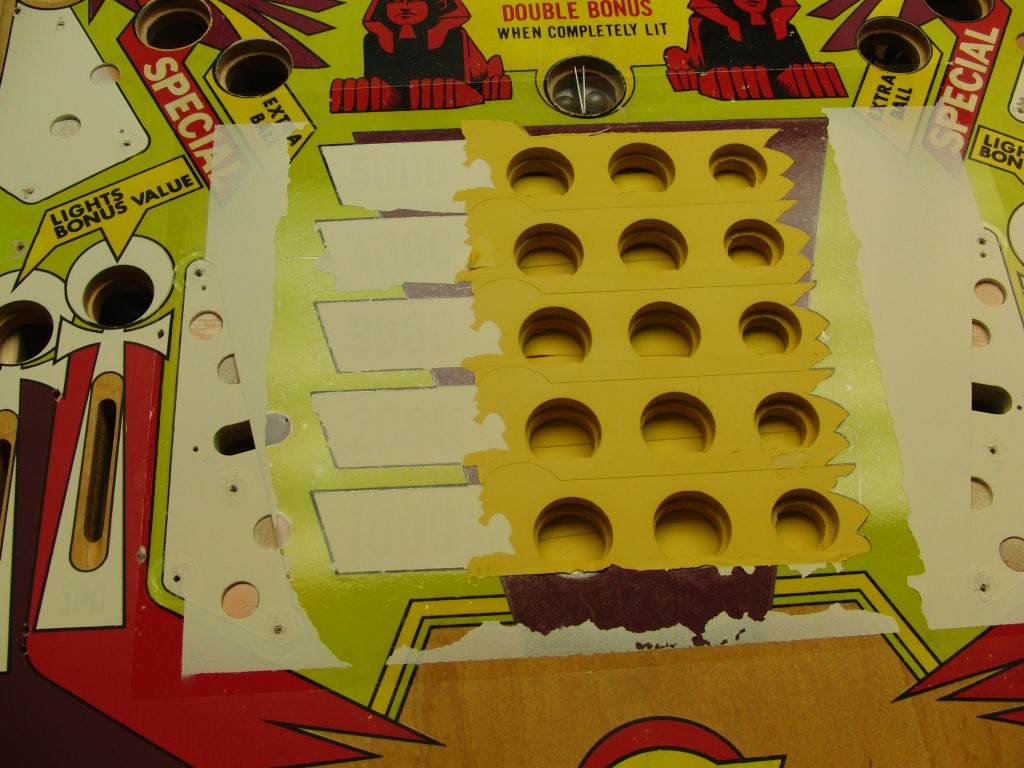
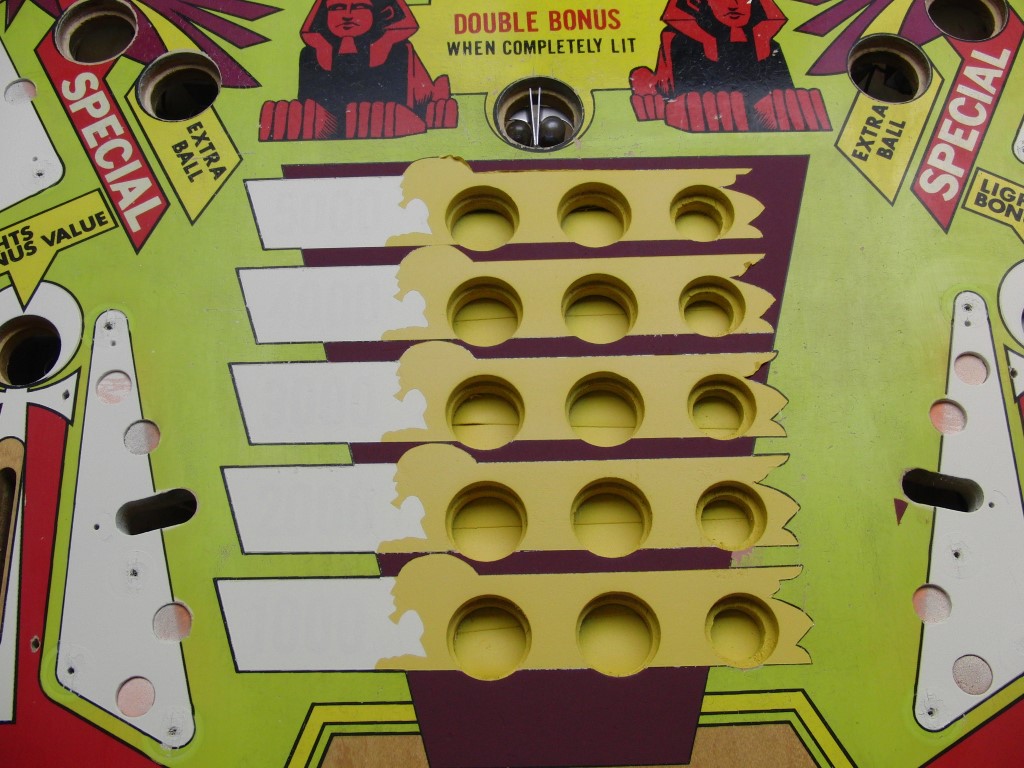
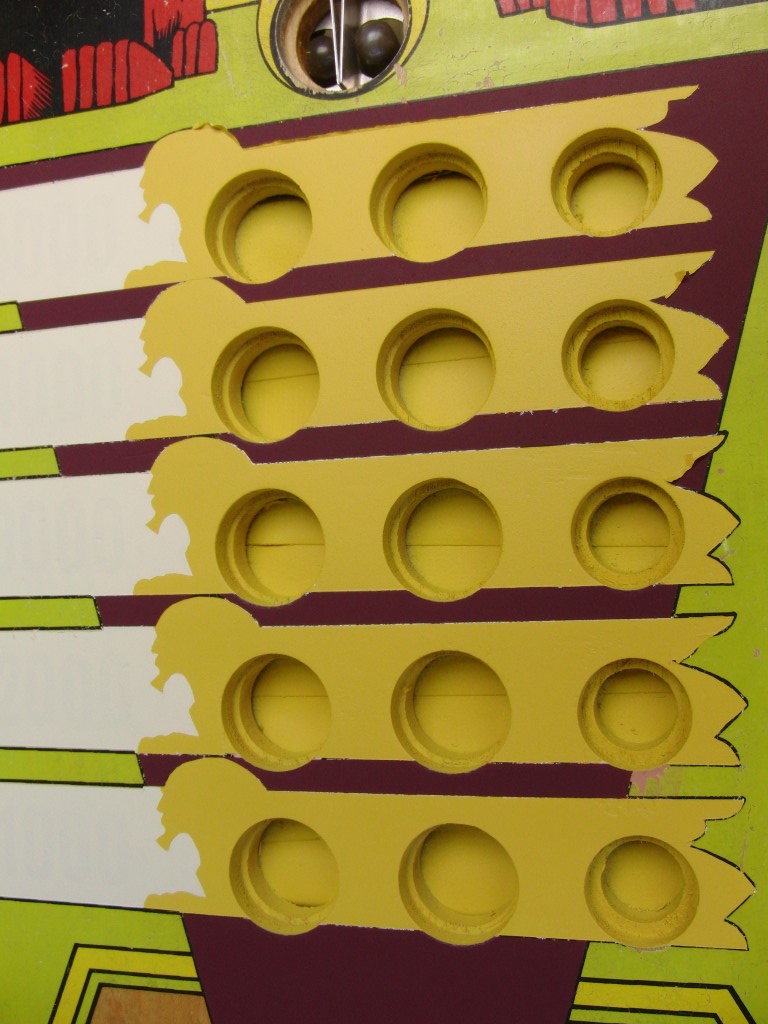
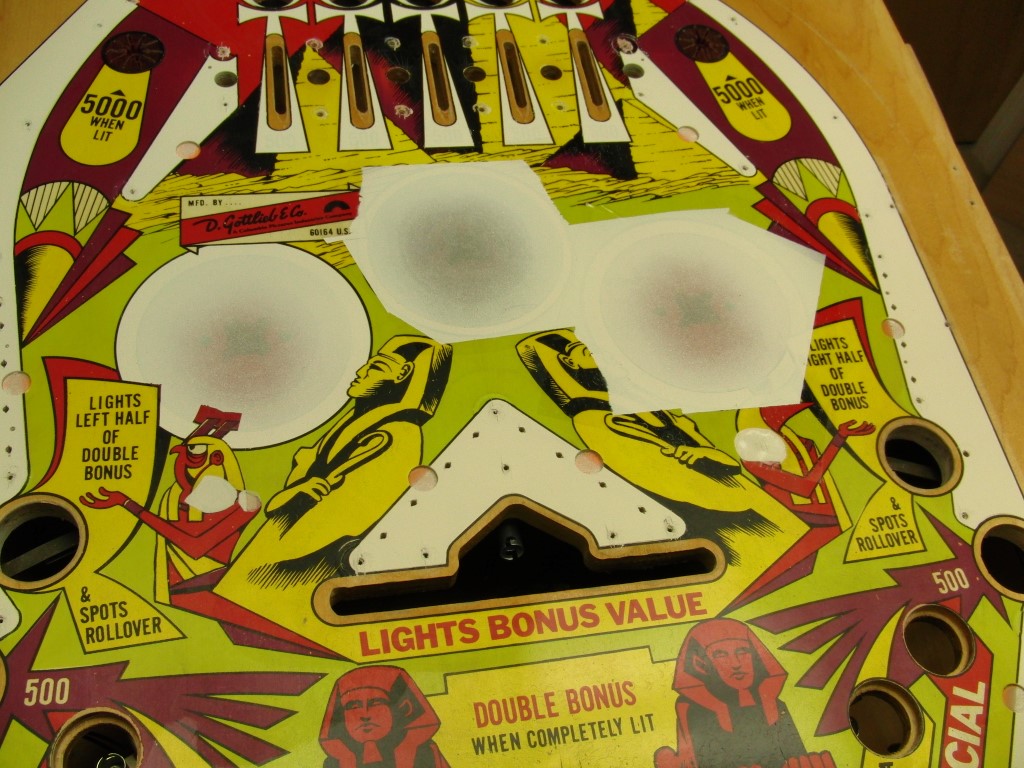
I started working on the white areas on the playfield by using some more frisket and a lot of trimming..
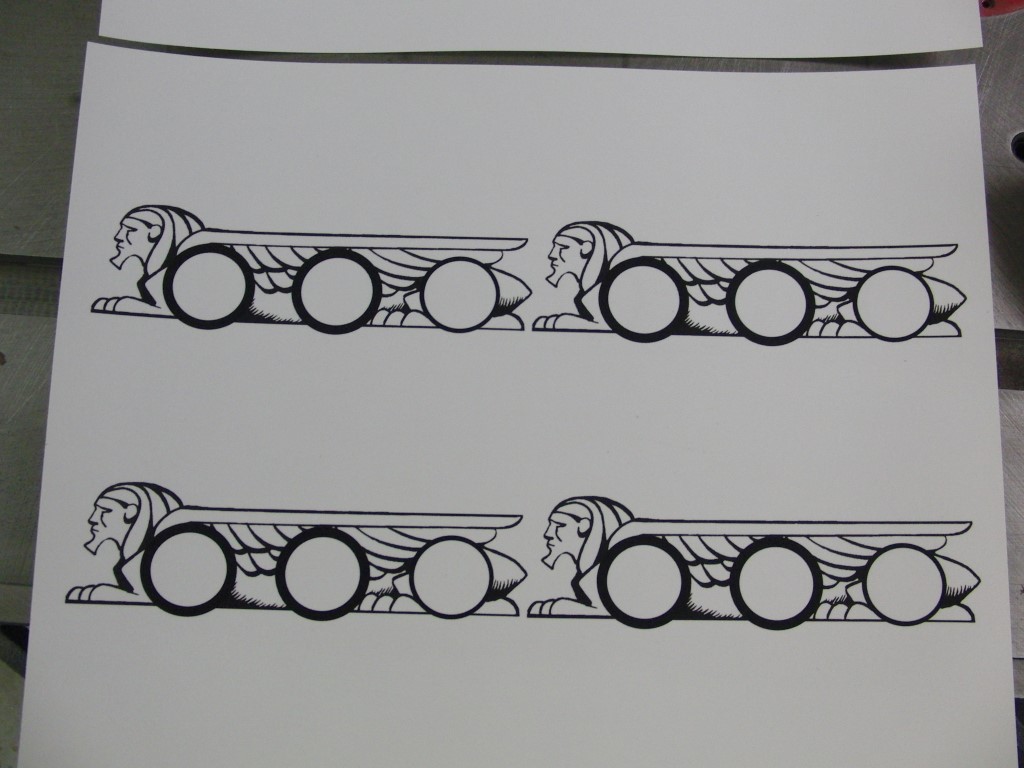
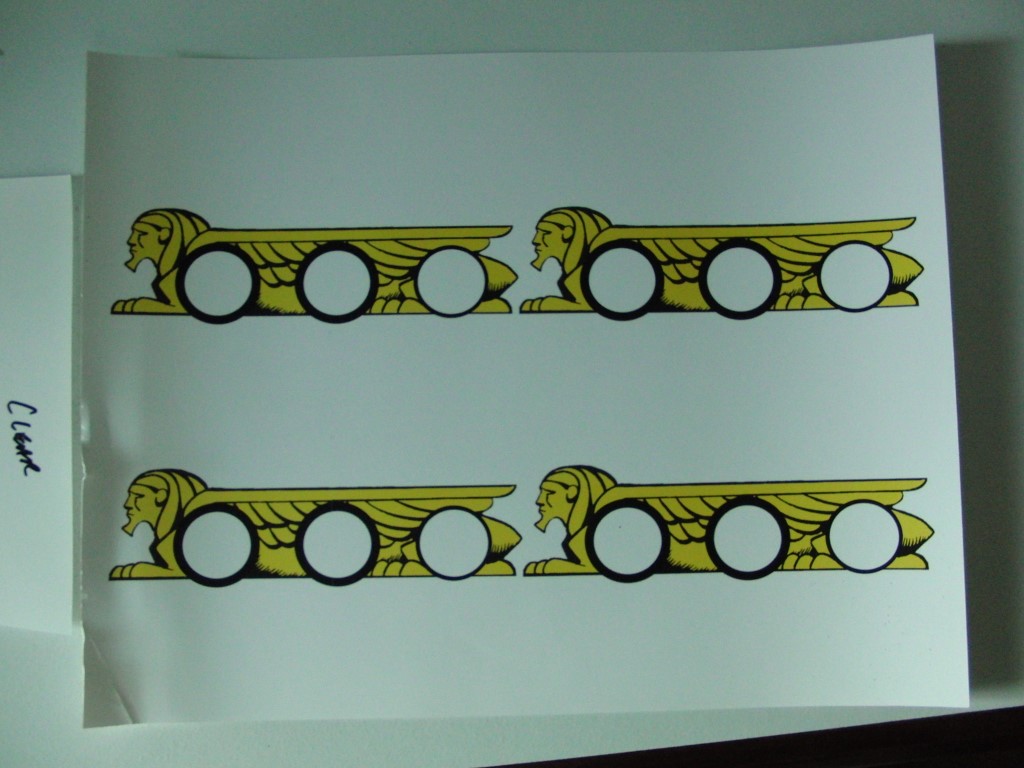
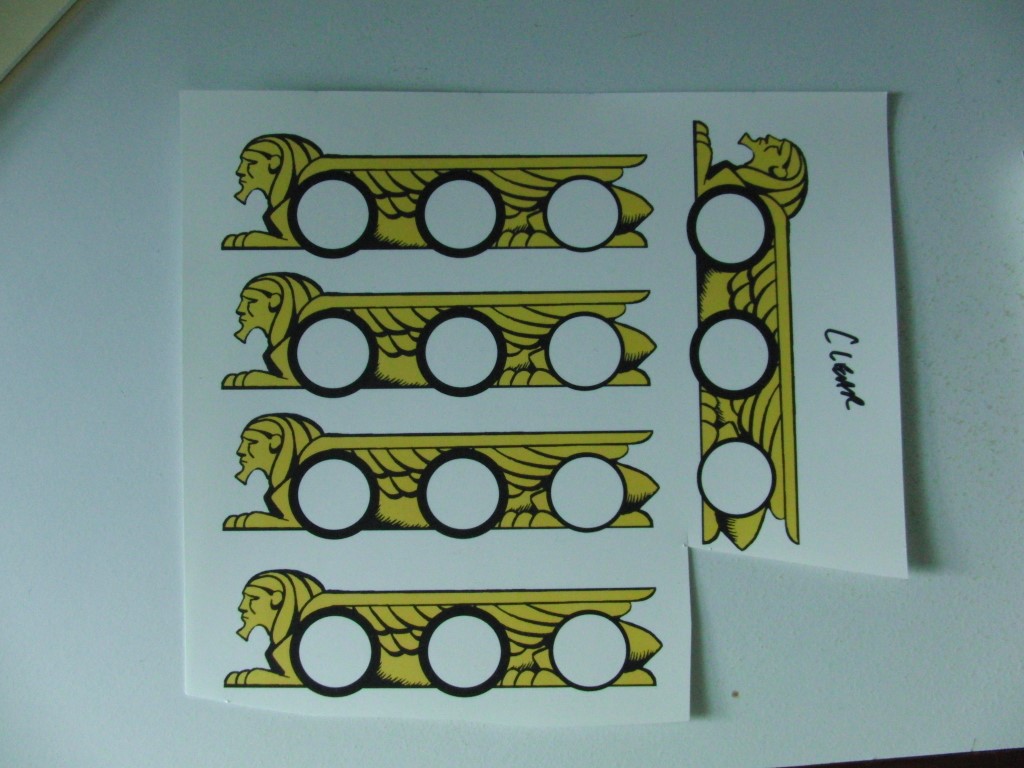
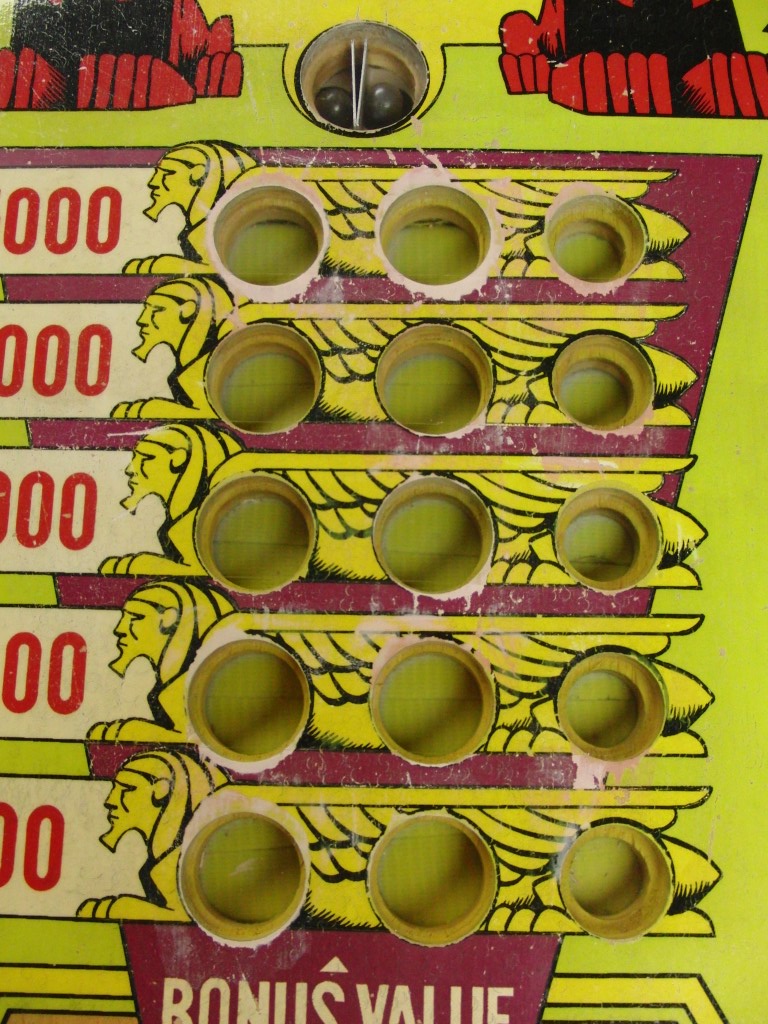
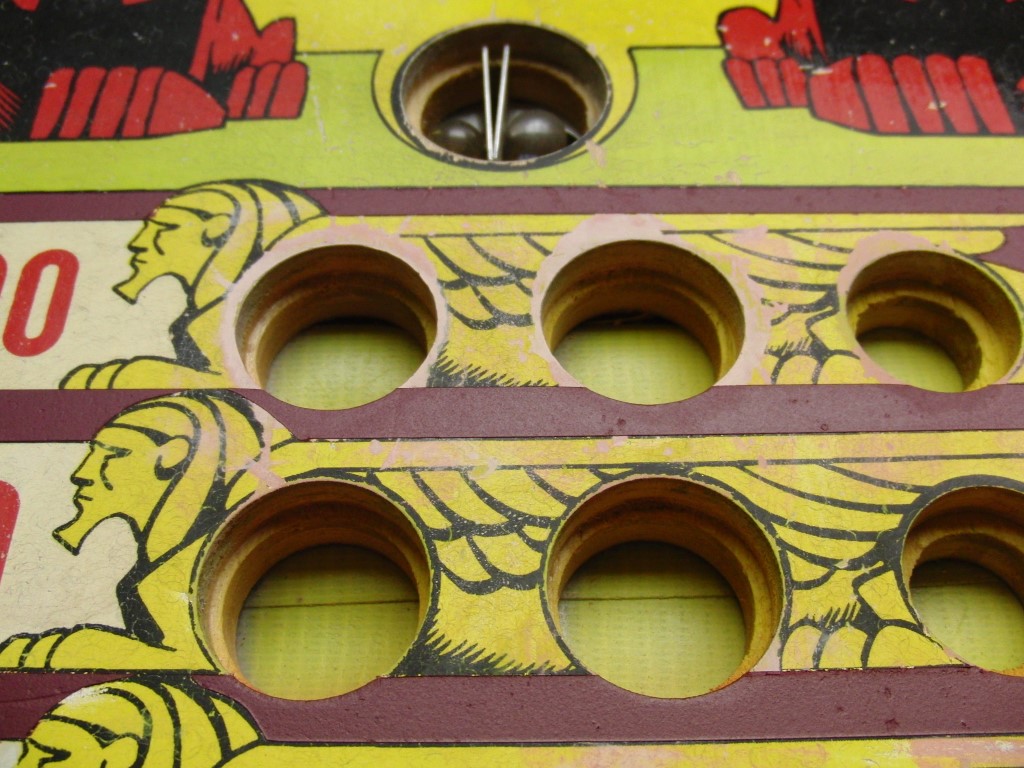
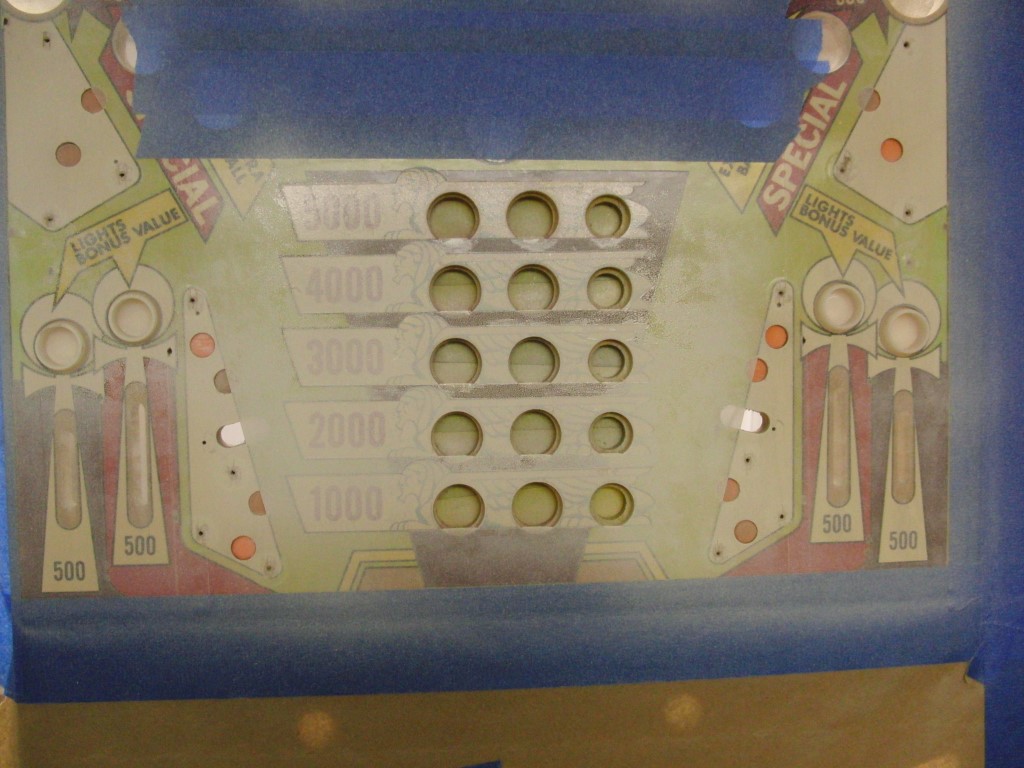
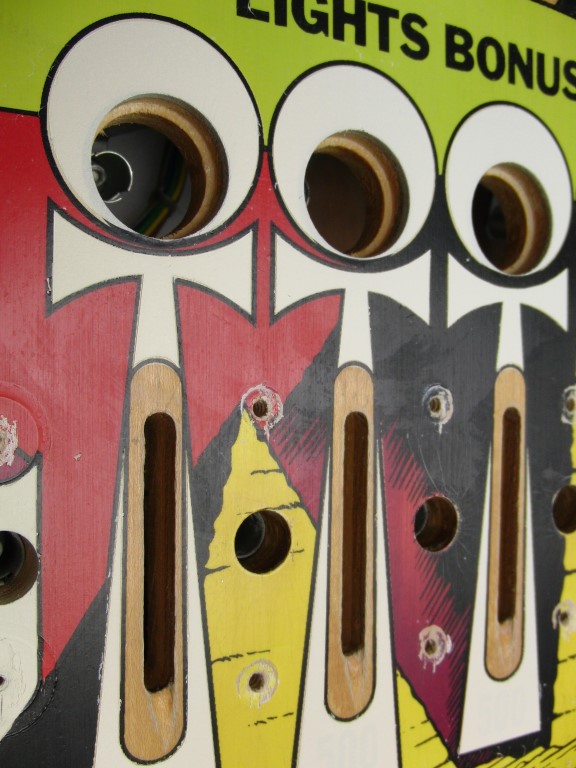
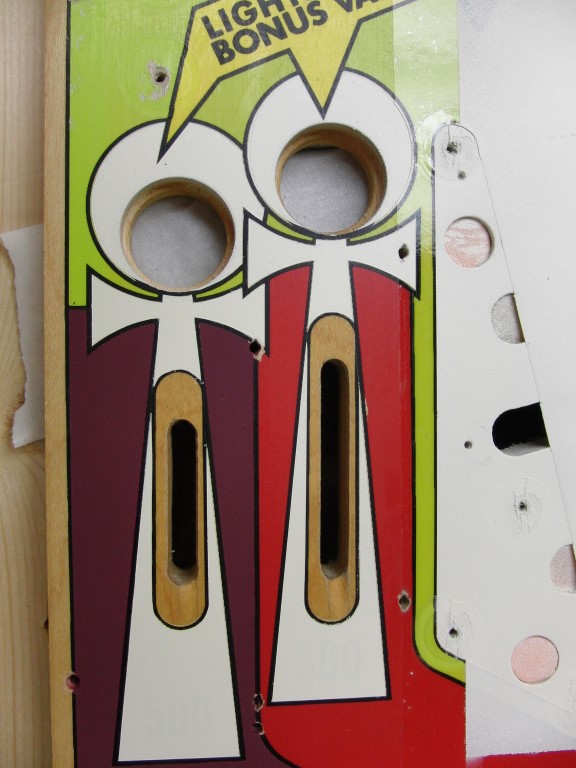
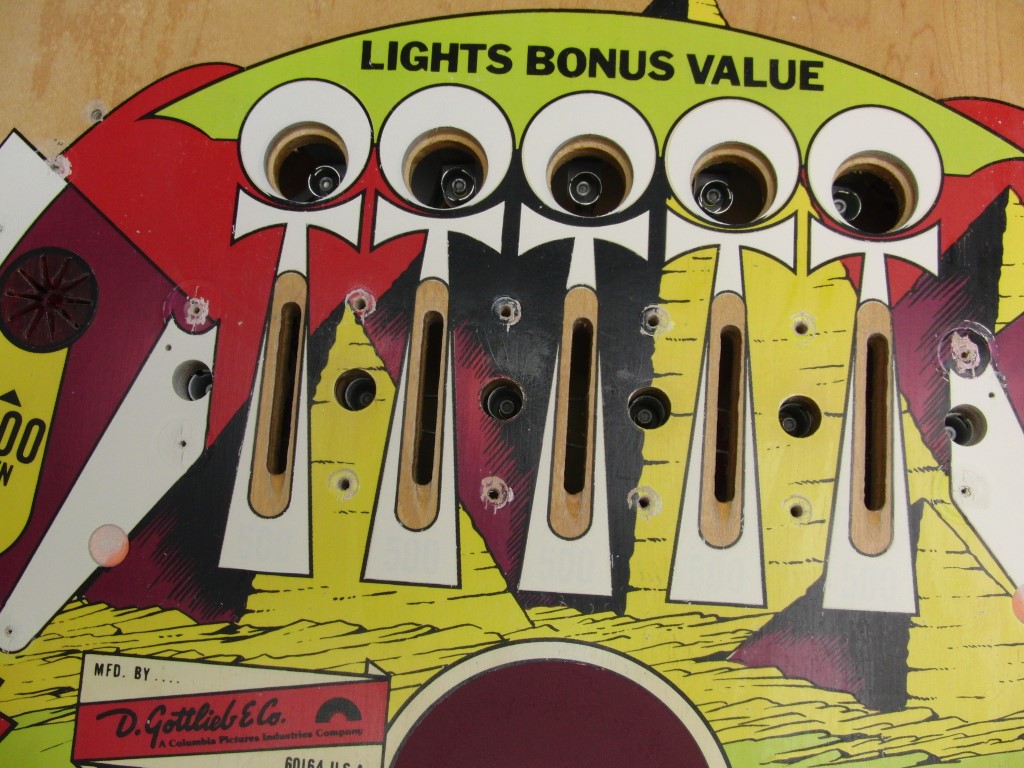
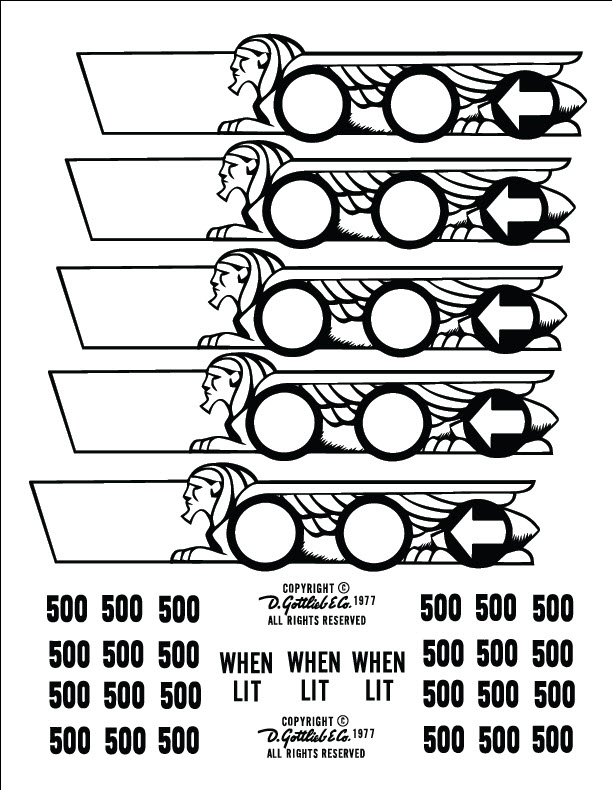
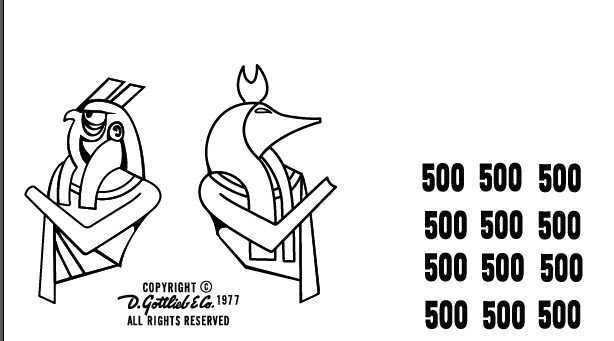
I’ve also been working on the kick-out hole wear so common on this machine. I scanned the playfield and created some vector art for hopefully a print on some waterslide decals, since it’s colored and I don’t have a APLS printer I’ll have to come up with another alternative to get this fixed.


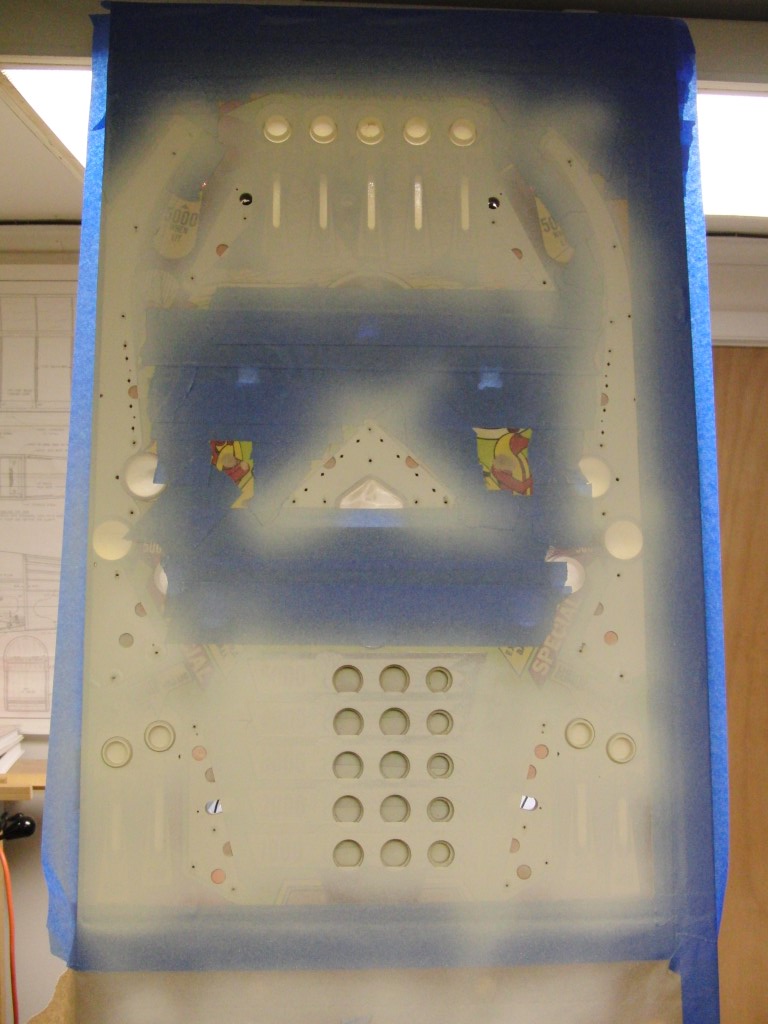
I made some progress today by airbrushing all the white, well almost… I forgot the kick outs as I wanted to lay a base coat for the touch ups.
Anyway I think it came out nice! I’m still working on the Lion’s and they are the biggest challenge. Now that I have a base coat of white on them the yellow should be a breeze… enjoy!
I can’t believe I’m doing all this work on a practice playfield…

Here are the results of all that hard work.

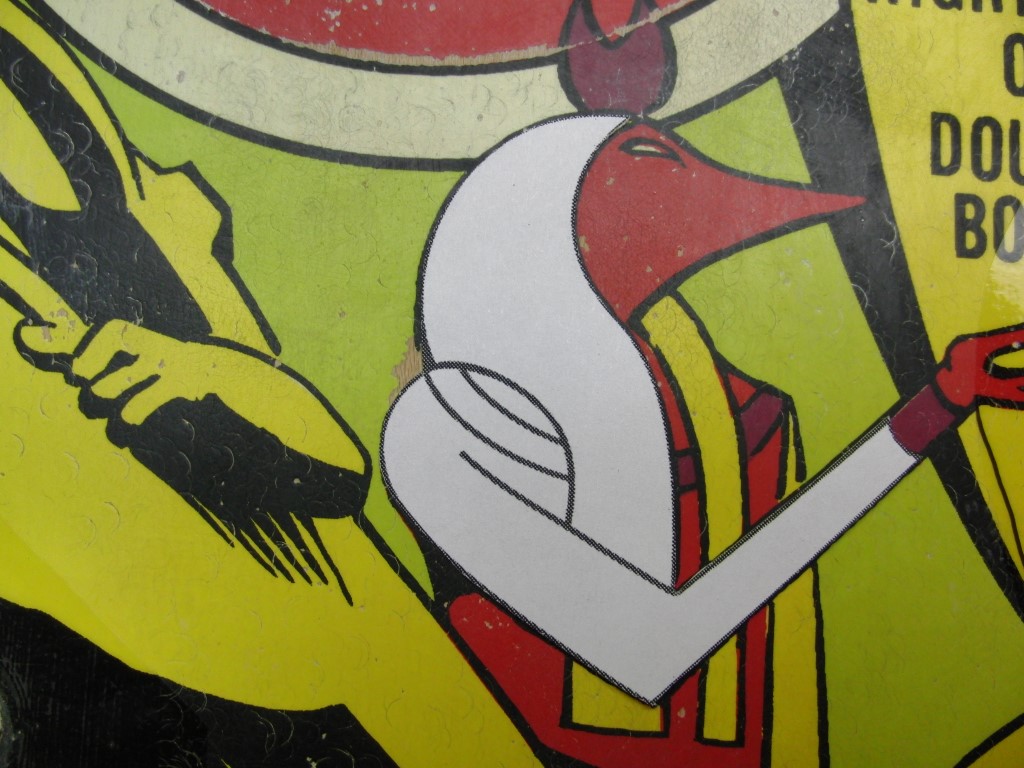
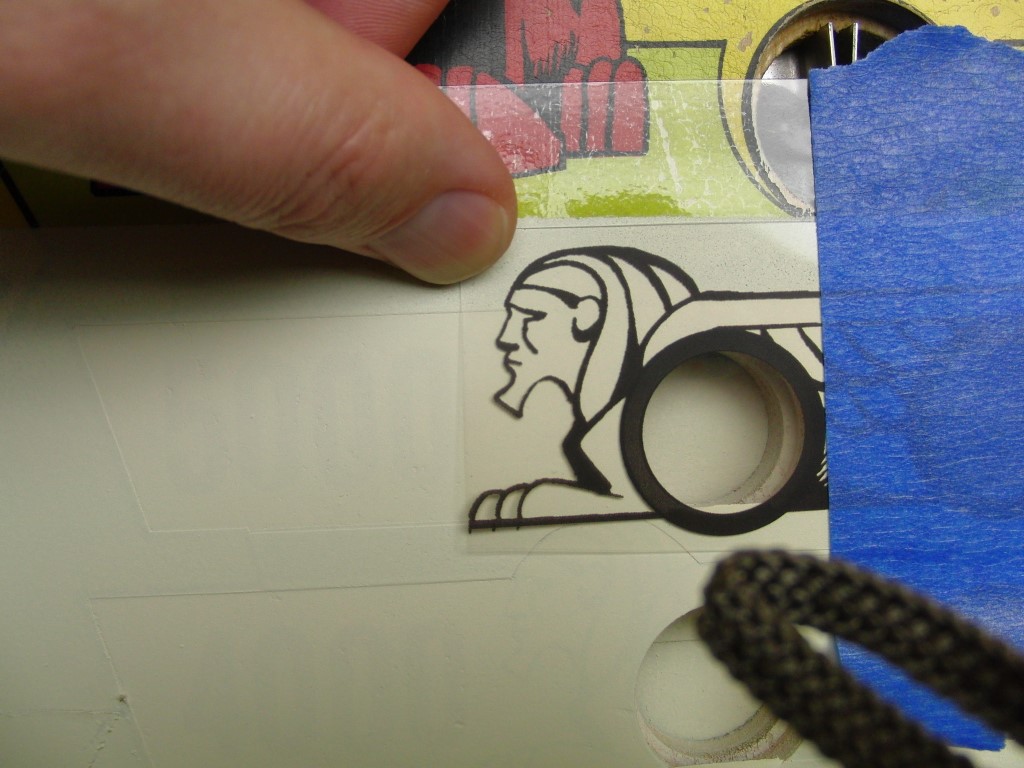
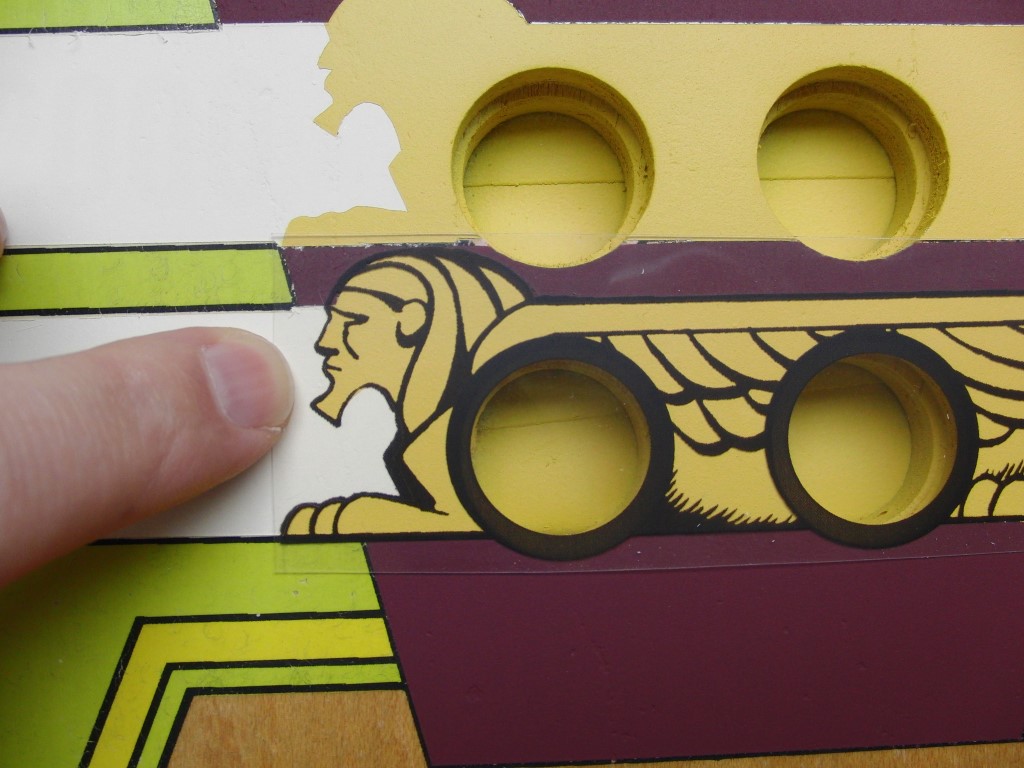
Since I repainted all the white area I had to find a way to repaint the lion’s head area yellow and seperate that from the area that should be white so I came up with this idea…
I printed the key line image I had of the lion onto some overhead projector film and used that as my trace. I positioned the lion as it should appear since I could faintly still see the underneath original layout, I then temporarily taped the key lines to the play field.
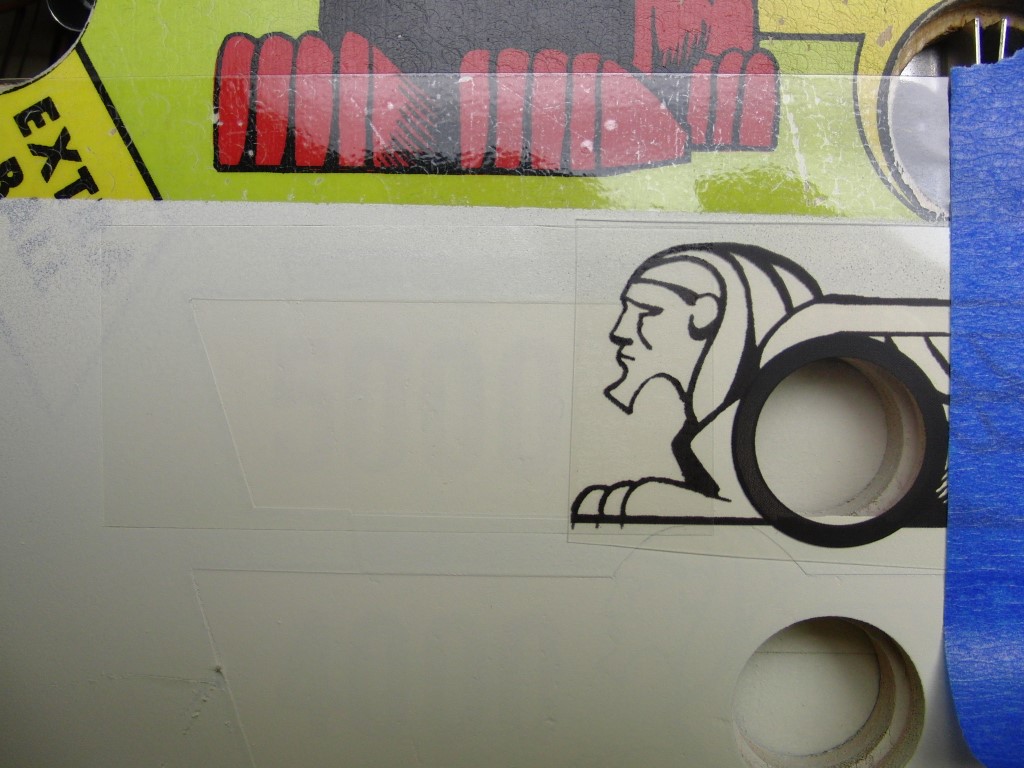
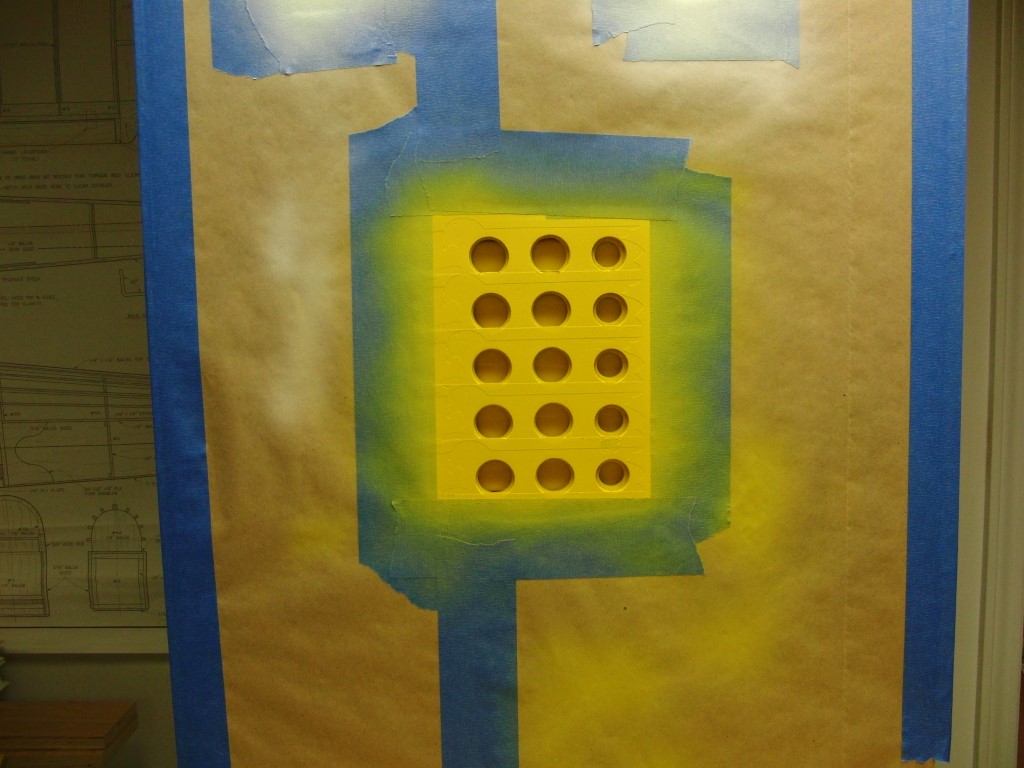
Then I took some frisket and covered the area to remain white and overlapped the lion key lines, then trimmed the key lines and removed any excess along with the lion that was printed on the film… It looks darn close but until I paint the yellow I won’t know for sure.
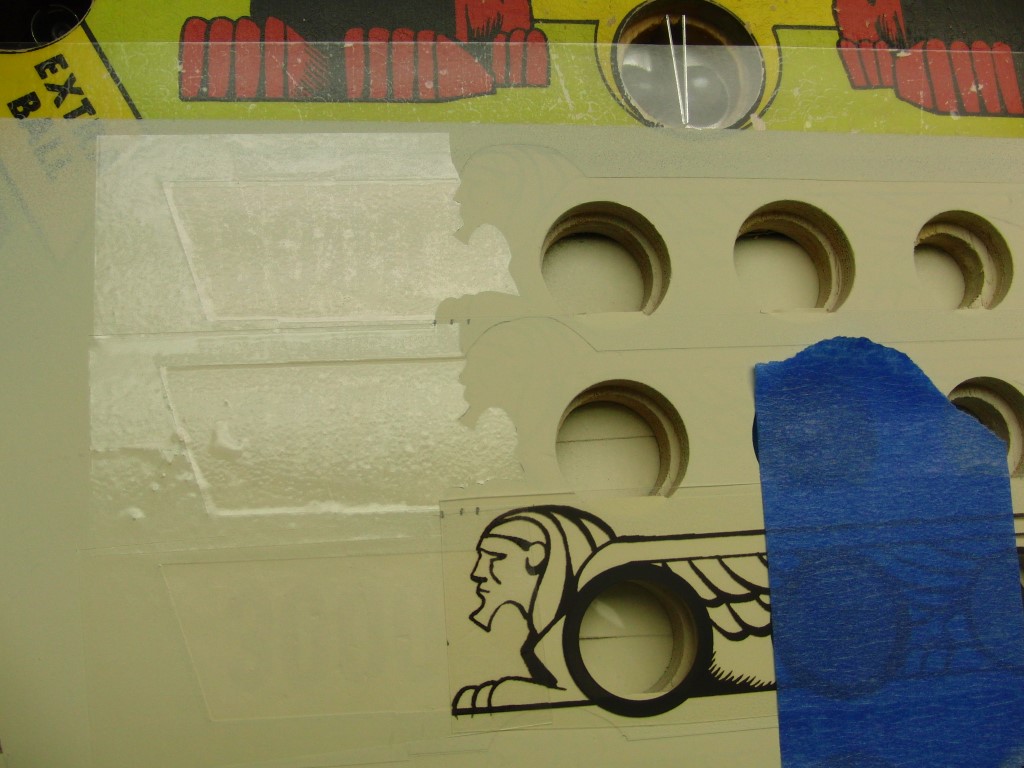
I was getting ready to shoot the yellow and ran a test and then realized I had the wrong color, bummer! After realizing that I had to clean the airbrush, etc. off to the store tomorrow to pick up the correct color.
Enough rambling, here are the pics…


Well I sprayed the Lion’s today with mixed results.
The technique worked great but the color matching wasn’t very good, I thought for sure I had it and it came out wrong… :>( it’s just too gold for my taste, not enough yellow.
Here are some pic’s with the key line layer on top.. I think it looks really good.

I finished the decals in Illustrator tonight so I’m ready to print them to transfer paper.
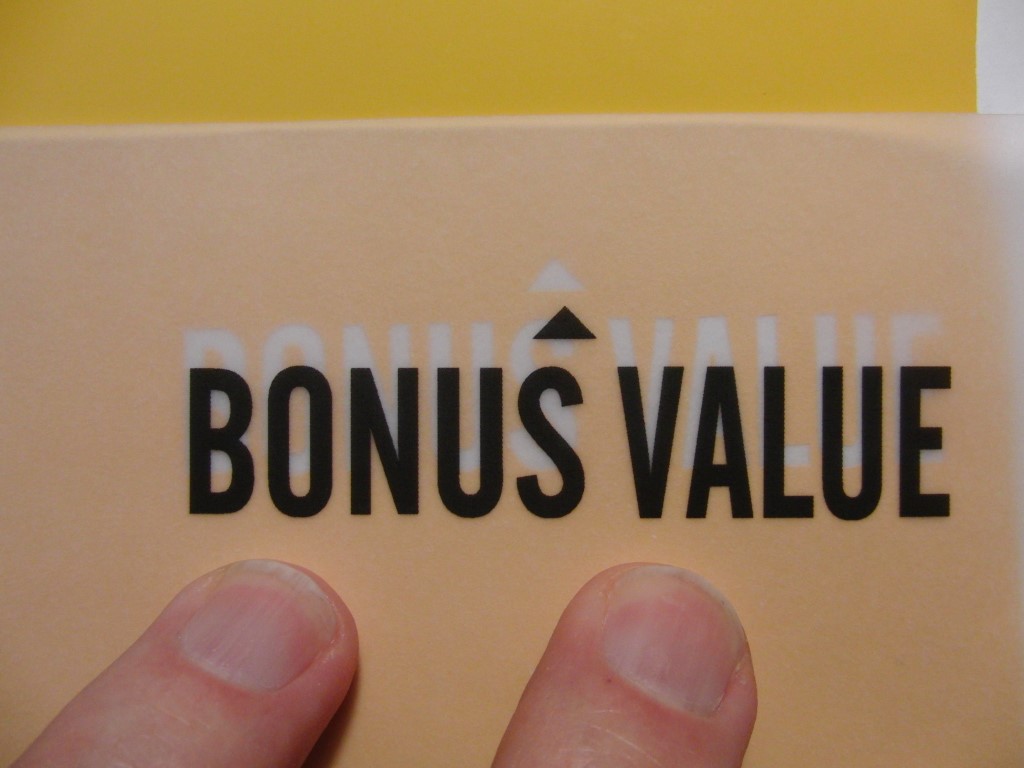
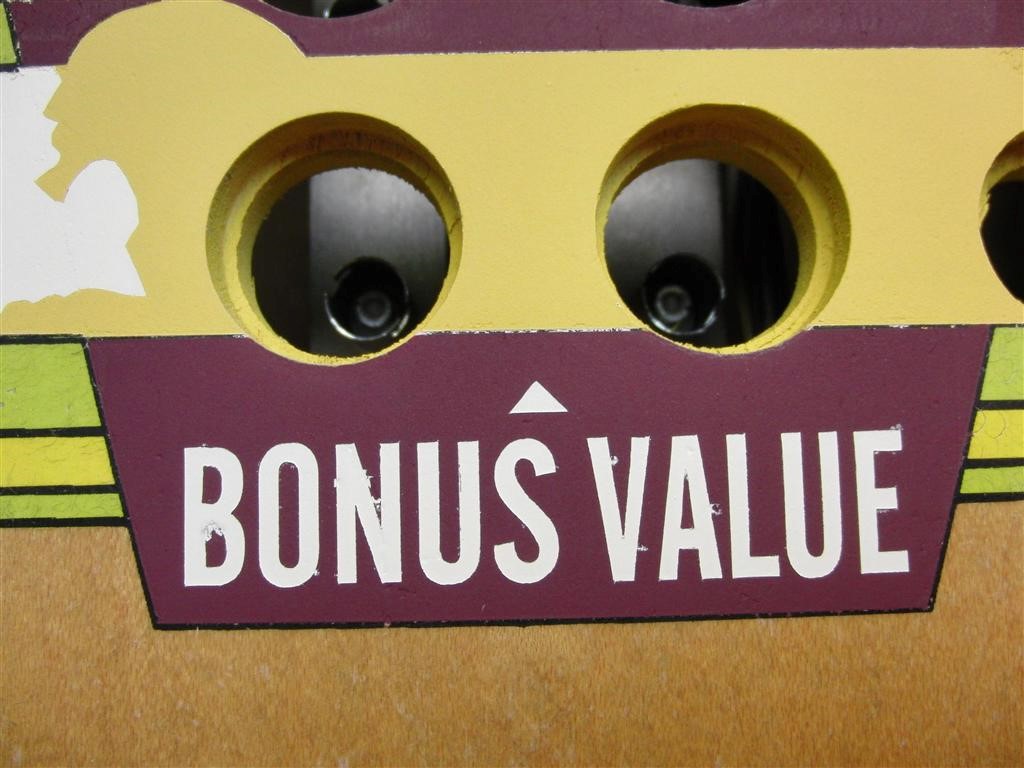
I haven’t decided if I’m going to do the larger numbers in the original Red or if I’m just going to go with black. I have a vinyl cuter that a buddy let me borrow so for S&G’s I might give that a whirl and see if I can create a mask for spraying, I prefer the Red for numbers and the “Bonus Value” has to be White somehow..
As far as airbrushing, aside from the pop bumper areas I think it’s about done, this is only a test. I’m undecided as to spraying the Lime Green, maybe…
I’ll need to do a light sand and then apply some clear before I apply the decals. I need to replace the inserts before that is done so I have some work ahead of me.
Well I learned a little tonight and was able to create some vinyl graphics for a spray mask for the numbers and other text I needed to finish the airbrushing…
As a comparison I had originally printed the graphics on Velum to make sure I had the correct sizing as you can see it’s perfect.
Tomorrow I’m going to see if I can cut some frisket and see if I can make that work.
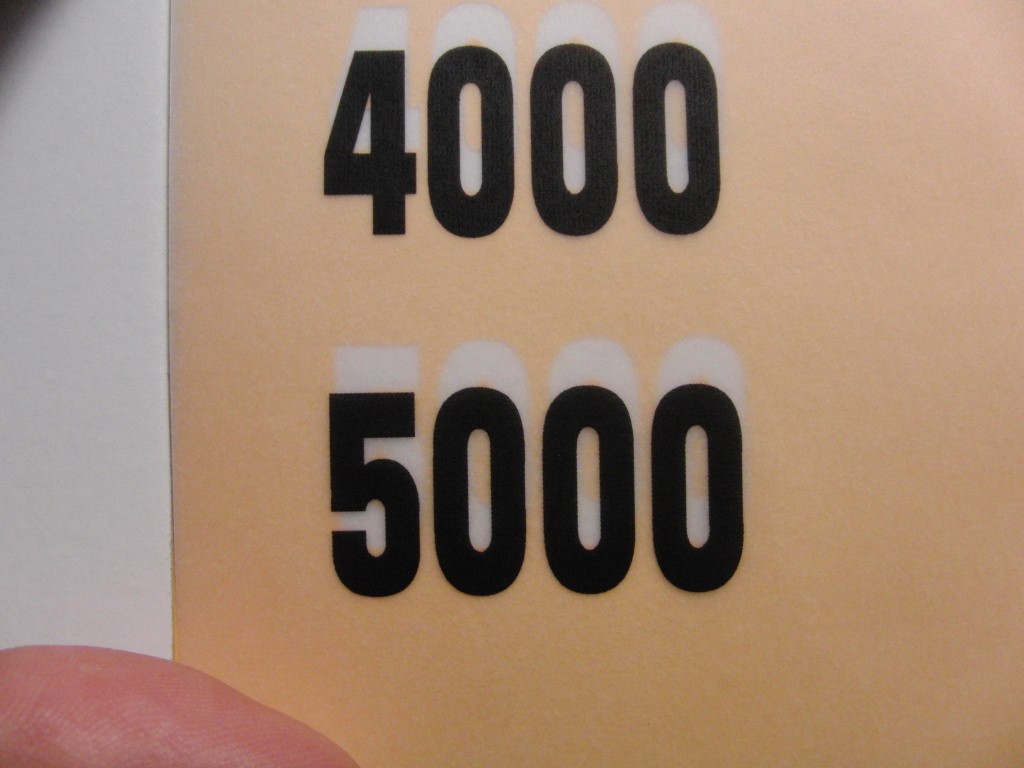
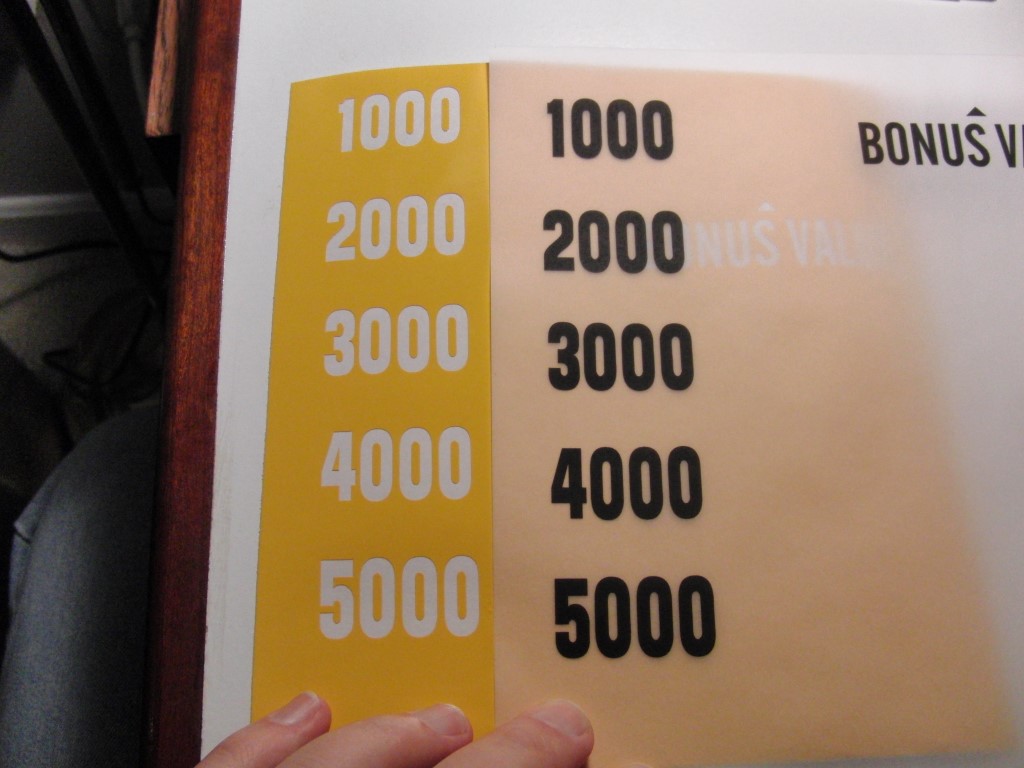


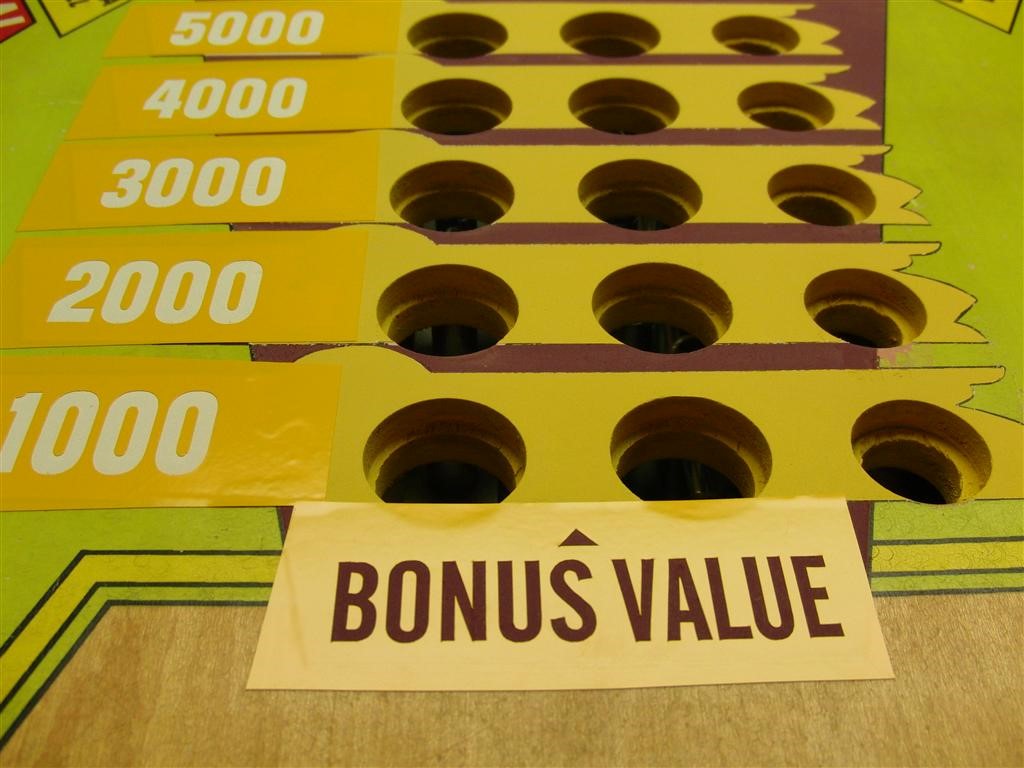
here are a few pics of the stenciling and painting of the numbers.
I tried to print the decals on frisket instead of vinyl but it wasn’t substantial enough to withstand the vinyl cutter so I just used the vinyl decals that I made. I was a little concerned about the adhesiveness of the vinyl and whether it would pull the fresh paint up, lesson learned is that they didn’t.
The numbers came out spectacular, the “Bonus Value” not so much as I over thinned the white and it bled a little, I’ll be touching up the touch up… ;>)
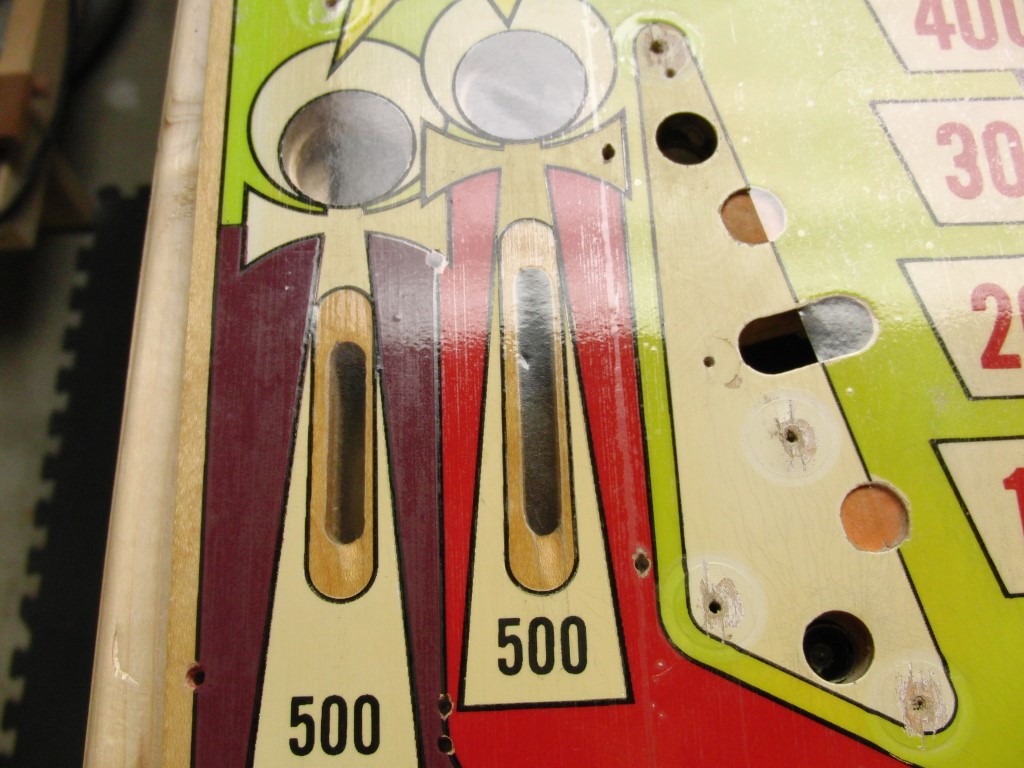
Since I was painting the Red I also did the pop bumpers and left them un-filled like the Purple one’s, no sense in fixing some and not all of them.

I repainted the pop bumper area white and in the process decided to leave the Gottlieb signature alone and it will be the only white area to not be repainted.
I’m really pleased with the outcome so far.. there’s still a bit of work to do.
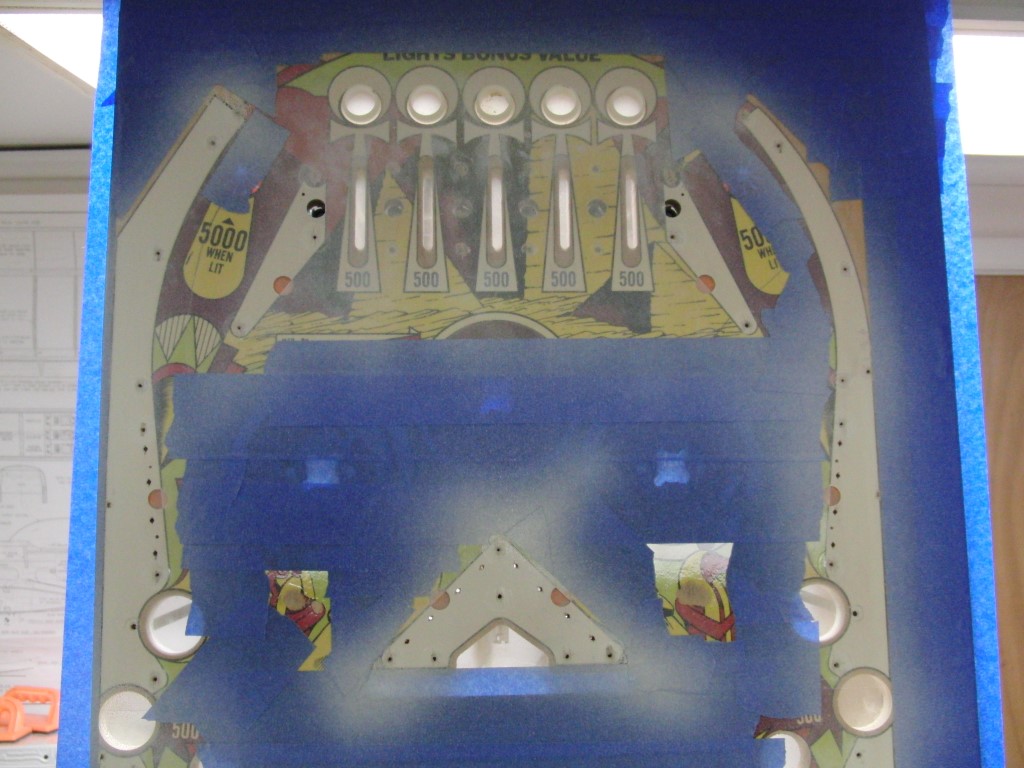
I finished the kick out hole re-work for the graphics. I used both Inkscape and Illustrator but could have simply used Inkscape which is where I basically re-drew the graphics. I think they came out great, now to see about how to reproduce them…
I also worked a little on the inserts by sanding them flat using some 400 wet sandpaper. I need to scan some artwork so still have some work to do on them before they get glued back into the PF.

The playfield touch-up continues…
Pinball Refurbish – Cleopatra part4
If I was able to help you figure out and fix your problem, buy me a beer! and Thanks..
![]()
Thanks. I have another project that I will be working on soon, a Williams Firepower multi-ball.
Glad I was able to help.