

Just wanted to do a quick post on how i fixed my treadmill motor not for treadmill use but for another project in the future.
note: This is for informational purposes only perform at your own risk.
The treadmill had seen a number of good years, 15+ so it didn’t owe me anything and I didn’t feel bad if I couldn’t fix it but if I could fix it I would have variable speed motor that could handle increased torque demands and it should be useful for a project on down the road.
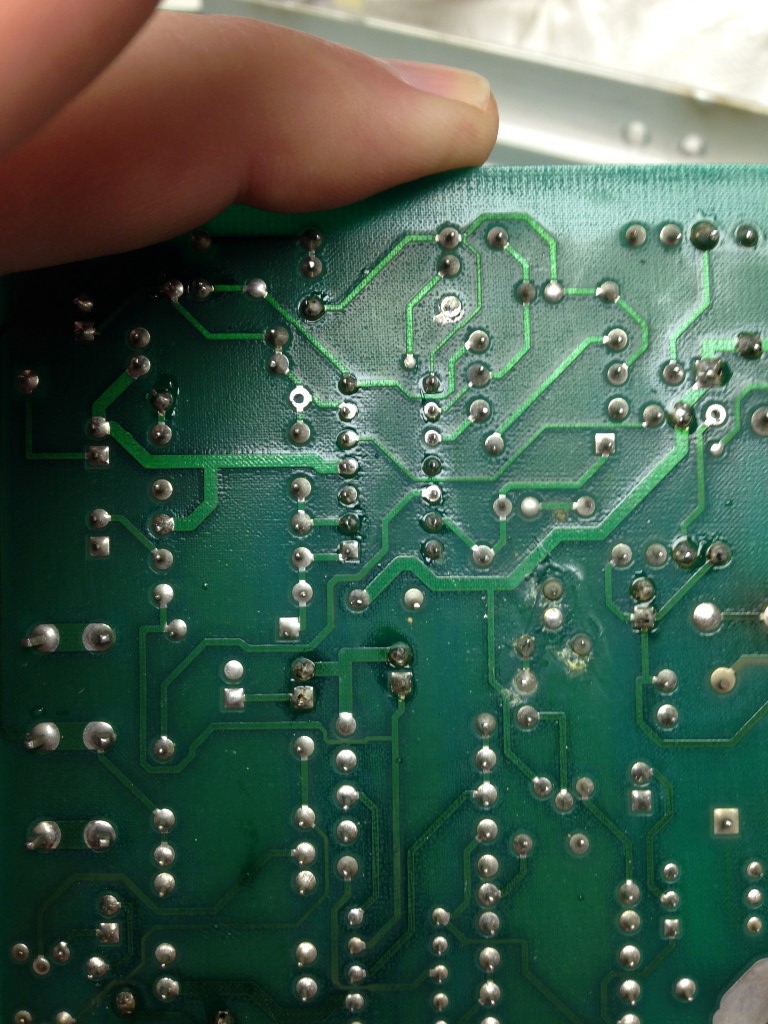
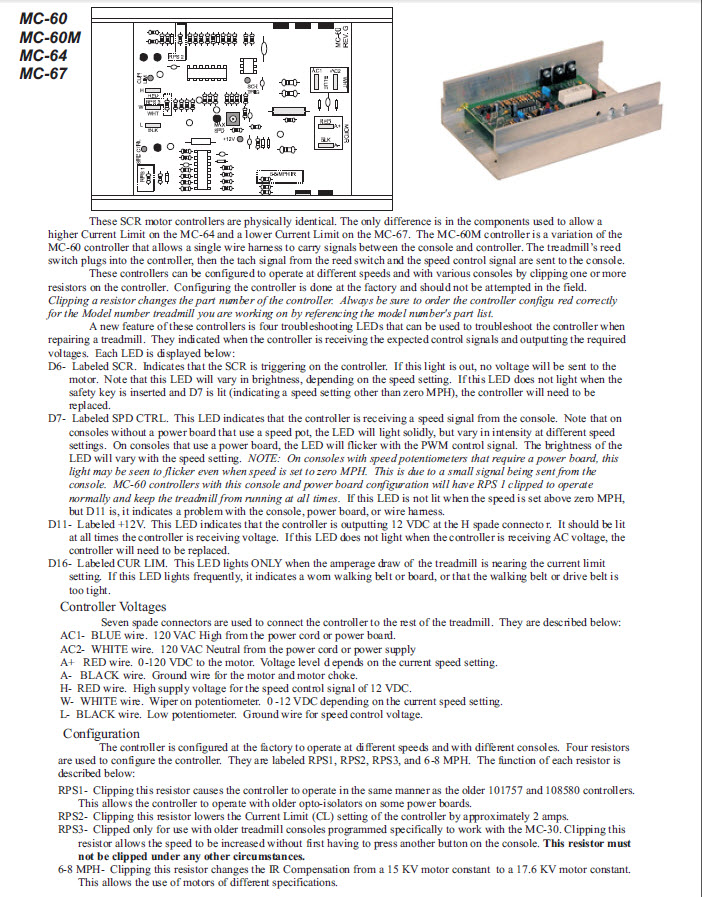
So I pulled the control board from the treadmill and found it to be an MC-60 unit which seems to be popular for treadmills but schematics aren’t to be had on the internet. As I did some poking around I was able to stumble across a few items of interest, I will post them here for a source of reference but I take no ownership of them as they are the property of their rightful owners.
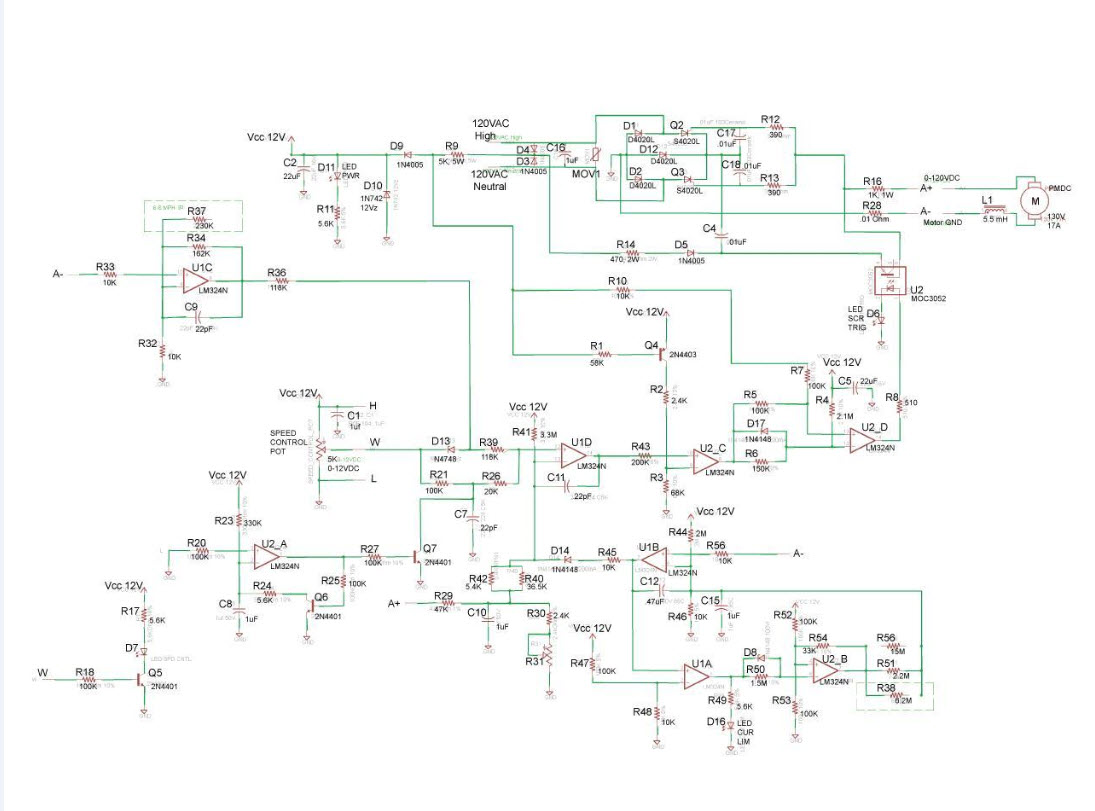
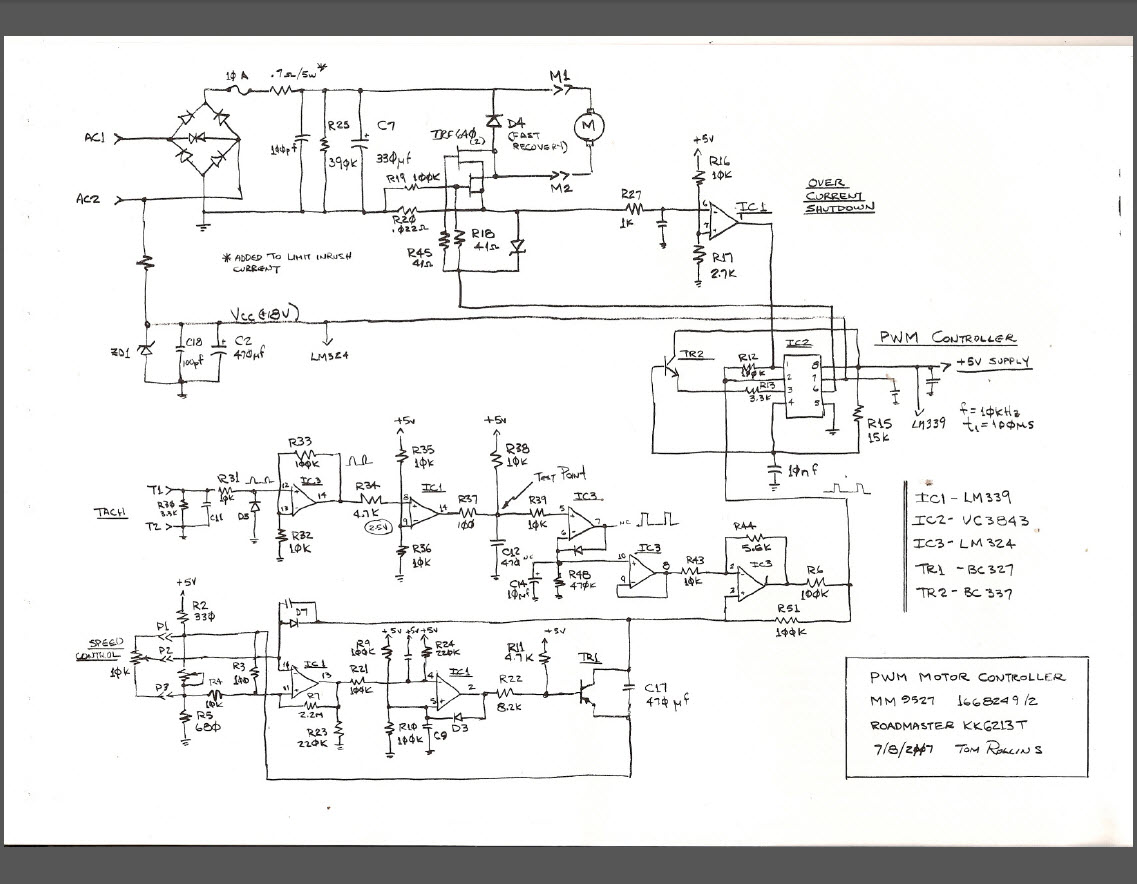
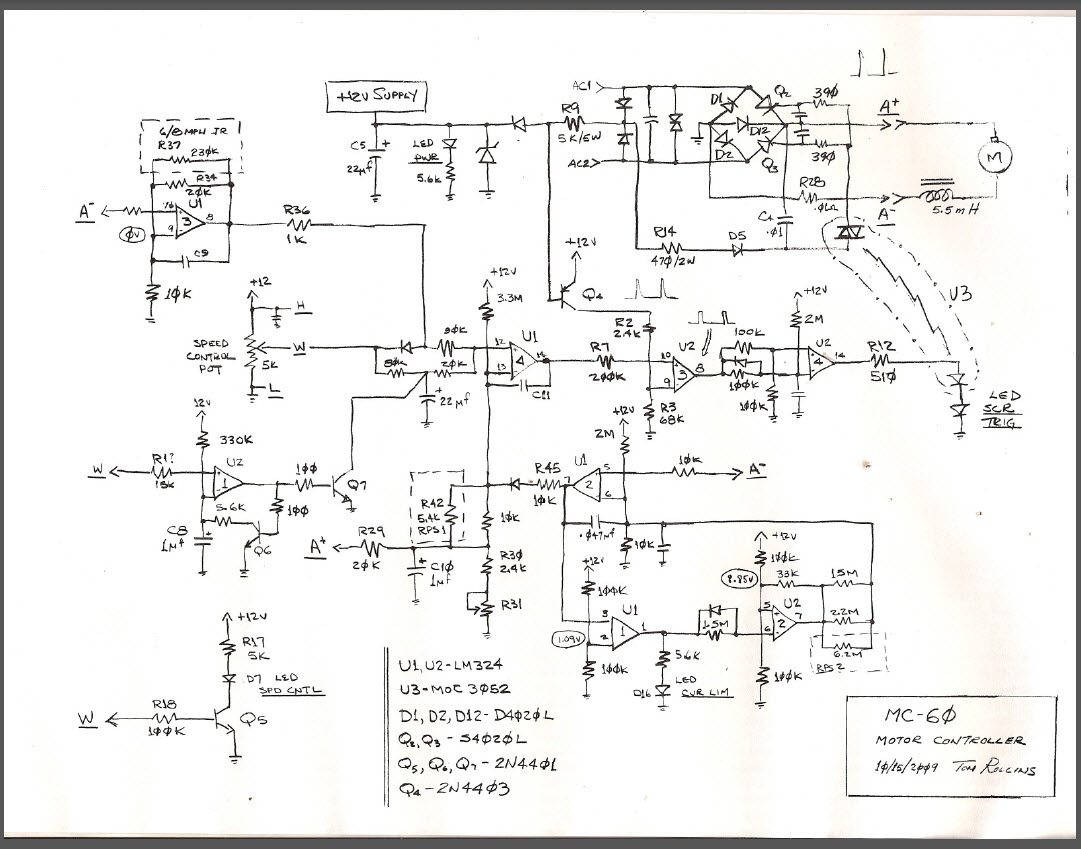
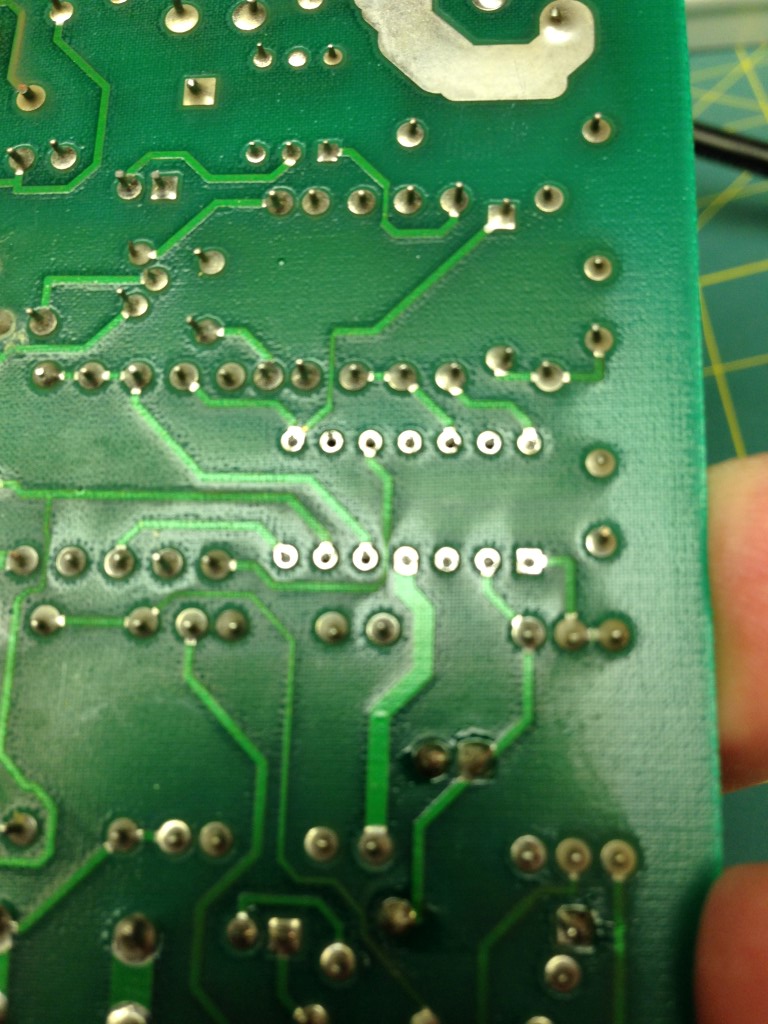
Without a schematic and me being a novice to electronics repair it would be difficult to trace down the voltage paths and since this was a small piece I opted to take a shotgun approach to fixing it… the treadmill seemed to work until there was a load placed on it or until it got hot. As it encountered with issue the unit appeared to reset itself or cut out and then start right back up. I checked all the resistors for correct resistance and the diodes for any that might be open, un-soldering from the board as needed to check.
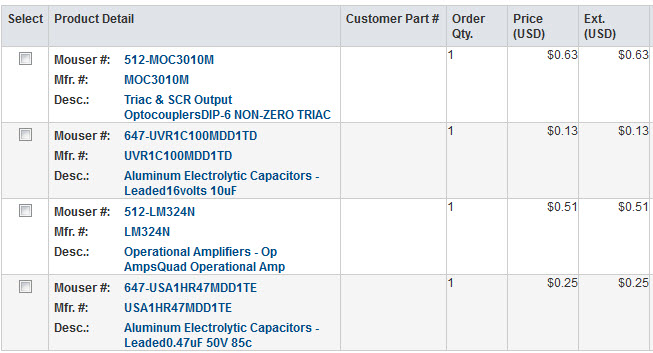
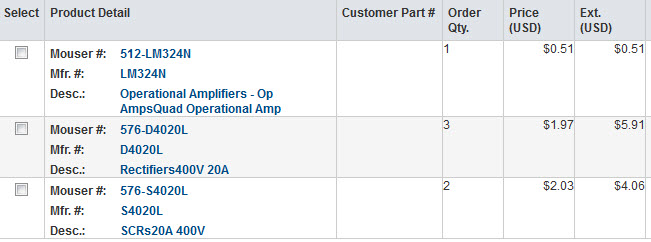
Once I had determined what to order I took a look at how much it was going to cost. I could get a “new” refurbishued unit from Ebay for $46.. to my amazement, shipping was the most expensive part! All the parts were found at Mouser.com.
Time to part swap…
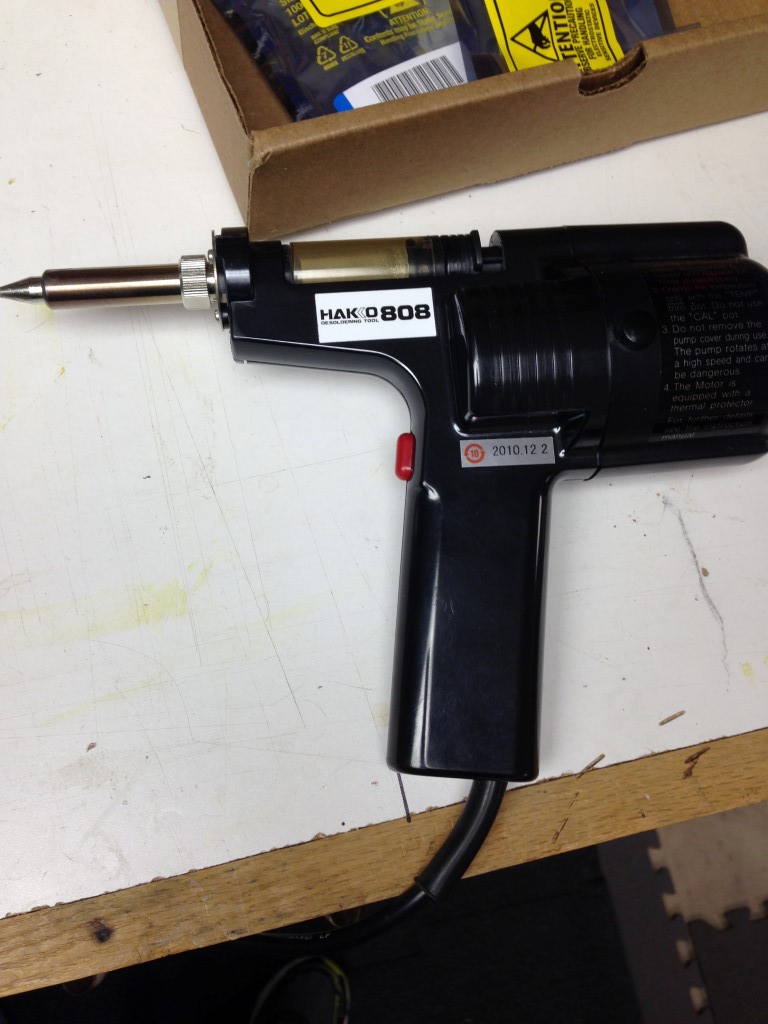
I got out my trusy Hako desoldering gun, well worth the money if you do any tpe of electronics repair. When replacing the items I replaced them one at a time just to be sure I didn’t mix up any parts when re-installing.
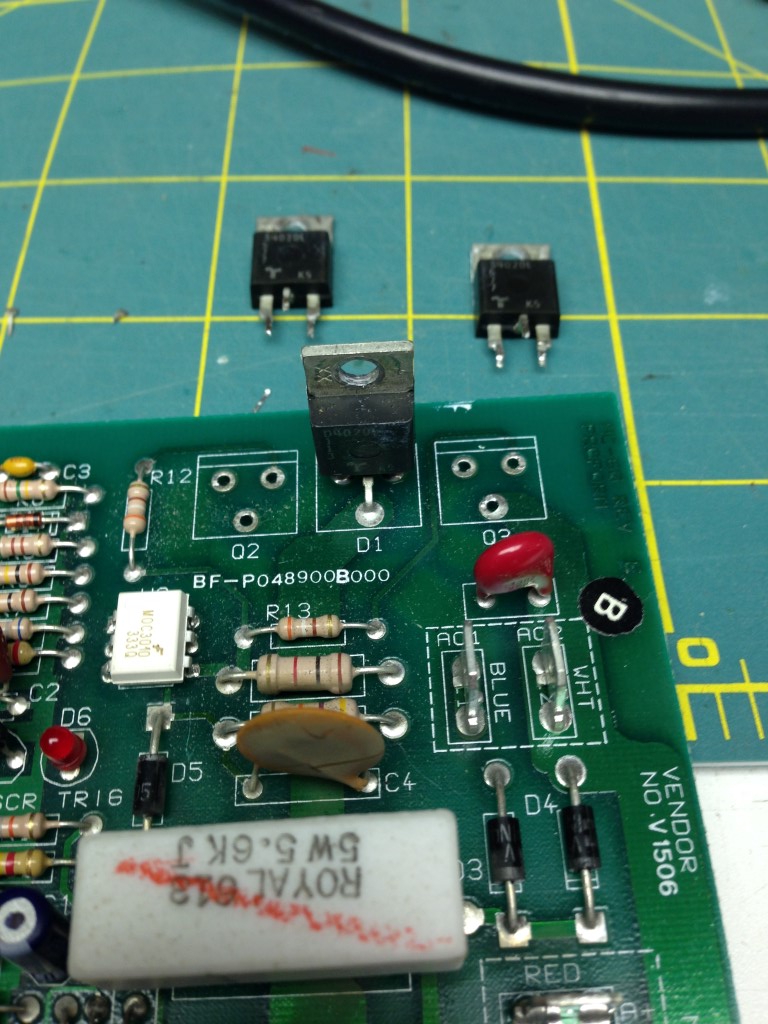
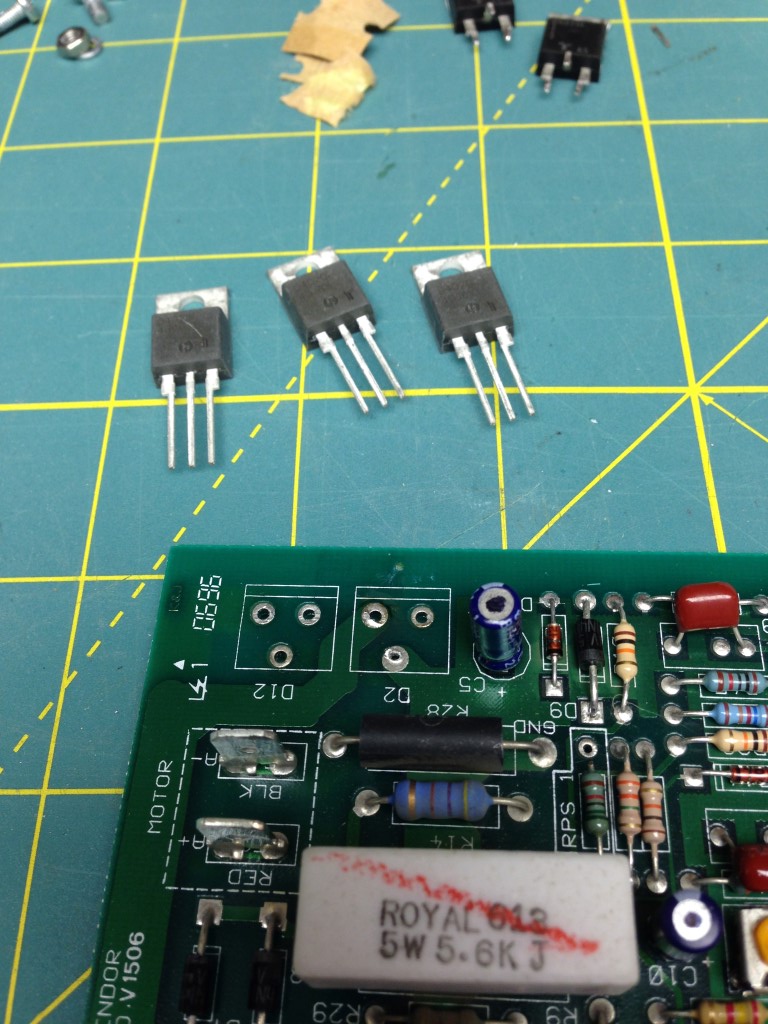
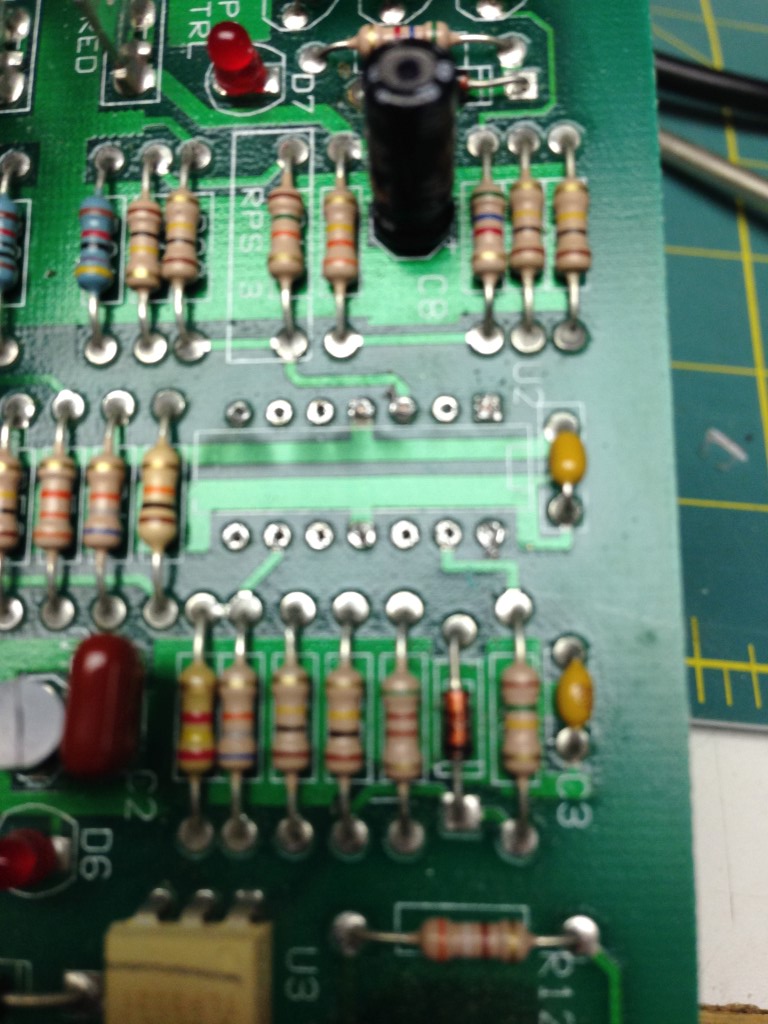
I pulled the SCR’s and Rectifiers first, I believe one or more may have been the problem.
When replacing IC’s that are soldered I have a trick to just cut the legs on the IC for easier removal and then just desolder any legs that are left over, works great..


All soldered in and ready to go.
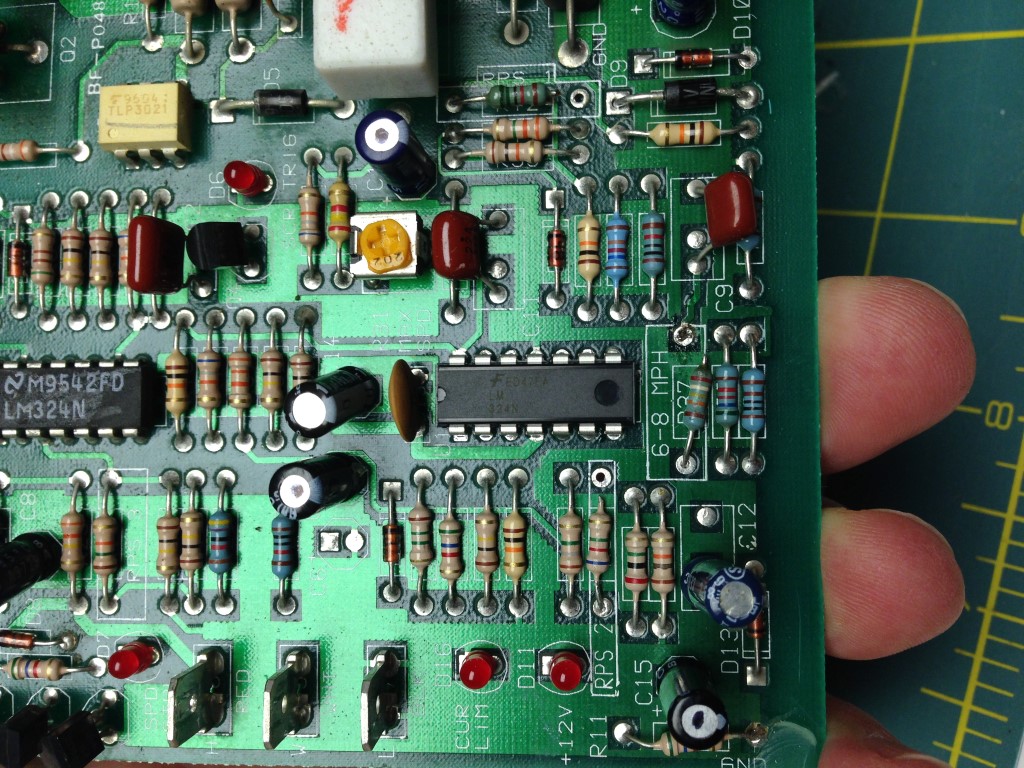
Don’t forget to add some thermal past before reinstalling, I got it a bit heavy there…
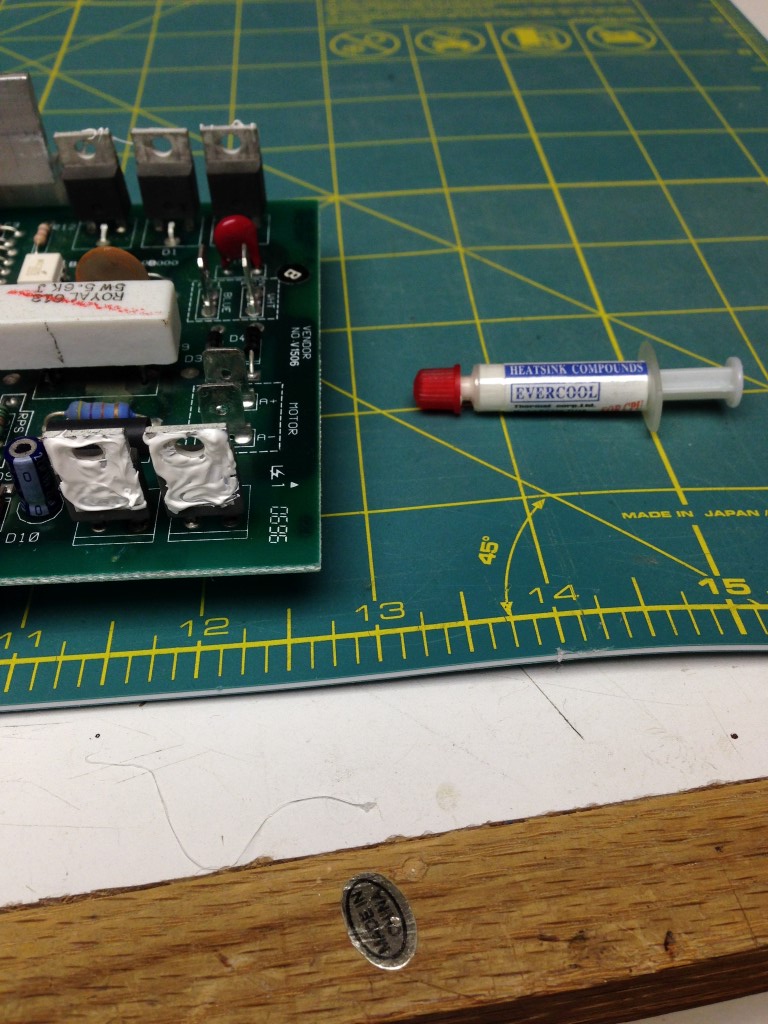
Tried it out and she worked like new…
++++++++++++++++++++++++++++++++++++++++++++++++++++++++++++++++++++++++++++++++++++++++++++++++++++++++++++++++++++++++++++++++++++++++++++++++
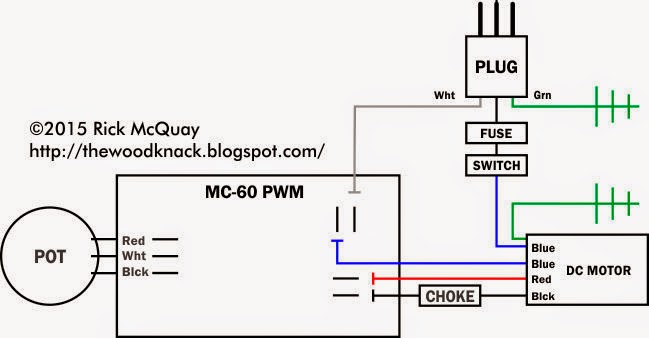
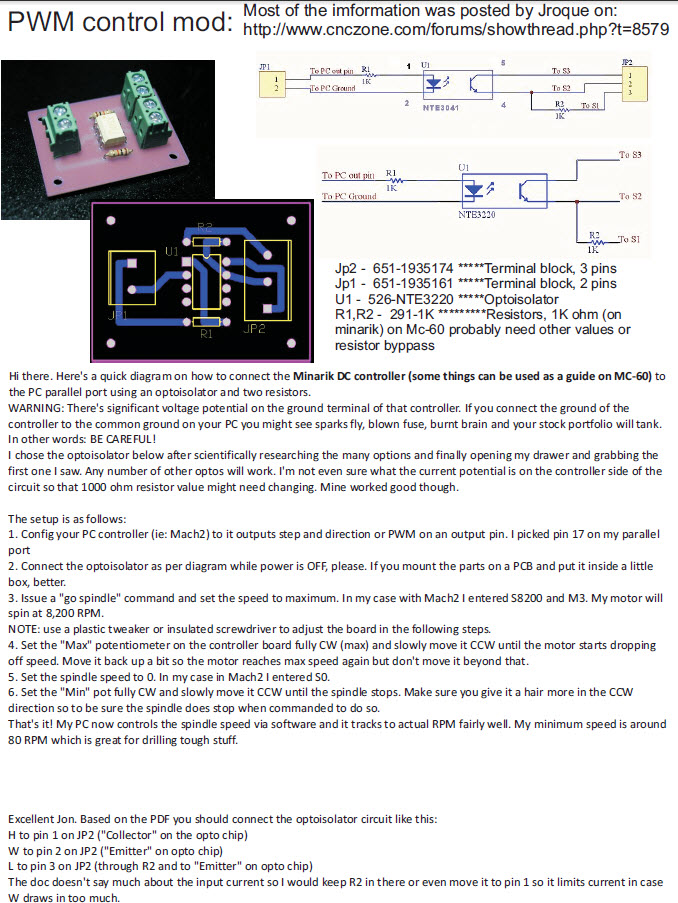
For future use I ran a cross a couple of posts and information on how to utilize my newly repaired controller and motor with a variable resistor..


If I was able to help you figure out and fix your problem, buy me a beer! and Thanks..
![]()
Thanks for all this info. Very useful 🙂
I have a proform 385 treadmill that was humming loudly til I tried the 1500uf cap across the motor feed and that quietened it well when not under load. When i tread on it though the hum comes back on each step. Once I figure out how to fix that too I’ll report back here
Hi,
Just came across this. Have you figured out what caused the hum? My treadmill is doing the same. Thanks.