
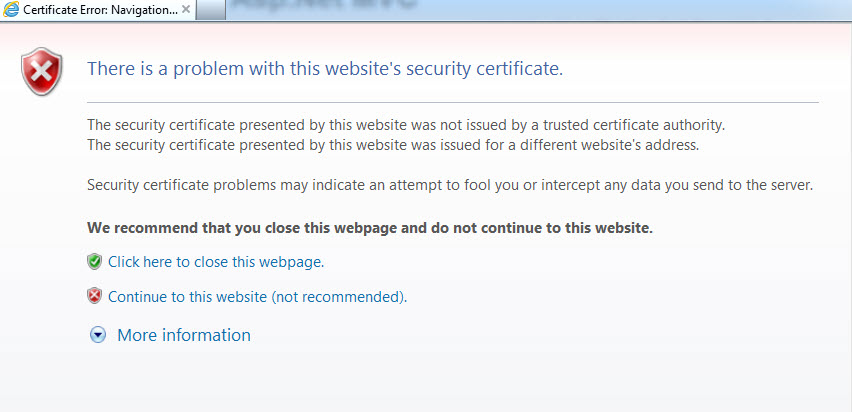
and QNAPI’ve never had the need to add an SSL/TLS certification to a website before but I thought I would take a stab at it since my Blog uses an https:// address. I think its inconvenient for visitors to have to accept self signed certificates. The general web page warning looks something similar to the following image, anyway it simply means the web page isn’t using a validated certificate.
So, I searched Google for SSL/TLS certification on the web and as usual found a lot of information but stumbled across StartSSL.com offering a “free” solution, granted this is a low level validation but will fit my needs until such a time I think I need something with a higher guarantee.
So I signed up for a Freebie.. supplied the necessary information and started generating an SSL cert for my site. My website is currently hosted on a QNAP Network Attached Storage (NAS) unit and is a little bit different than running on a Linux server as it is a proprietary setup, not extremely powerful, but gets the job done. One important item of note before starting this venture is to make sure you have SSH access to your device, you should always have a backup plan in case things go wrong, you’ve been warned.
With that said the information I was looking for can be seen in the following image.
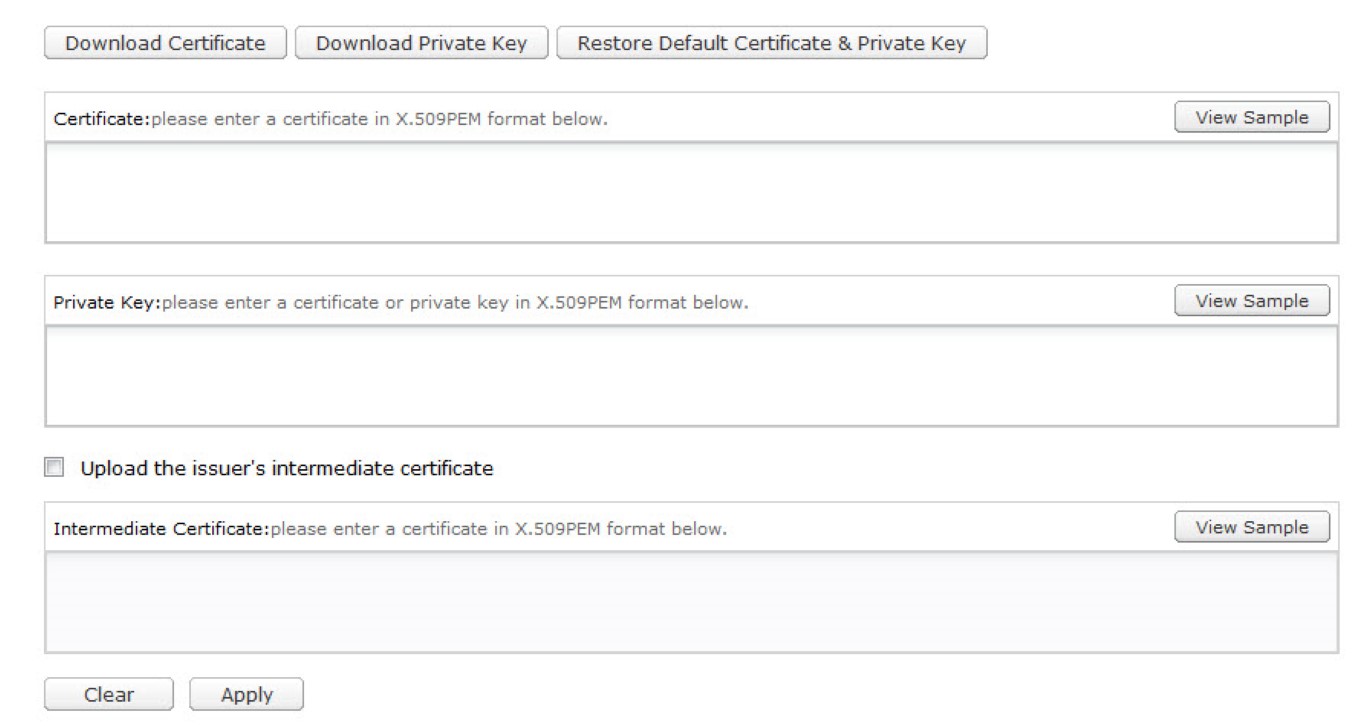
I needed a Certificate, Private Key and an Intermediate Key (not certain) on this. The confusion for me is that its looking for a PEM (used for different types of X.509v3 files which contain ASCII (Base64) armored data prefixed with a “—– BEGIN …” line.) In essence your looking for the information between the ——BEGIN and ——END tags, the file names in my case were irrelevant but could have meanings in other application, sorry I’m not knowledgeable enough to be able to enlighten you.
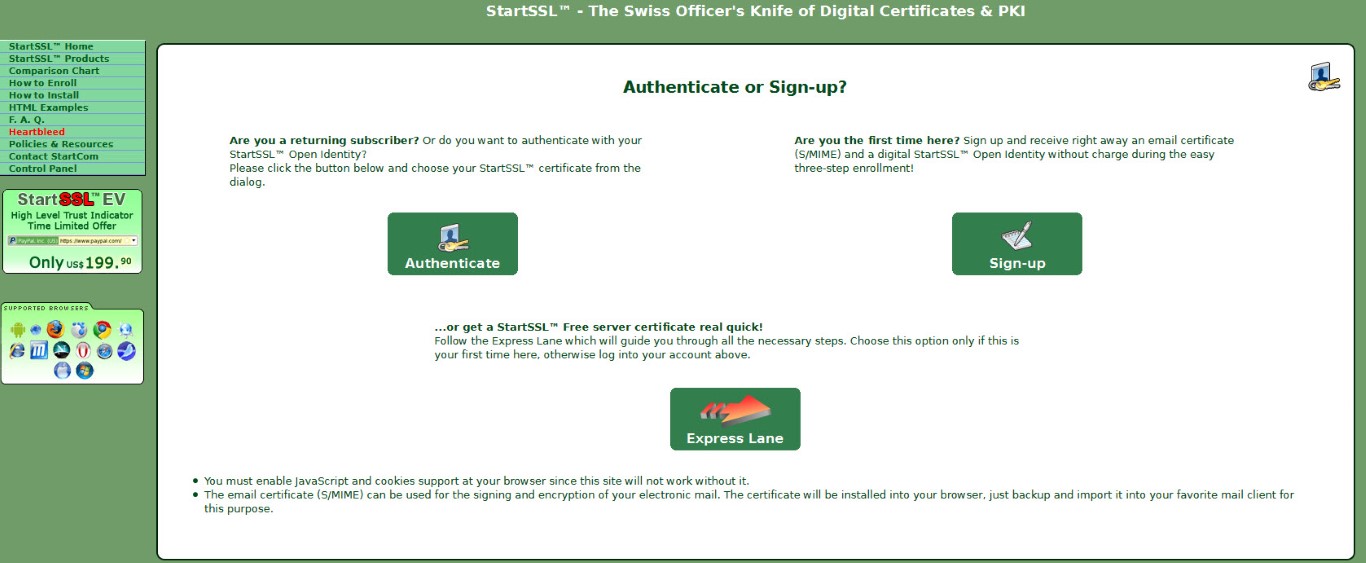
So I didn’t screenshot the entire top level domain process but here is the gist. After you sign up click the “Validations wizard”. Select “Domain name validation” from the drop down and enter your top level domain name (yourdomain.com) and press Continue. You will then need to select the email address that you will receive the verification email.


After you receive the verification code you received on your e-mail finish the wizard. Your top level domain is now validated.
In my case my QNAP is on a subdomain (subdomain.domain.com) so I needed an additional SSL cert or maybe this is how I should have approached it in the first place, not sure? It seems logical that I would need to create the top level first and then the subdomain..
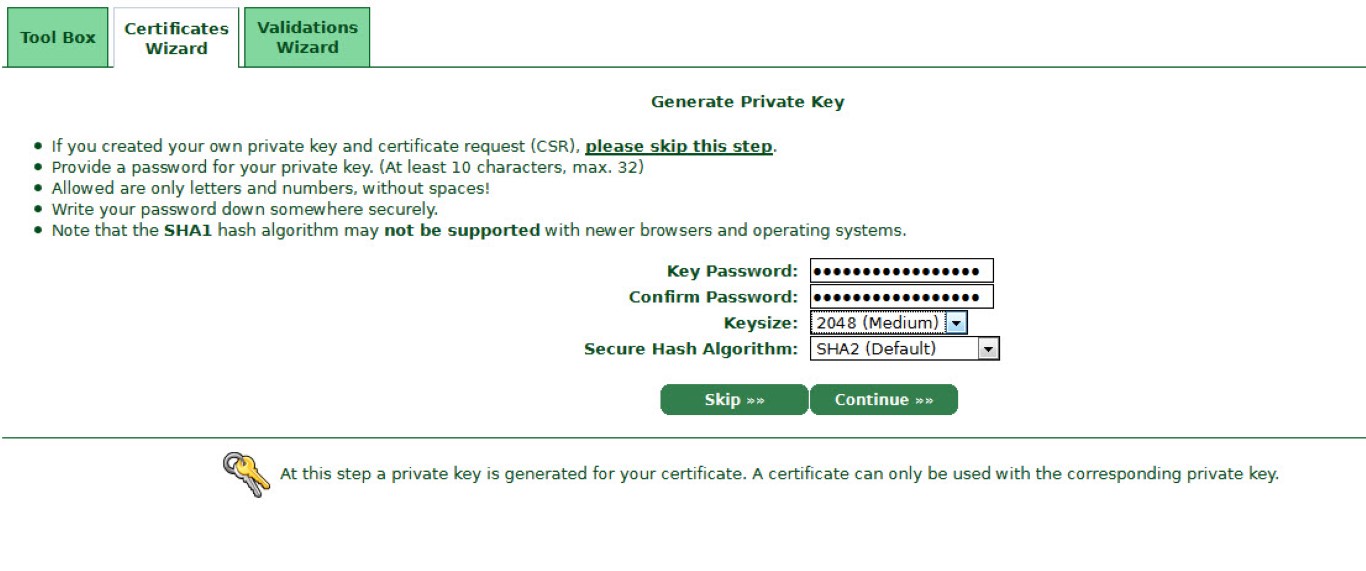
Log back into the control panel at StartSSL and click the “Certificates Wizard” and choose “Web Server SSL/TLS Certificate”.
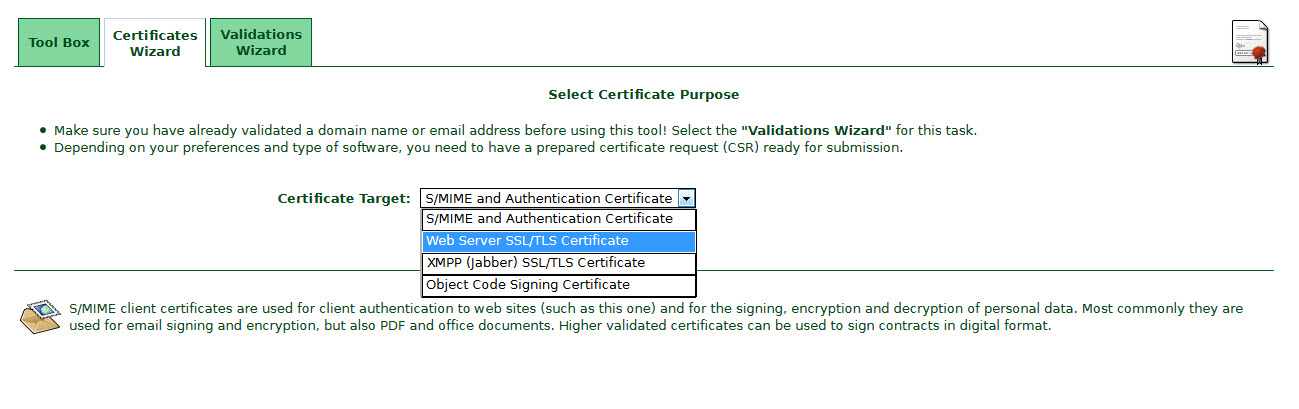
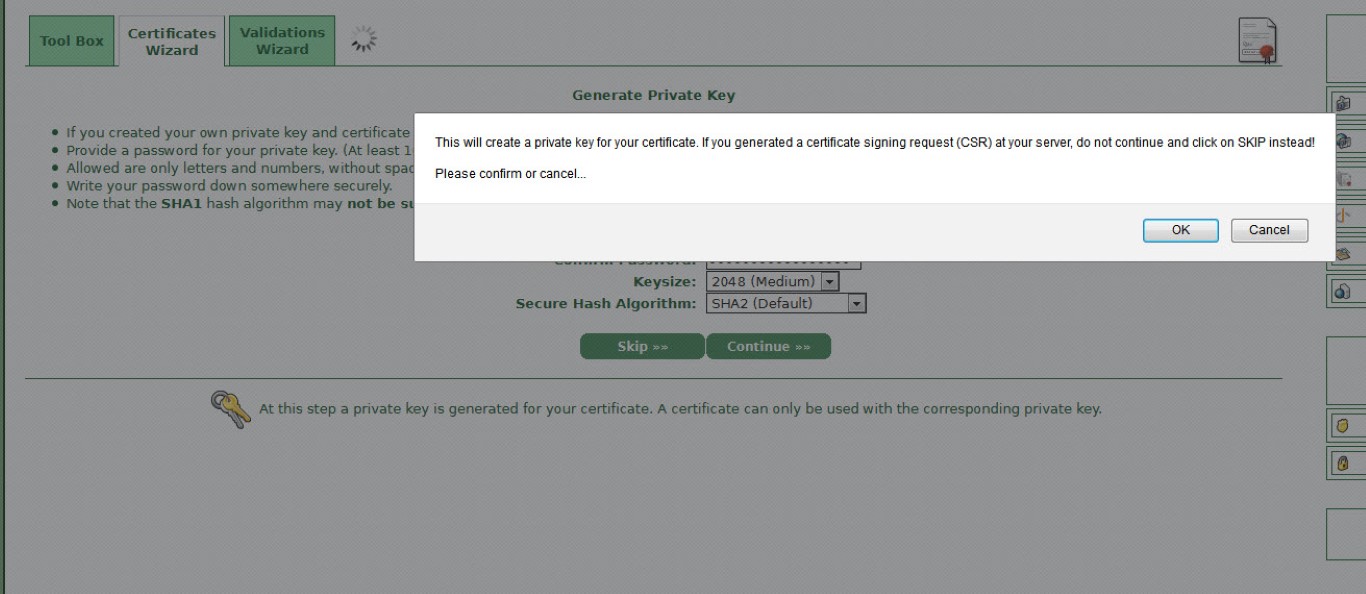
You will be asked to enter a Key Password set the Keysize and Hash Algorithm.
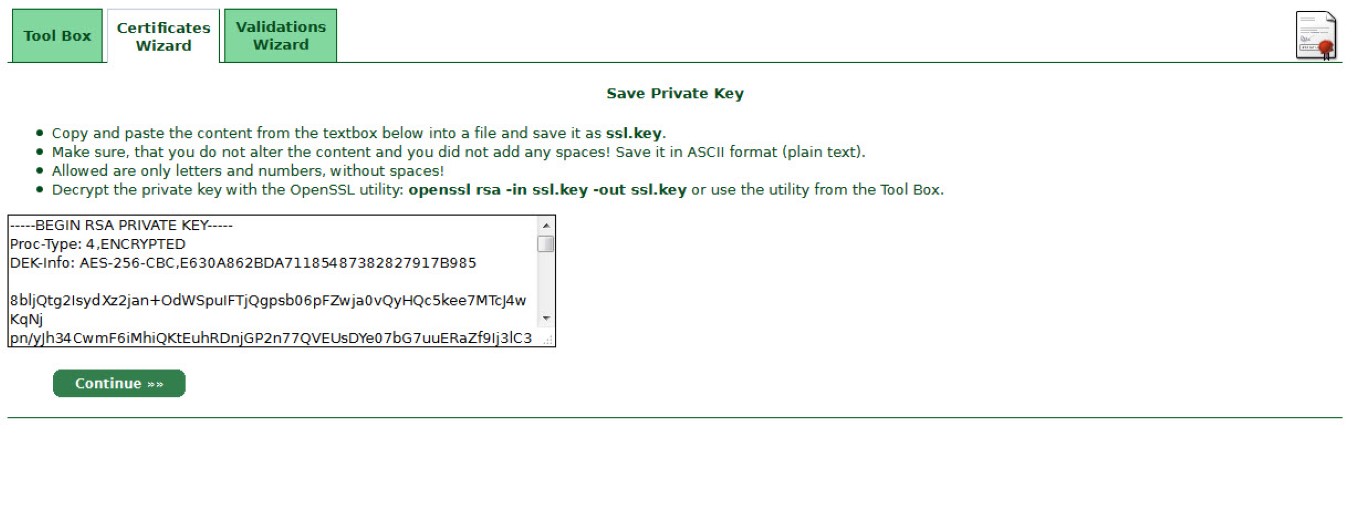
Your private key will be generated in an encrypted format that will need your password to be decrypted. Save this key! call it “ssl_encrpted.key”,
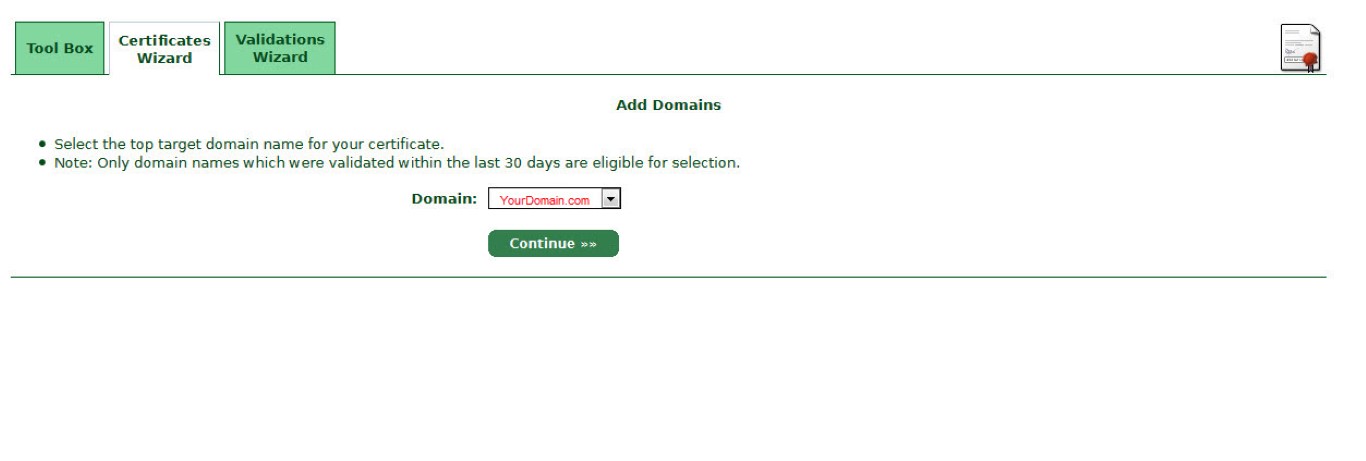
The next screen is asking for the top level domain, select it and click next
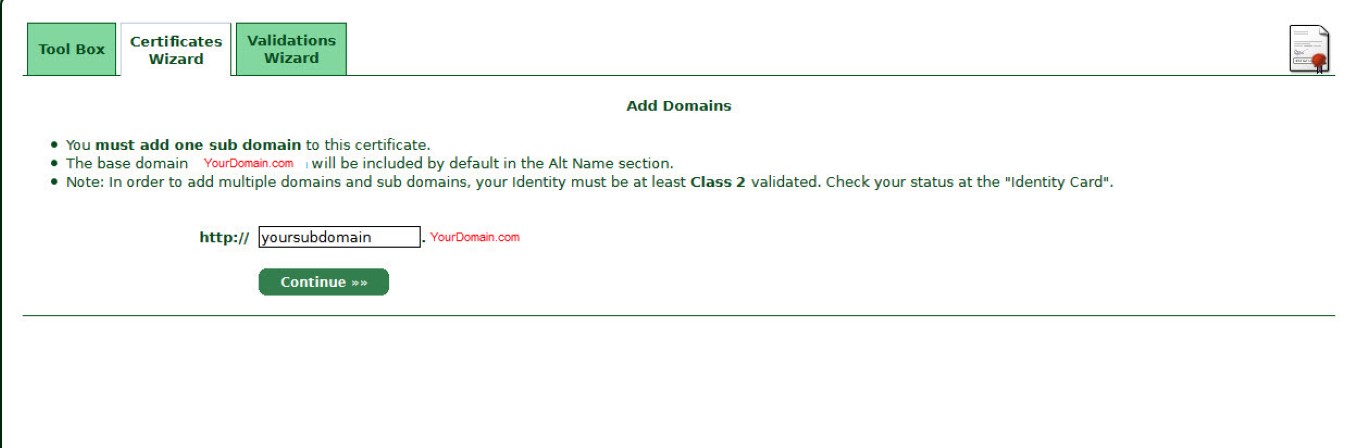
The next screen is asking for the name of the subdomain that you want to create, enter your information here. In my case my sublevel domain is called “QNAP” the full URL is then qnap.mydomain.com.
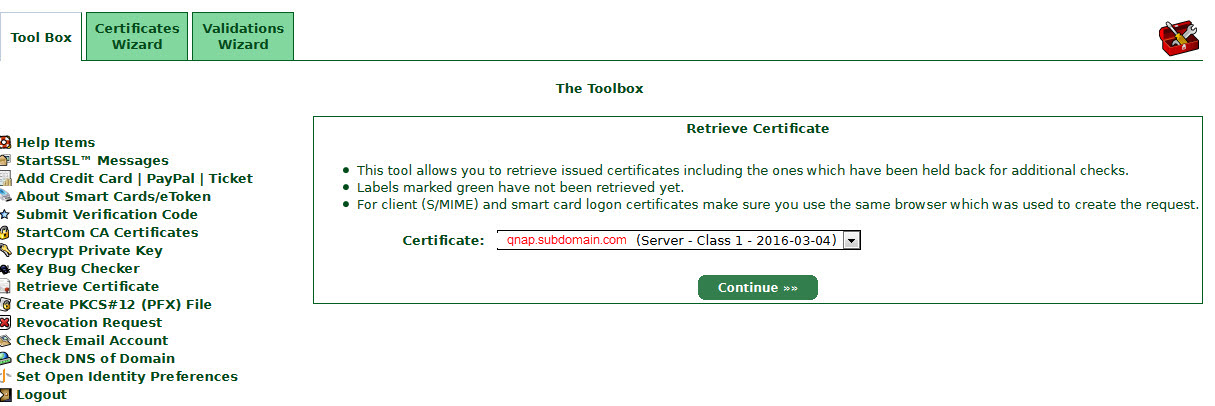
The certificate will be available shortly and you should recieve an email when its completed, “Please login to your account and select from the Tool Box tab the section Retrieve Certificate. The pending certificate is marked with a green colored label.”.
Download this file and name it “ssl.crt”
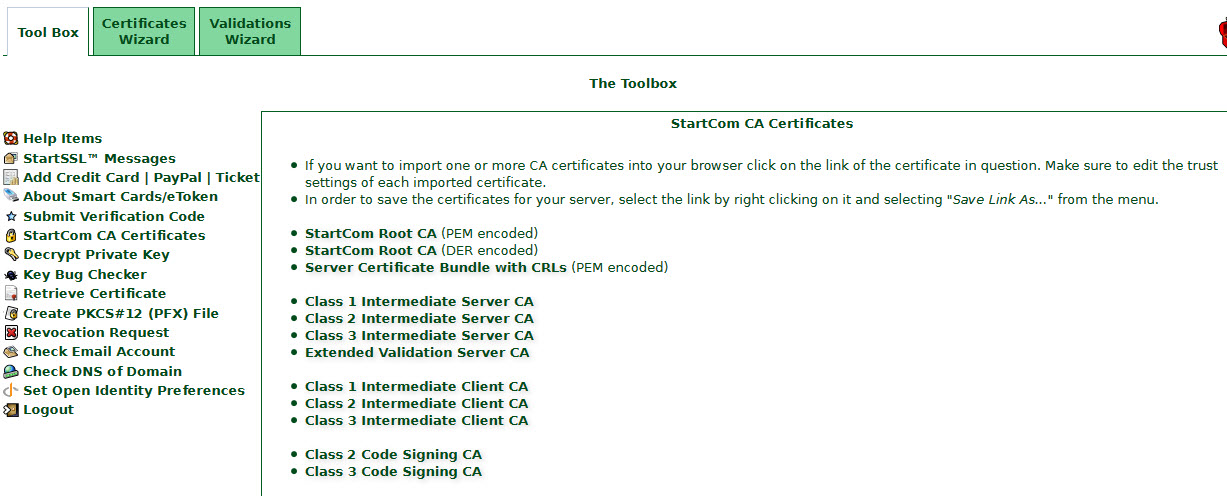
We need one more additional key, “Class 1 Intermediate Server CA” file from StartSSL, save this as “sub.class1.server.ca.pem”.
At this point we have 3 files,
- SSL_Enrypted.key
- SSL.crt
- sub.class1.server.ca.pem
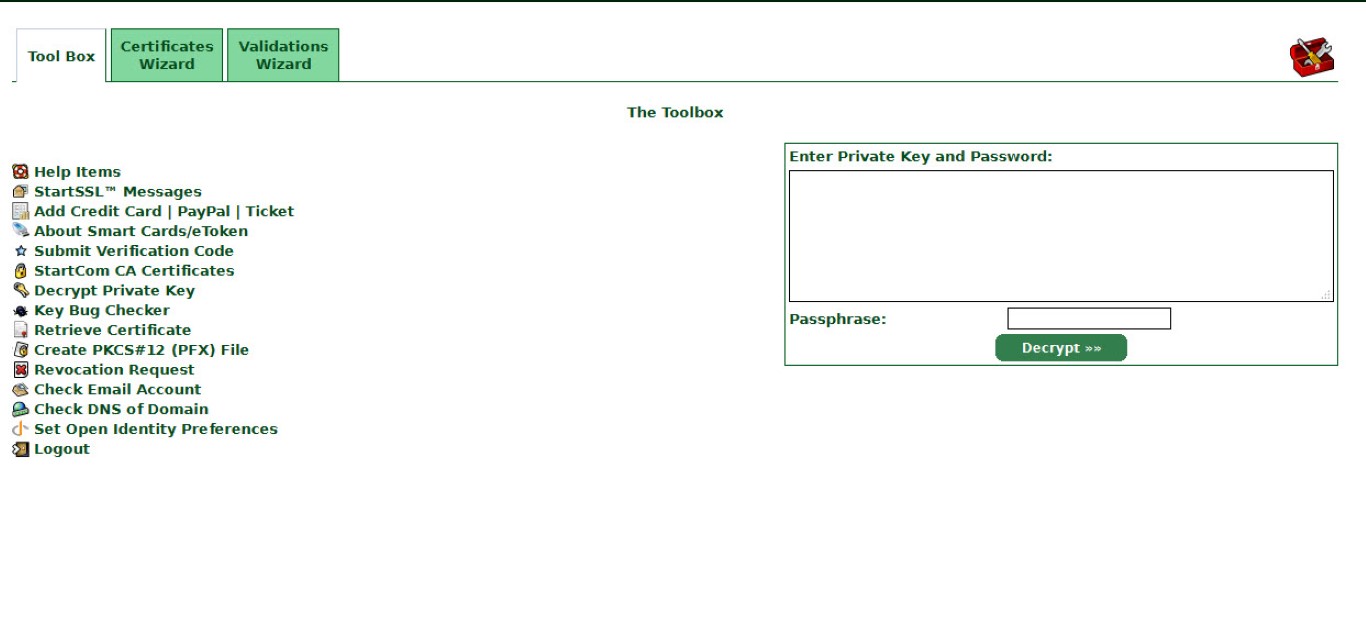
Since the QNAP cant read an encrypted Key I needed to decrypt the “ssl_encrypted.key”. this can be done with the decrypt utility in the Toolbox. Simply paste the contents of the encrypted key in the box and enter your password. Save the output as “ssl.key”
At this point we have 4 files,
- SSL_Enrypted.key
- SSL.key
- SSL.crt
- sub.class1.server.ca.pem

Populate the appropriate boxes with the information contained in the key’s by simply opening them up in a text editor program and copying and pasting the contents.
That should be it. In my case the QNAp took a moment to digest the information then logged out and then back in an SSL encryption state.
SSL/TLS locked out of your QNAP?
If by chance it didn’t work for you, and I had issues myself in getting this going, I was able to copy the default information back by SSH’ing into the QNAP and copying the file “stunnel.pem”

![]()
If I was able to help you figure out and fix your problem, buy me a beer! and Thanks..
![]()